The Microlab 6C are a pretty nice pair of speakers, but [Michał Słomkowski] wasn’t too thrilled with the 8 watts they consume when on standby. The easy fix is to just unplug them when they aren’t in use, but unfortunately the digital controls on the front panel mean he’s got to turn them on, select the correct input, and turn the volume up to the appropriate level every time they’re plugged back in. Surely there must be a better way.
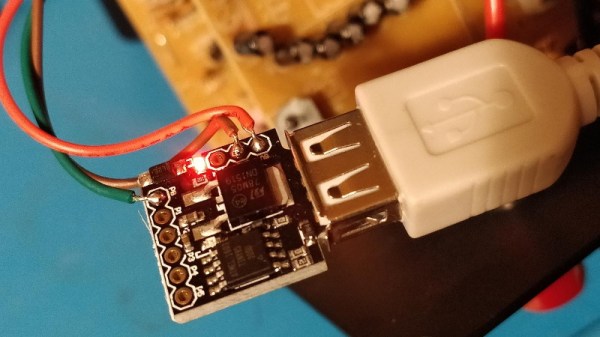
His solution was to use a Digispark to fire off the appropriate IR remote codes so they’d automatically be put back into a usable configuration. But rather than putting an IR LED on one of the GPIO pins, he simply spliced it into the wire leading back from the speaker’s IR receiver. All his code needs to do is generate the appropriate pulses on the line, and the speaker’s electronics think its a signal coming in from the remote.

Power for the Digispark is pulled from the speaker itself, so it turns on once [Michał] plugs them back in. The code waits five seconds to make sure the hardware has had time to start up, then proceeds with the “Power On”, “Change Input”, and “Volume Up” commands with a few seconds in between each for good measure.
Not only was it easier to skip the IR and inject the signals directly, but it also made for a cleaner installation. Since the microcontroller doesn’t need line of sight to the IR receiver, [Michał] was able to hide it inside the speaker’s enclosure. From the outside, the modification is completely invisible.
We’ve seen similar code injection tricks used before, and it’s definitely one of those techniques you should file away mentally for future reference. Even though more and more modern devices are embracing WiFi and Bluetooth control, the old school IR remote doesn’t seem like it’s going away anytime soon.