Fuses are generally there to stop excessive electrical currents from damaging equipment or people’s soft, fleshy bodies when faults occur. However, some people like to blow them just for fun, and [Photonicinduction] is just one of those people. He recently decided to push the boat out, setting his mind to the task of popping a 5000 A fuse in his own back yard. (Video, embedded below.)
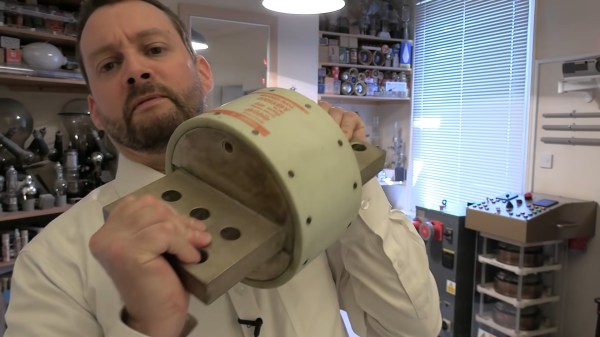
It’s not a job for the faint-hearted. The fuse is rated at 5,000 A — that’s the nominal rating for the currents at which it is intended to operate. Based on the datasheet, the part in question is capable of withstanding 30,000 A for up to five full seconds. To pop the fuse instantly takes something in the realm of 200,000 A.
To achieve this mighty current, a capacitor bank was built to dump a huge amount of energy through the fuse. Built out of ten individual capacitor units wired up in parallel, the total bank comes in at 10,000 μF, and is capable of delivering 200,000 A at 3000 V. (Just not for very long.) The bank was switched into circuit with the fuse via a pneumatic switch rated at just 12,000 A.
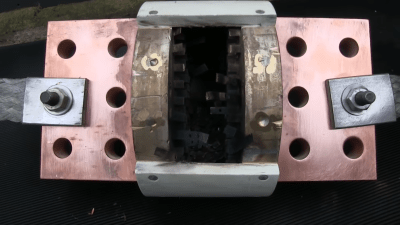
The results are ferocious, with both the fuse and switch contacts blasting out hot metal and flashes of light when the power is dumped. It’s a heck of a display. We’ve featured big capacitor banks before too, though they pale in comparison to what we’ve seen here today.