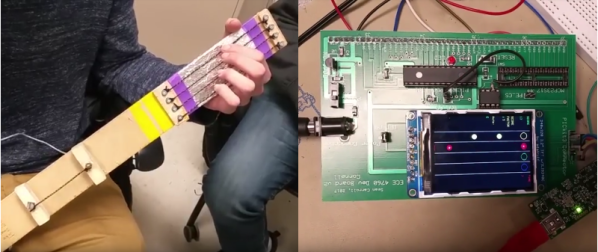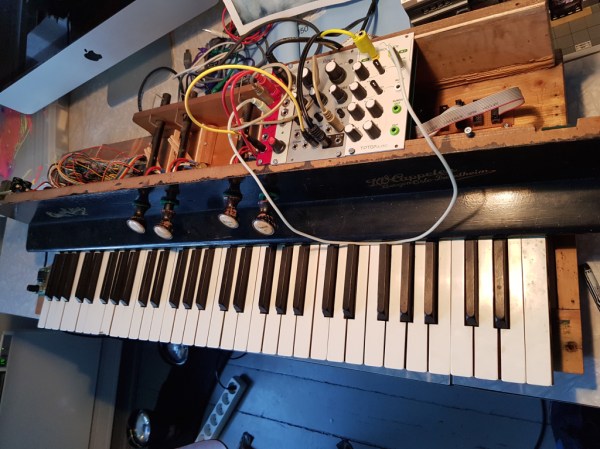
Someone left this organ out in the rain, but [Tinkartank] rescued it and has given it a new life as a SID controller. What’s a SID, you ask? That’s the sound chip Commodore used in the C64, a remarkable chip revered among retro gamers that was way ahead of its time.
He threw out everything but the keyboard assembly for the build. Each key press now drives a momentary button, and those are all wired up to an Arduino Mega through some I/O expansion boards left over from another project. The Mega drives the MOS6581 SID chip which generates those sweet chiptunes. There are four CV outs for expanding the organ’s horizons with Eurorack modules.
Our favorite part is the re-use of the stop knobs — particularly that they are actuated the same way as before. The knobs still technically control the sound, but in a new way — now they turn pots that change the arpeggio, frequency, or whatever he wants ’em to do.
The plans for the future revolve around switching to a Teensy to help out with memory issues. Although it’s a work in progress, this organ already has a ton of features. Be sure to check them out after the break.
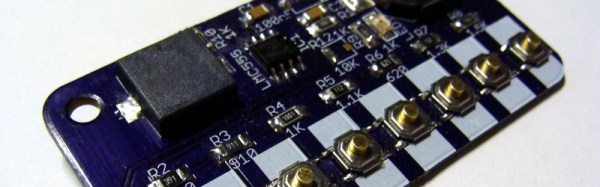
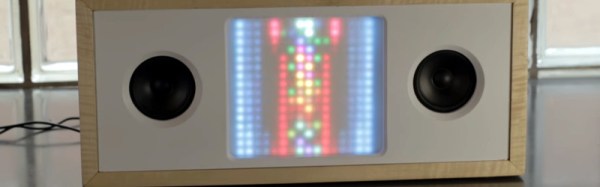
Once you dive down the chiptunes rabbit hole, you might want to take them everywhere. When you get to that point, here’s a portable SID player. A SIDman, if you will.