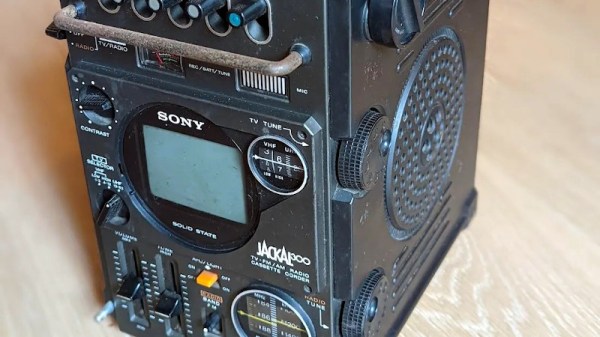
As consumer electronics companies chase profits on tighter and tighter margins, it seems like quality is continually harder to find for most average consumer-grade products. Luckily, we don’t have to hunt through product reviews to find well-built merchandise since we have the benefit of survivorship bias to help us identify quality products from the past that have already withstood the test of time. [Tom] has forever been fond of this particular Sony TV/radio combo from the ’70s so he finally found one and set about modernizing it in a few key ways.
Among the modifications to this 1978 Sony FX-300 include the addition of a modern color display, Bluetooth, an upgraded FM radio, and a microphone. At the center of all of this new hardware is a Teensy 4 which [Tom] has found to be quite powerful and has enough capabilities to process the audio that’s being played in order to make visual representations of the sound on the screen. He also implemented a bitcrusher filter and integrated it into the controls on the original hardware. He’s using an optimized version of this library to cram all of that processing ability into such a small chip, and the integration of all this new hardware is so polished that it looks like it could be an original Sony stereo from the modern era.
While some may complain about restomod-type builds like this, we don’t really see any need to be arbitrarily or absolutely faithful to bygone eras even if the original hardware was working properly in the first place. What works is taking the proven technology of the past and augmenting it with modern features to enjoy the best of both worlds. Much like this hi-fi stereo which blends the styles and technology of the 90s with that of the 60s in an equally impressive way.


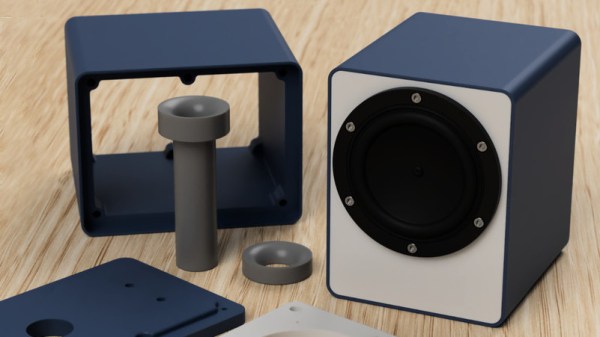
 The parts can be 3D-printed, but the design ensures that the front and back panels are flat, so one can use wood or some other material for those depending on preference and appearance. The assembly is screwed together using six M3 bolts per side with optional