If you play an instrument, you know how rewarding it is to watch and hear yourself reproduce your favorite songs and make new melodies. But you also know how steep the learning curve can be, how difficult it is to learn positions and notes while your body adjusts to the physical side. For stringed instruments, that means gaining muscle memory, growing fingertip calluses, and getting used to awkward arm positions.
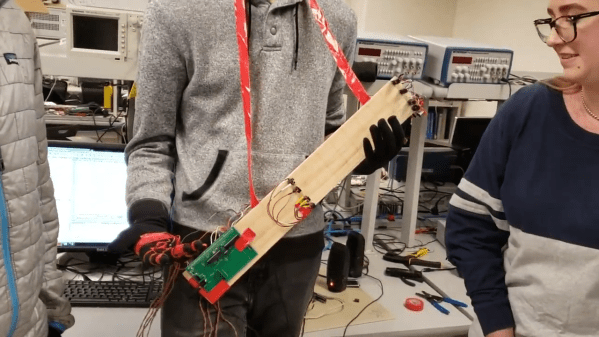
For their final project in [Bruce Land]’s class on designing with microcontrollers, [Caitlin, Jackson, and Peter] decided to make a more accessible bass guitar. For starters, it can be placed flat on a table similar to a pedal steel guitar to get around those awkward arm positions. Instead of plucking or slapping the strings, the player wears a glove with a flex resistor on each finger, and plays the string by curling and uncurling their finger.
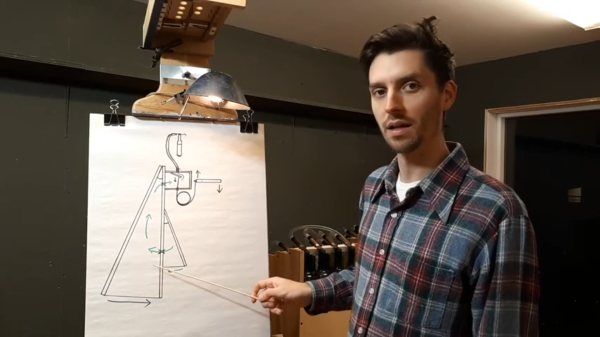
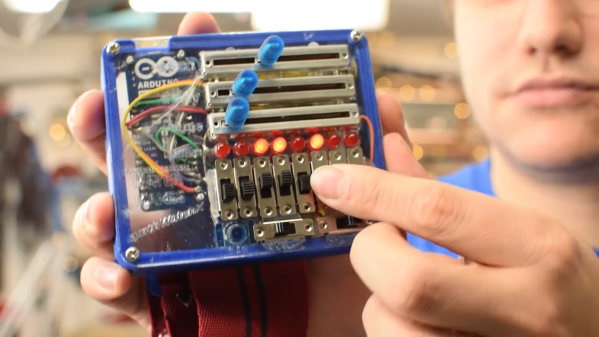
We think the team’s implementation of the left hand duties and fretboard is pretty clever. Each of the four strings has a break-beam detection circuit, and a single distance sensor decides where the finger is along the fretboard. Another great thing about this backpack-sized bass is that it never needs tuning. If you stay tuned, you can hear [Peter] play “Smoke On the Water” after the break.
There’s more than one way to make an air guitar — this one that does it with LIDAR.