Making waves in the music world is getting harder. Almost anyone who has access to the internet also has access to a few guitars and maybe knows a drummer or can program a drum machine. With all that competition it can be difficult to stand out. Rather than go with a typical band setup or self-producing mediocre rap tracks, though, you could build your own unique musical instrument from scratch and use it to make your music, and your live performances, one-of-a-kind.
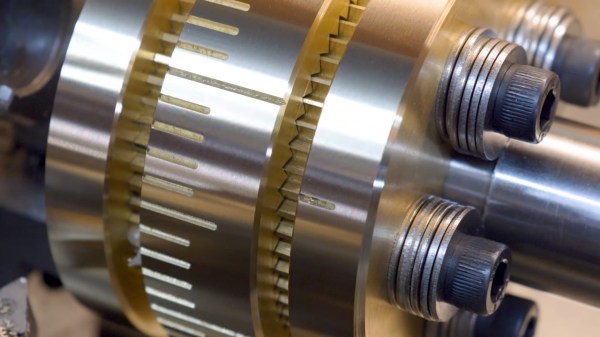
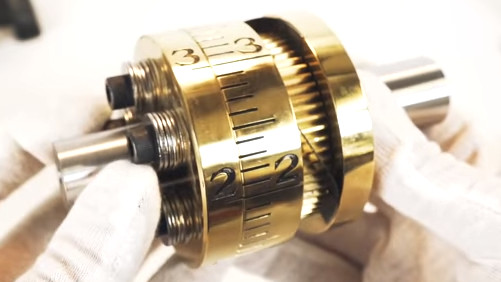
[Pete O’Connell]’s instrument is known as the Rhysonic Wheel, which he created over the course of a year in his garage. The device consists of several wheels, all driven at the same speed and with a common shaft. At different locations on each of the wheels, there are pieces of either metal or rubber attached to strings. The metal and rubber bits fling around and can strike various other instruments at specified intervals. [Pete O’Connell] uses them to hit a series of percussion instruments, a set of bells, and even to play a guitar later on in the performance.
While it looks somewhat dangerous, we think that it adds a level of excitement to an already talented musical performance. After all, in skilled hands, any number of things can be used to create an engaging and unparalleled musical performance with all kinds of sounds most of us have never heard before.