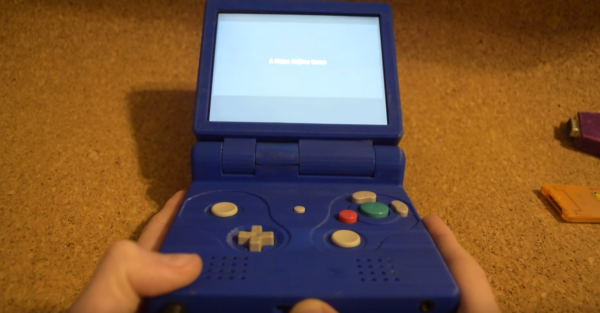
Off the hop, we love portable consoles. To be clear, we don’t just mean handhelds like the 3DS, or RetroPie builds, but when a maker takes a home console from generations past and hacks a childhood fantasy into reality — that’s amore. So, it’s only natural that [Bill Paxton]’s GameCube re-imagined as a Game Boy Advance SP has us enthralled.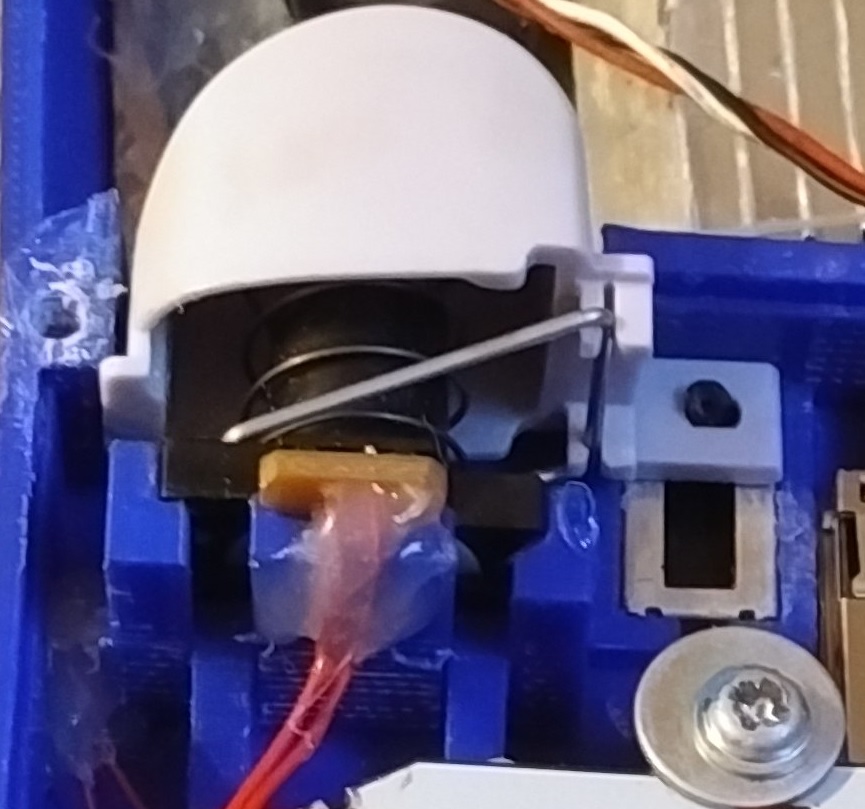
Originally inspired by an early 2000’s imagined mockup of a ‘next-gen’ Game Boy Advance, [Paxton] first tried to wedge a Wii disk drive into this build. Finding it a bit too unwieldy, he opted for running games off of SD cards using a WASP Fusion board instead. Integrating the controller buttons into the 3D printed case took several revisions. Looking at the precise modeling needed to include the L and R shoulder buttons, that is no small feat.
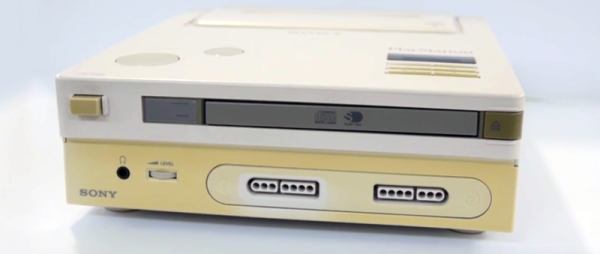
Sadly, this GameCube SP doesn’t have an on-board battery, so you can’t go walking about with Windwaker. It does, however, include a 15 pin mini-din VGA-style port to copy game saves to the internal memory card, a switching headphone jack, amp, and speakers. Check it out after the break!


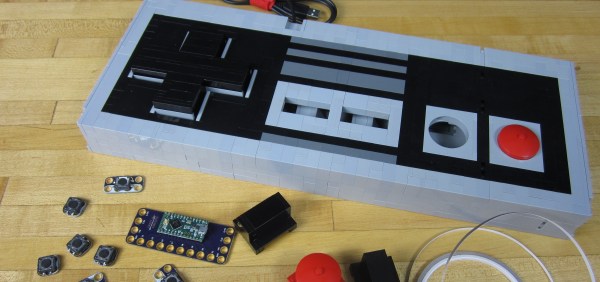
 The electronics are based on a Teensy LC programmed to appear as a USB keyboard, and the buttons are standard push buttons. The insides are wired together with nylon conductive tape. LEGO was an appropriate choice because the Teensy and switches are built on top of LEGO compatible PCBs, so components are just snapped in place. The system is called
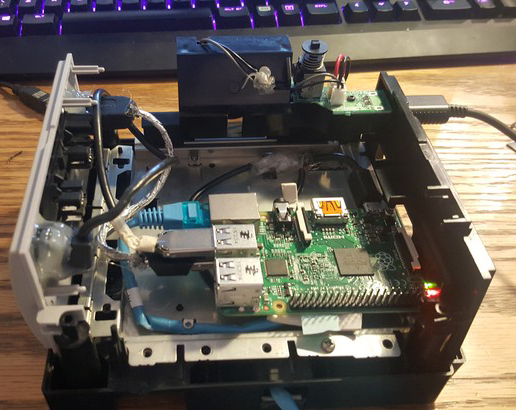
 Time marches on, and after a while, the Raspberry Pi 2 was released. By this time, retro emulation was hitting the big time, and [Liam] decided it was time for an upgrade. He disassembled this Nintendo console again, routed new wires and inputs to the original controller ports, and used a Dremel to route a few holes for the HDMI and SD card slot.


