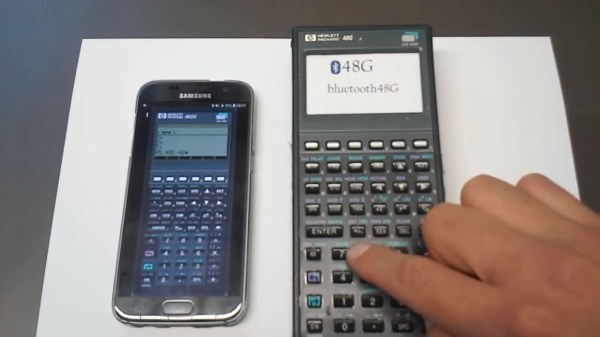
Considering their hardware specification, graphing calculators surely feel like an anachronism in 2019. There are plenty of apps and other software available for that nowadays, and despite all preaching by our teachers, we actually do carry calculators with us every day. On the other hand, never underestimate the power of muscle memory when using physical knobs and buttons instead of touch screen or mouse input. [epostkastl] combined the best of both worlds and turned his broken HP-48 into a Bluetooth LE keyboard to get the real feel with its emulated counterpart.
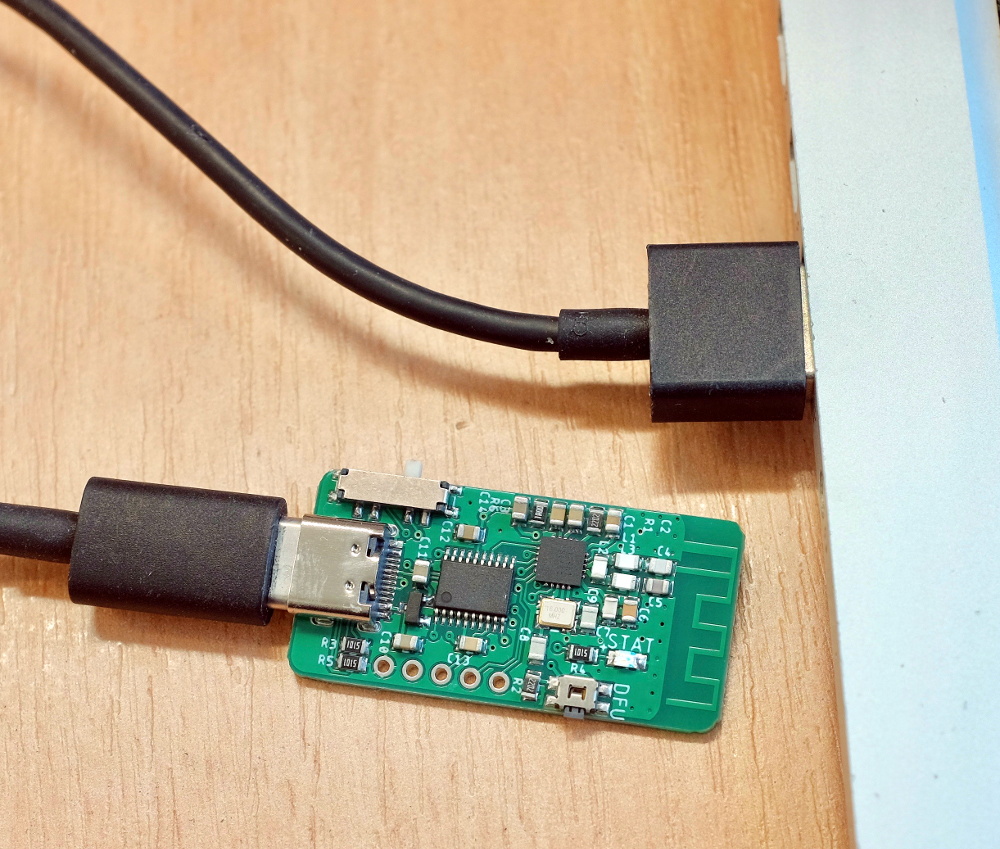
Initially implemented as USB device, [epostkastl] opted for a wireless version this time, and connected an nRF52 based Adafruit Feather board to the HP-48’s conveniently exposed button matrix pins. For the software emulation side, he uses the Emu48, an open source HP calculator emulator for Windows and Android. The great thing about Emu84 is that it supports fully customizable mappings of regular keyboard events to the emulated buttons, so you can easily map, say, the cosine button to the [C] key. The rest is straight forward: scanning the button matrix detects button presses, maps them to a key event, and sends it as a BLE HID event to the receiving side running Emu84.
As this turns [epostkastl]’s HP-48 essentially into a regular wireless keyboard in a compact package — albeit with a layout that outshines every QWERTY vs Dvorak debate. It can of course also find alternative use cases, for examples as media center remote control, or a shortcut keyboard. After all, we’ve seen the latter one built as stomp boxes and from finger training devices before, so why not a calculator?
Continue reading “Broken HP-48 Calculator Reborn As Bluetooth Keyboard”