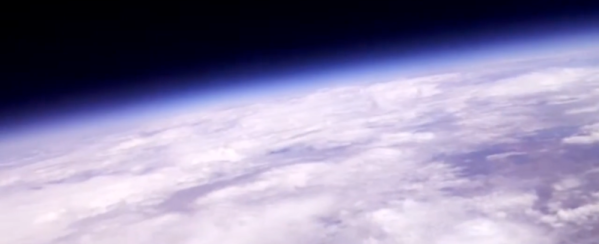
The Project Horus team routinely launches high-altitude balloons in Australia. However, despite their desire for it, they haven’t beamed back live video. Until now. Horus 55 beamed video back to the ground from over 100,000 feet using a Raspberry Pi and some software-defined radio gear. Be sure and check out their video, below.
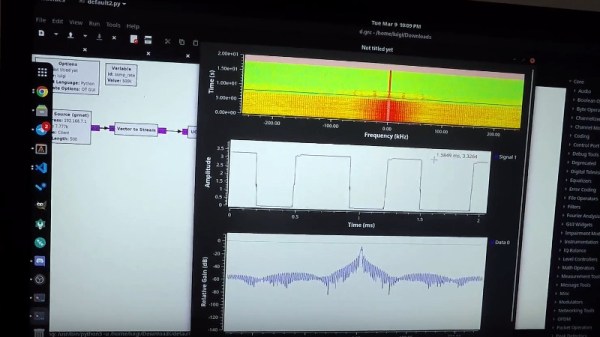
You might think this is easy, but there are many technical hurdles. First, the transmitter needs some power, but the thin atmosphere creates problems with cooling. In addition a really good receiving station is required, and the project wanted to stream that video to the Internet, which they were able to do.
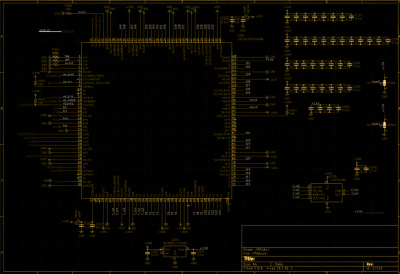
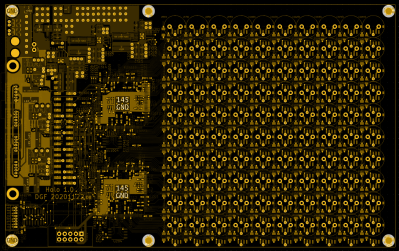
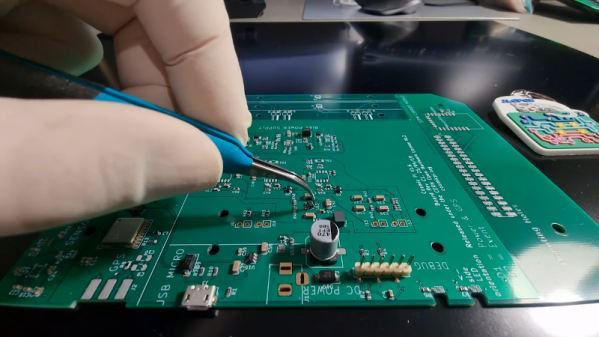
The balloon carried a Raspberry Pi Zero W to capture and compress video. A LimeSDR Mini provided the DVB-S transmission on 70cm along with a power amplifier to get to about 800mW. Power dissipation in the payload was about 6 watts and required a special heat sink system to operate. The payload was powered by eight lithium AA primary cells, which perform well at low temperatures.
Continue reading “Raspberry Pi Zero Beams Back Video From 100,000 Feet”