
Scripting languages are for large computers, right? “Real” embedded device work is a hellish, never-ending cycle of code, compile, and re-flash. Well, I used to think so too, but with the proliferation of scripting and other interactive languages to microcontrollers over the last few years, the hurdle to interactive development on the small chips has gotten a lot lower.
On the ESP8266 platform, I’ve tried out NodeMCU’s Lua and ESP8266 BASIC. (For the last half-year, I’ve been using the awesome Mecrisp-Stellaris almost exclusively on the STM32F1xx and F4xx chips, but haven’t dipped into ESP8266 Forth yet.)
NodeMCU is great because it’s got everything you could want built in, and through cloud services it’s easy to get a tailored build made that maximizes free flash memory for your projects. I just don’t dig the asynchronous Lua thing (you might, try it!). ESP BASIC has a different set of libraries, and is missing MQTT for my purposes. Still it’s pretty slick, and worth a look.
So when the MicroPython folks announced that they were releasing the binary builds for the ESP, I thought it was time to give it a spin. I’ve used Python for nearly twelve years now, so it’s like a comfortable shoe for me. Would MicroPython be the same on the ESP8266? The short answer is yes and no.
Continue reading “MicroPython On The ESP8266: Kicking The Tires”


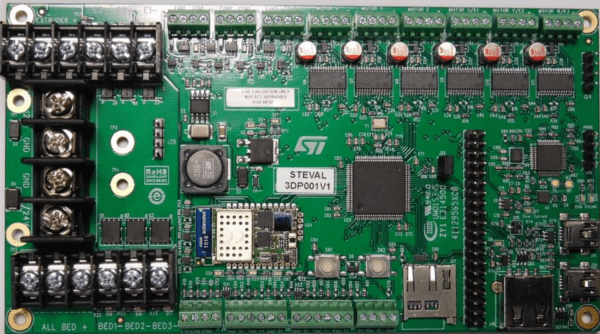

 Although this Raspberry Pi-compatible board is not finalized, the specs are what you would expect from what is essentially a Raspberry Pi Zero cut down to a square inch board. The CPU is listed as, “Broadcom BCM2835 ARM11 Processor @ 700 MHz (or 1GHz?)” – yes, even the spec sheet doesn’t know how fast the CPU is running – and RAM is either 256 or 512MB of LPDDR2.


