Very often, particularly on the Internet, we’re fooled into thinking bigger is always better. The fact remains that this isn’t always the case. When it comes to reflow ovens, for example if you’re working with short runs of small PCBs, or if you just don’t have a lot of space in the workshop, a smaller oven will be more desirable than a large one. It’s factors like these that drove [Sergi Martínez]’s latest build.
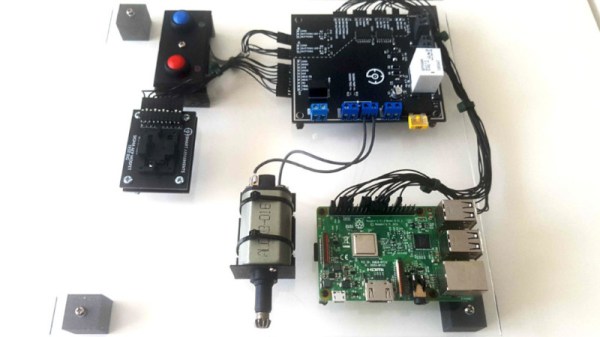
Built inside a metal project case, first attempts involved using an off-the-shelf heating element, with poor results. The element had a high thermal inertia, and was designed for use in water, so didn’t last in the reflow application. Learning from the experience of others, [Sergi] switched to using halogen lamps, netting much greater success. An Arduino Nano is responsible for running the show, using firmware developed by [0xPIT]. There’s also a screen for monitoring reflow profiles, and a cooling fan to help keep temperature in the ideal zone.
It’s a tidy build that would be particularly useful for quickly running batches of small PCBs without the long wait times required to heat a larger oven. Energy efficiency should be better, too. Of course, if you’re a fan of the classic toaster oven builds, we’ve got those too. Video after the break.
Continue reading “Building A Compact Reflow Oven With Halogen Lamps”