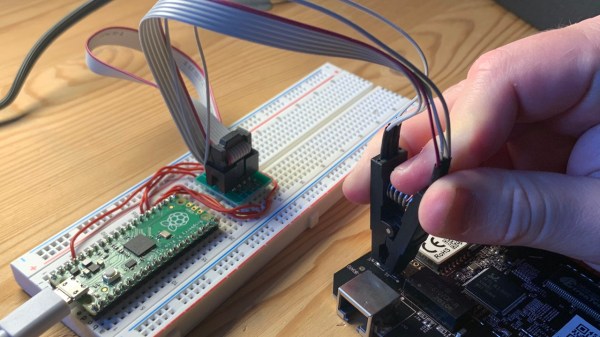
An essential for the engineer is a decent caliper, to measure dimensions with reasonable accuracy. Some of us have old-fashioned Vernier scales, while many up-to-date versions are electronic. When entering large numbers of dimensions into a CAD package matters can become a little tedious, so the fancier versions have connectivity for automatic reading transfer. [Mew463] didn’t want to shell out the cash for one of those, so modified a cheaper caliper with an ESP32-C3 microcontroller to provide a Bluetooth interface.
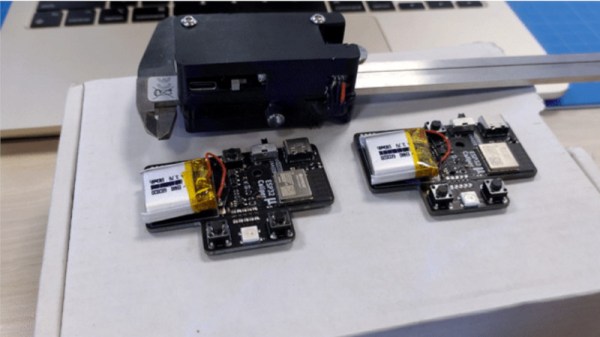
Many cheaper calipers have a handy hidden serial port, and it’s to this interface the mod is connected via a simple level shifter. The ESP and associated circuitry is mounted on a custom PCB on the back of the caliper body, with a very neatly designed case also holding a small Li-Po cell. It adds a little bulk to the instrument, but not enough to render it unusable. Whether the work required to design and build it is worth the cost saving over an off-the-shelf connected caliper is left to the reader to decide.
We’ve covered similar hacks in the past, but this one’s to a very high standard. Meanwhile if calipers are of interest to you then they’re a subject we’ve examined in some significant detail.