Hi, my name is Dan and I’m a crimpoholic.
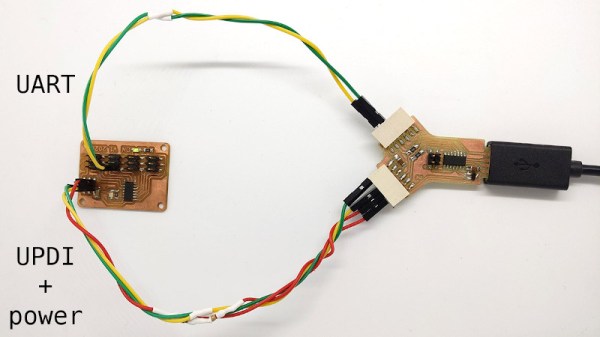
Honestly, I didn’t know I was a serial abuser of crimping tools until this weekend. I’ve been working on a small solar power system, and on Saturday I found myself struggling to get the BMS installed on the battery. I bought a Bluetooth dongle to connect the BMS to a smartphone app for checking the individual cells of the battery. I assumed it would just plug right into the UART port on the BMS, but alas — different connectors. So off I went to my bench, looking for a sensible way to make the connection.
My first thought was to simply log the connector off the dongle and solder the leads to the traces on the PCB right below the UART port. But then I saw that the pins in the port looked like 0.1″ pitch, so I rummaged through my stash to see what I could find. To my surprise, I had not only a kit of 0.1″ female crimps and housings, but I also had the crimping tool for them! I had no memory of making the purchase, but I thanked my lucky stars that I did, and got on with the job.