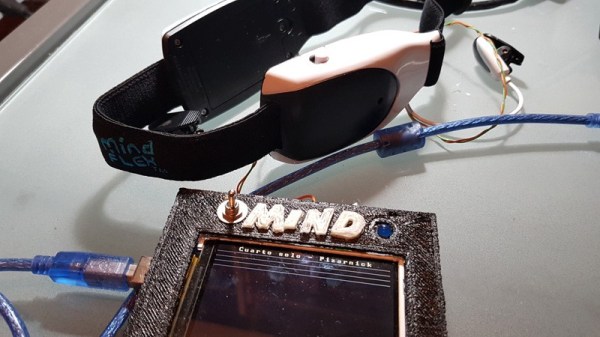
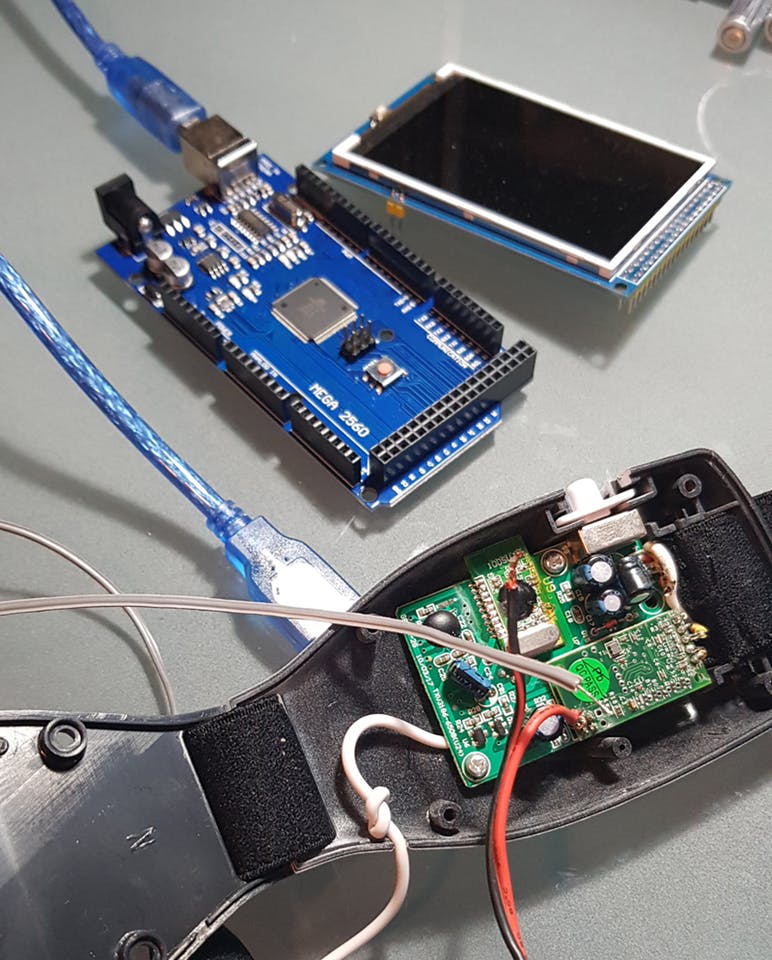
If poetry is your thing, this hack might convince you that your brain is more advanced than the rest of us poor sots. [Roni Brandini] designed a system that prints lines of poetry when you concentrate. The Mind Poetry project uses an EEG headset from Mattel’s Mindflex toy and pipes your brain’s signals to an Arduino Mega 2560. The system then looks for patterns of brain waves that indicate concentration. As you maintain your concentration, the system continues to print lines of poetry to a small display.
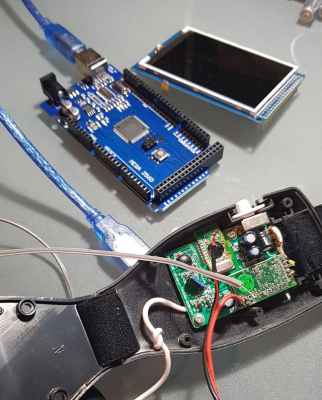
[Roni] follows the standard Mindflex hack process by tapping into the data transmission pin on the Mindflex board. Optoisolation is provided by a PC817 to make sure wall power can’t accidentally bleed over into your own wetware. You could get away with just using batteries, but isolation is still a best practice.
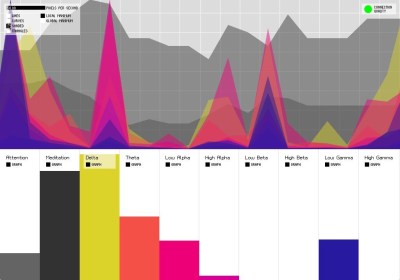
The Arduino Brain Library is used to decipher the signal. The Mindflex picks up brain waves from roughly 1 Hz to 50 Hz, which is enough bandwidth to approximately determine mental state. For example, Theta waves are in the 4 Hz to 7 Hz range and can indicate a relaxed, meditative state. Low Beta waves range from 13 Hz to 17 Hz and indicate an alert, focused mental state. The Mindflex system is also generous in that it provides derived meditation and attention scores, ranging from 0 to 100.
It’s difficult to get a high level of precision with this sensor and sampling system, so the code uses [Roni]’s custom recipe of meditation score, attention score, and Low Beta value. He finds it most effective to trigger actions based on a relationship of these scores instead of focusing on the readings themselves. For example, an uptick in both Low Beta waves and the attention score indicate concentration.
If the wearer is concentrating, the system prints lines of poetry to the display and charts the three values. As an added gamification, it’ll tell you how many times you broke concentration before you completed the poem. One can imagine a game that tries to break concentration by printing other phrases or even activating an array of mechanical distractions.
If poetry isn’t your thing, you’re in luck. The “Mind Poetry” project also makes some headway (pun intended) with processing the EEG headset’s signals and triggering actions This means you don’t have to be into the poetry scene to reap the benefits. You now have the bones of a hack that lets you control things with your brain muscles and without your muscle muscles.
For inspiration, check out some other Mindflex hacks that let you order drinks with your mind (recommended), shock the heck out of people (not recommended), or even move around your skirt (uh… you do you?).
Continue reading “Project Perceives Pondering, Prints Poetry” →