Building and running a land speed record car is an expensive business that requires incredibly wealthy benefactors. Doing it on a smaller scale with a radio control car is still pricy, but more within the reach of the individual. [ProjectAir] has been working on just that, and recently set out to break records with a car of his own design.
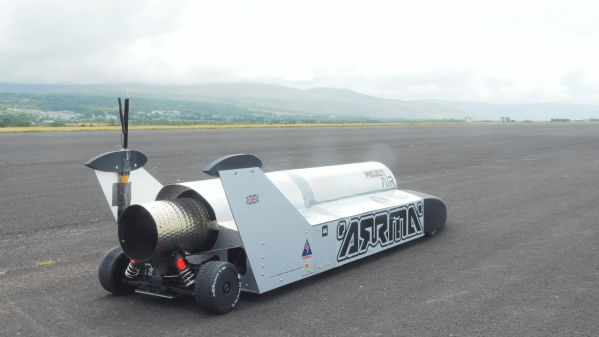
The car runs a Jetcat 220 engine capable of delivering 220 newtons of thrust, built into a custom aluminium chassis with streamlined bodywork. Early runs saw it reach 112 km/h, but the goal was to push it beyond 150 km/h to break the standing Guinness World Record.
With an RC event running on a local runway, [ProjectAir] had the venue and opportunity to make an attempt. It was tough going, with the car throwing off its nosecose in one run, while rough weather brought further struggles. Strong crosswinds played a role in a violent crash on the car’s fastest pass, which ripped the car apart and destroyed the engine. However, in the end, it had done enough to secure a record at over 152 km/h, even if its later faster efforts didn’t officially count.
It’s clear that the car has come a long way since [ProjectAir’s] initial efforts in 2022, and we can’t wait to see where the project goes next. Video after the break.
Continue reading “Breaking Land Speed Records With An RC Car”