Bad Apple On A Karaoke Machine

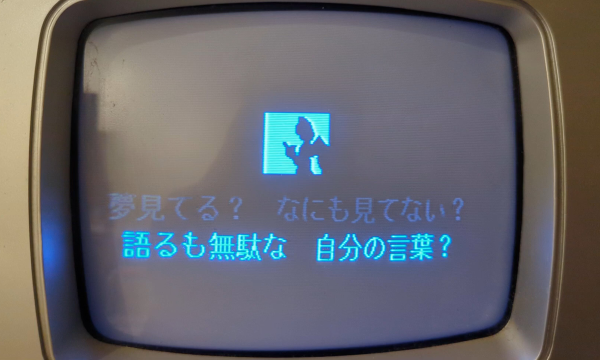
CD+Graphics was a format that never really caught on. It let music discs pack some graphics, maybe liner notes, and mostly song lyrics into the otherwise empty space on a CD. It was never intended for displaying full-motion video, but that didn’t stop [Adam Gashlin] from getting a Bad Apple, with lyrics, running on any device that will play CD+G.

The main challenge is that CD+G gives you 300 screen commands per second, which is plenty for updating text on the 48×16 blocks as the lyrics scroll by. But if you want to send custom blocks and draw images, that’s 2.5 seconds per screen: a lousy framerate.

[Adam]’s first trick is to drop the resolution way down, which gets him into the 8 FPS range. Only update the blocks that change pushes this up to a respectable 17-20 FPS. But you can see the updates, and that’s distracting. It really needed buffering.

If you don’t know Bad Apple, it’s in black and white. And like many old graphics engines of the day, CD+G uses a dynamic palette of colors. [Adam] uses this to pack four frames into one, switching between them using palette swapping. (Absolutely check out his “rainbow” version of the video to see how the palette-swapping trick works.)

In the end, his demo has audio, triple-buffered video, and lyrics at 16.3 FPS. It’s slower than the fastest video-only version, but it looks so good, and [Adam]’s explanation of all of the graphics tricks he uses to get there is the real star of the show.

If you want to see Bad Apple running on yet more minimal hardware, how about a 16×2 LCD? Or a much more ridiculous implementation? How’s regexes in Vim for absurd? Got any Bad Apple hacks of your own? Let us know in the comments or the tips line. You can never have too many.
A Look Inside A 1997 BBC Ceefax Generator

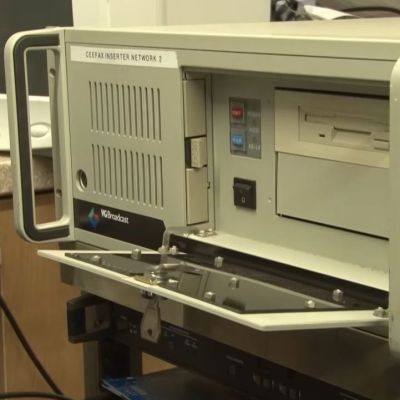
Ceefax was the BBC’s broadcast teletext service that ran until 2012, providing text and rudimentary graphics that were broadcast invisibly with the TV signal. In order to get this teletext data merged into the analog TV signal, special equipment was needed, of which [Nathan Dane] has a 1997-era unit on his bench to take a gander at.
Interestingly, until this time the Ceefax signal had been generated centrally in London, meaning that regional TV broadcasts might have Ceefax issues on occasion due to retransmission glitches. This makes this Ceefax Inserter  system so much more interesting, as it was one of the early examples of what these regional stations would end up installing in their racks.

At their core these units are regular PCs, running MS-DOS 6.22 on a 486-class CPU and all the typical bits and bobs that go with a PC. The speculation here is that these are essentially rebranded industrial PCs, which would make a lot of sense. As for how [Nathan] got his hands on these units, it required a deal with the company scrapping them, preventing him from showing details of the software configuration.

Following a booting demonstration, we get the teardown of a typical 1990s rackmount PC, revealing a rather interesting backplane with the mainboard being one of the cards on it. Of these, two ISA cards provide the special Ceefax sauce as well as a timing signal in the form of a PDC card featuring a Lattice CPLD or FPGA that VCRs could use to automatically start recording.

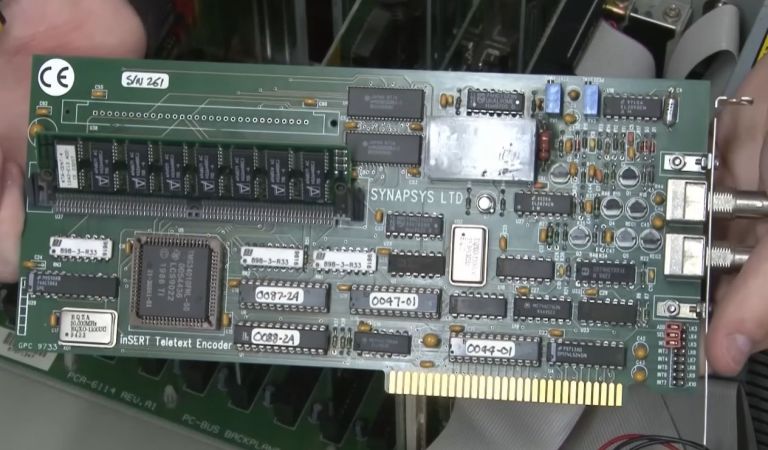
The Ceefax main event comes in the form of the inSERT Teletext Encoder card. This is pretty much its own computer system, featuring a TI TMS34010 CPU and its own RAM as well as IO. Compared to modern takes on teletext generators, this card appears to directly mix the analog signals, without any kind of conversion.

Although teletext systems have been largely shutdown now at this point due to the transition to digital TV broadcasting, there’s still a lot to be said for having such a service available for basic news and information.

Continue reading “A Look Inside A 1997 BBC Ceefax Generator”

A Standalone YouTube Streaming Rig

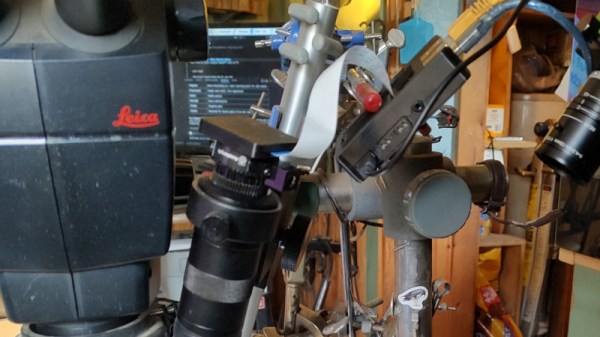
YouTube streaming typically involves a camera with an HDMI output, a USB3 HDMI digitiser, and a suitably beefy PC to run it all. It’s quite a process, and for [Coreymillia], more complex than it needs to be. He’s come up with something simpler, a dedicated self-contained streaming rig using a Raspberry Pi 4.

As you might expect it uses the Raspberry Pi HQ camera at the optical end, but it’s the software surrounding it that transforms it from a mere camera into a streaming rig. There’s a web based user interface, but perhaps more interesting are the companion dashboard peripherals. A Raspberry Pi or an ESP32 Cheap Yellow Display can both serve as a small in-view dashboard and controller.

We know from experience that a stream can be a difficult thing to get right even with high-end hardware, and we’re interested to see this standalone device allowing , we hope, an easier way to do it. If you’re a streamer we’re guessing you’ll be taking a closer look. Even so, this is surprisingly, not the simplest Raspberry Pi based streaming device we’ve seen.

Building A 2-Way Holographic Display

Holographic displays sound very fancy but you can build various simple types yourself at home. [Julius Makes] whipped up a neat design that shows a different image depending on the position from which you view it. 

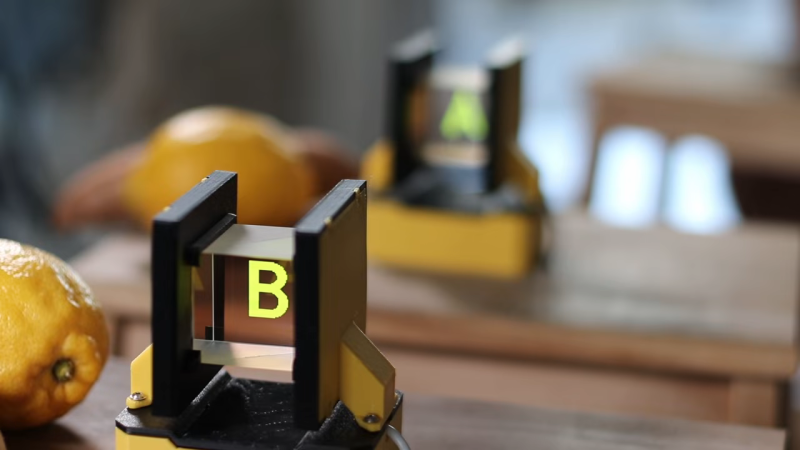
Running the show is a Wemos D1 devboard equipped with the ESP8266 microcontroller. It’s hooked up to a pair of OLED displays over I2C. The displays are placed in a 3D printed assembly that aims each one at a beam-splitter cube. This bounces light projected into one face through 90 degrees, and out another face. By leveraging this, it’s possible to aim each display at one face and bounce it out another, such that looking at either side of the beamsplitter cube shows a different image. Since the beamsplitter cube also allows some light to be transmitted directly through as well, the image from each display appears to float in space.

[Julius] notes that this setup is being used in a puzzle box game, while wondering whether there’s any other fun ways to leverage this technique. We’ve seen some other neat holographic displays before, too, like this neat Holochess build.

Continue reading “Building A 2-Way Holographic Display”

Linux Fu: Fake Webcams, GUI Edition

Previously, I looked at using the Linux video loopback system from the command line. The basic trick was simple enough: capture video from a real camera, process it with something like ffmpeg, and write the result to a fake camera device via the v4l2loopback device. Then a browser, or any camera-enabled software, sees the fake camera as if it were real. This allows you to manipulate video before sending it to the rest of the world.

That works, and for those of us who like command lines, it’s easy enough to execute. But not everyone loves the command line. In the comments, there was another obvious answer: use OBS Studio.

While OBS is excellent, it is also a bit like using a laser to chop a carrot. If you already use OBS, fine. If you only want to crop a webcam, add an effect, mirror an image, or feed a virtual camera, it can feel like a lot. If you must have a GUI, you can try Webcamoid, which sits somewhere between a simple webcam viewer and a full video production system.

Webcamoid gives you a GUI for selecting a camera, applying effects, and sending the result to a virtual camera. Conceptually, it is much closer to the command-line loopback setup from the previous post than to OBS. You are still building a pipeline from input camera to output camera, but now you can do much of it with buttons and menus instead of shell commands.

That’s in theory, of course. Implementing Webcamoid turned out to be quite the exercise. Granted, this probably varies depending on where you install software. If your distro has a clean working copy of Webcamoid and its dependencies, good for you. For everyone else, keep reading.

Continue reading “Linux Fu: Fake Webcams, GUI Edition”

Linux Fu: Fake Webcams Have Many Uses

Dealing with text streams is a fundamental skill for the Linux power user. You can sort, merge, and search text files easily from the command line. What if you could do the same thing with video? Well, you can. Maybe you want to add a logo to a webcam feed before sending it to a conference app. Maybe you want to blur, color-correct, or annotate video in real time. Or perhaps you want to inject prerecorded video into Zoom while pretending it is a live camera. Linux can do all of this, and the key ingredient is usually the same: a loopback video device.

The basic idea is simple. Instead of an application reading directly from /dev/video0, you create a fake camera device using the v4l2loopback kernel module. Your software pipeline writes processed video into the fake camera, and applications read from it as if it were a normal webcam. The result is surprisingly powerful.

Continue reading “Linux Fu: Fake Webcams Have Many Uses”

Hacked Video File Holds Multiple Films On YouTube

We notice there are a lot of hacks on YouTube lately, but we don’t share enough hacks about YouTube. That’s why [PortalRunner]’s latest oeuvre is interesting: it’s a video that gives you a different picture depending on the selected bitrate.

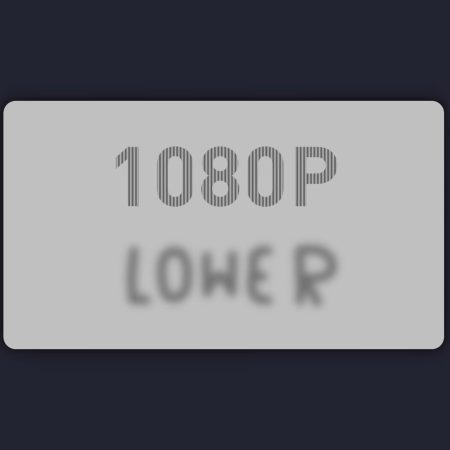
Watch it at 1080p, you get one thing; at 360p, the image is completely different. The hack relies on understanding precisely how YouTube cuts down videos — because if you haven’t uploaded a video there before, you might not know the creator doesn’t have to encode all of those options; they’re invited to upload in the highest possible definition, and YouTube reencodes the rest.

1080p and 720p films are shown at 60FPS, while 360p and below are 30FPS– so that’s one way to hide the difference. Since YouTube drops every second frame when encoding the lower-quality video, images you want in the HD version can be kept only in even-numbered frames that YouTube will remove. That seems easy enough, but how does [PortalRunner] avoid the low-quality image flickering in at 30 FPS when watching in higher definition?

Continue reading “Hacked Video File Holds Multiple Films On YouTube”