[Tom Scott] has traveled the world to see interesting things. So when he’s impressed by a DIY project, we sit up and listen. In this case, he’s visiting the Bathysphere, a project created by a couple of passionate hobbyists in Italy. The project is housed at Explorandia, which based on google translate, sounds like a pretty epic hackerspace.
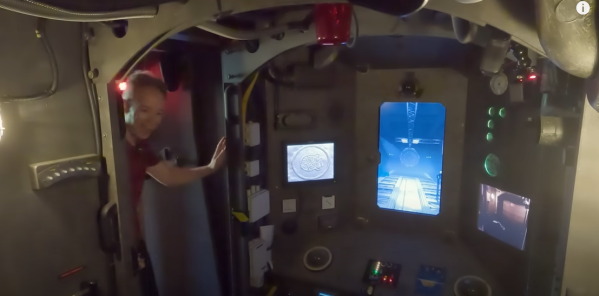
The Bathysphere project itself is a simulation of a submarine. Sounds simple, but this project is anything but. There are no VR goggles involved. Budding captains who are up for the challenge find themselves inside the cockpit of a mini-submarine. The sub itself is on a DIY motion platform. Strong electric motors move the system causing riders to feel like they are truly underwater. Inside the cockpit, the detail is amazing. All sorts of switches, lights, and greebles make for a realistic experience. An electronic voice provides the ship status, and let’s the crew know of any emergencies. (Spoiler alert — there will be emergencies!)
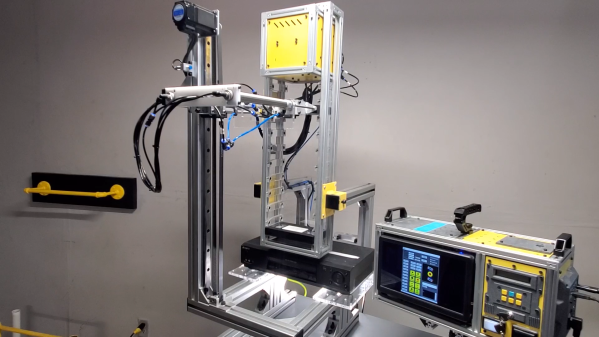
The real gem is how this simulation operates. A Logitec webcam is mounted on an XY gantry. This camera then is dipped underwater in a small pond. Video from the camera is sent to a large monitor which serves as the sub’s window. It’s all very 1960’s simulator tech, but the effect works. The subtle movements of the simulator platform really make the users feel like they are 20,000 leagues under the sea.
Check out the video after the break for more info!