It’s interesting to see the different form-factors that people utilize for their portable biometric sensors. We’re seeing heart rate monitors and other biometric sensors integrated into watches, earbuds, headbands, sports bras, and all sorts of other garments and accessories. [Gabi] took an intriguing approach, integrating an electrocardiogram (ECG) into a backpack. This type of heart rate project is pretty popular here on Hackaday, so it was great running across [Gabi’s] design during our daily perusing for the new and exciting.

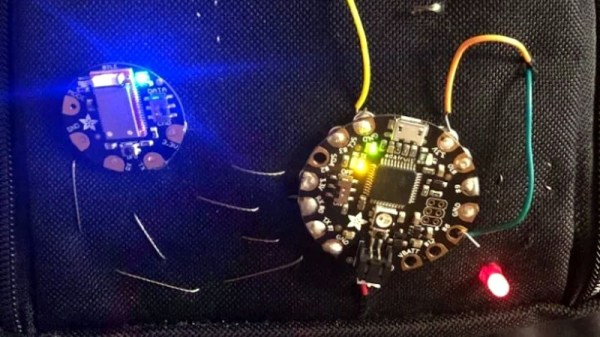
[Gabi] used an Adafruit FLORA, a BLE module, an ECG sensor from Bitalino, a few other ancillary components, and, of course, a backpack. We appreciate that she walked us through the list of stumblingblocks she came across and how she got around them. So much of the time in our excitement to share our projects we remove the gory details and only present the finished project when really, we learn most from all the things that didn’t work more so than the things that did. Finally, [Gabi] walks through the intricacies of the threading and the particular placement of the snap connectors to attach the circuit to the ECG electrodes. Things get pretty tricky, but luckily [Gabi] documents her project pretty meticulously with schematics, pictures, and early notice of pitfalls.
[Gabi] made sure to remind her readers that this is a prototype, not a medical device. She also brought up electrical safety. Biometric devices such as ECGs need to include a strict set of isolation circuits to prevent potential harm to the user. Fortunately, there are a few well-characterized methods to accomplish this.
So thanks for a really cool project, [Gabi], and to our readers, why not enjoy some of our other ECG projects while you’re at it?