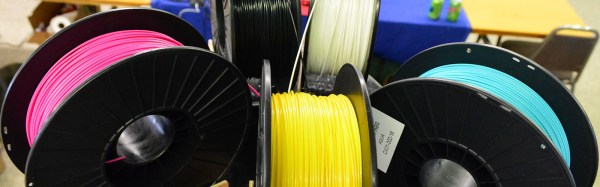
3D printing has evolved to a point where dual extrusion isn’t really that special anymore. A few years ago, a two-color frog print would have been impressive, but this isn’t the case anymore. The Midwest RepRap Festival is all about the bleeding edge of what 3D printers are capable of, and this year is no exception. This year, we were graced with a few true multicolor filament-based 3D printers. The biggest and best comes from [Daren Schwenke] and the rest of the Arcus3D crew. This printer is a full color, CMYKW mixing printer that’s able to print in any color imaginable.


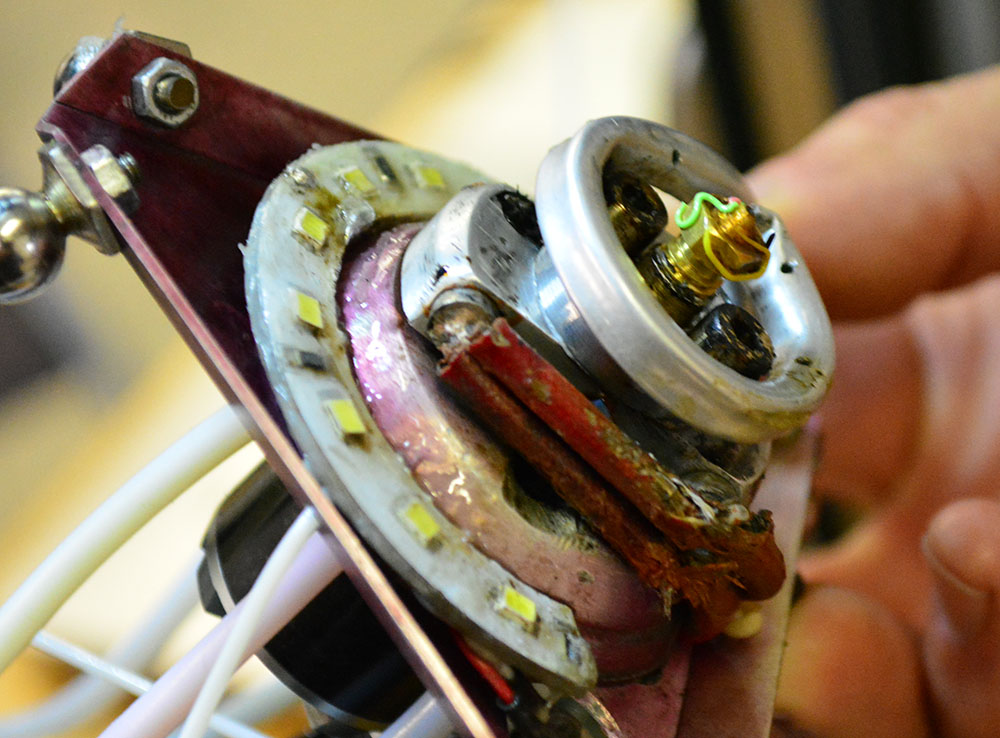
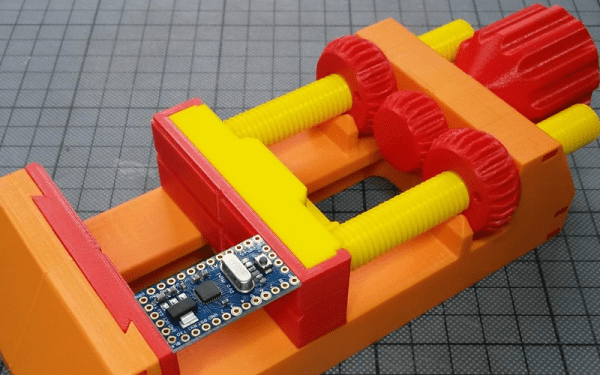
The electronics for this printer are, to say the least, very weird. The controller board is BeagleBone Black plus a CRAMPS running Machinekit. The hotend is bizarre, feeding six PTFE tubes into a weird water-cooled assembly that mixes and squirts filament out of the nozzle with the help of a small brushless motor. Thanks to a clever design, the end effector of the hotend weighs only about 150 grams – about the same as any other delta printer out there – and this printer is able to move very fast.
Over the last year, we’ve seen a lot of improvements in the state of multi-material and multi-color extrusion for 3D printers. At last year’s Maker Faire NY, Prusa’s i3 quad extruder made an appearance alongside the ORD Solutions RoVa4D printer. These are two completely different approaches to multicolor 3D printing, with the RoVa mixing filament, and the Prusa merely extruding multiple colors. Both approaches have their merits, but mixing extruders are invariably harder to build and the software stack to produce good prints isn’t well-defined.
Even though we’re still in the early years of full-color filament-based printing, this is still an awesome result. In a few years, we’ll be able to look back on [Daren]’s efforts and see where our full-color 3D printers came from – open source efforts to create the best hardware possible.
[Daren] has been working on this printer for a while, and he’s been uploading all his project updates to hackaday.io. You can check out the build log here.


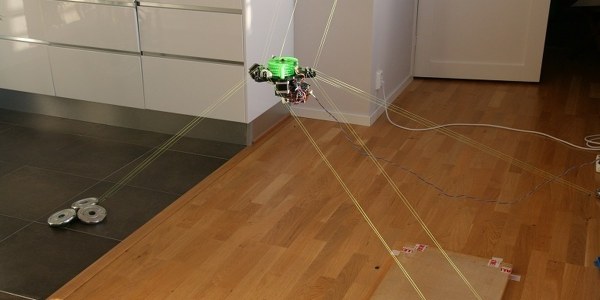
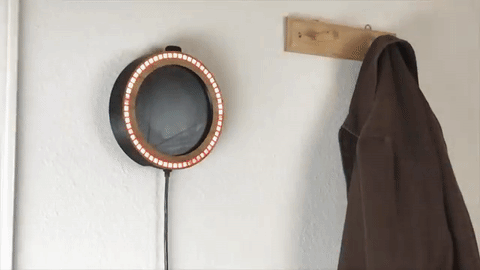
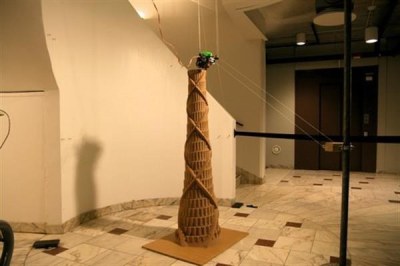 [Torbjørn Ludvigsen] is a physics major out of Umea University in Sweden, and built the Hangprinter for only $250 in parts. It follows the RepRap tradition of being