Over-Engineered Incandescent Numerical Display Shows Great Workmanship

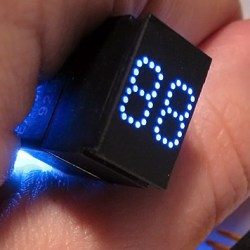
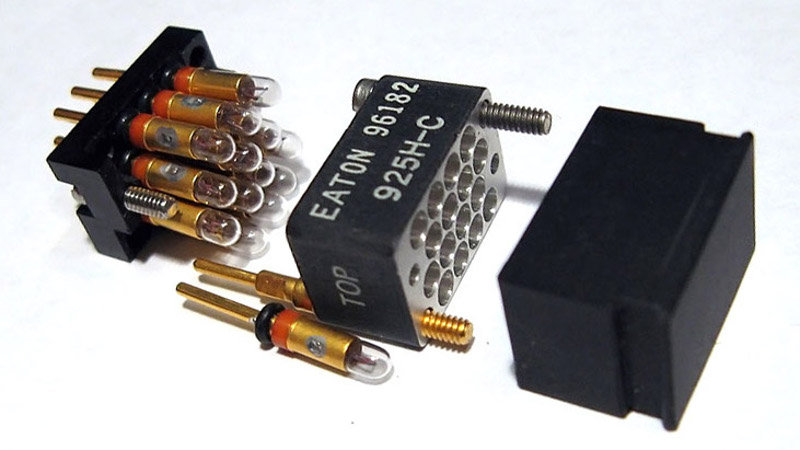
Back before LED technology came into its own, displays used incandescent bulbs. These vintage incandescent displays weren’t necessarily big; the Eaton 925H-C fiber optic display, for example, has numbers barely 7 mm tall and packs two of them into a tiny area. Of course, the depth of the display module itself is huge by today’s standards; those components have got to go somewhere, after all.

This particular device is, in [Industrial Alchemy]’s words, “[d]ripping with the spending excess that only a bottomless military budget can provide… the Eaton 925H-C may not be a practical device, but it is certainly an impressive one.”

The way the display works is this: individual incandescent bulbs light up fiber optic light guides, which terminate on the face of the display in small dots to make up a numerical display. With only fourteen bulbs, the dots we see here clearly aren’t individually addressable; the two digits are most likely broken up into seven segments each, with three dots making up each segment.

No expense seems spared in the design and manufacture of these displays. Even the incandescent lamps have individual shock absorbers.

The sheer amount of workmanship in these displays is remarkable, and their design makes them easy to retrofit with LED technology instead of replacing the tiny incandescent lamps. In a stark contrast to all of the machined aluminum and gold plated contacts seen here in the Eaton 925H-C, take a look at this Soviet-era seven-segment incandescent display whose construction is far less sophisticated, but shows off its own clever engineering. We’ve also seen more modern DIY takes on the concept, using LED light sources and cured UV resin light pipes to get that vintage look to the displays.

Handheld Farkle Really Sparkles

Farkle is a classic dice game that only requires 6 dice and a way to write down scores based on the numbers rolled. Even so, this type of game isn’t inherently portable — it would be fairly difficult to play on a road trip, for instance. [Sunyecz22] decided that Farkle would make an excellent electronic game and got to work designing his first PCB.

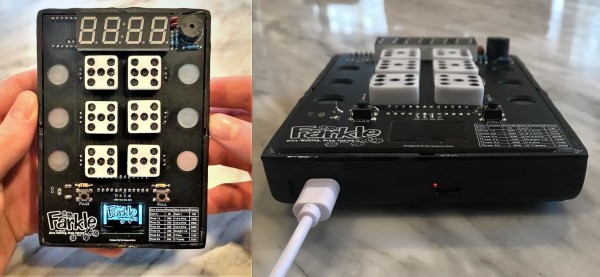
This little game has everything you could want from a splash screen introduction to a handy scoring guide on the silkscreen. After choosing the number of players, the first player rolls using the momentary button and the electronic dice light up to indicate what was rolled. As long as the player rolled at least one scoring die, they can take the points by selecting the appropriate die/dice with the capsense pads, and either pass or keep going. The current player’s score is shown on the 7-segment, and the totals for each player are on the OLED screen at the bottom.

The brains of the operation is an Arduino Pro Mini. It controls two MAX7219s that drive the 42 LEDs plus the 7-segment display. A game like this is all in the code, and lucky for us, [Sunyecz22] made it available. We love how gorgeous the glossy 3D printed enclosure looks — between the glossy finish and the curved back, it looks very comfortable to hold. In the future, [Sunyecz22] plans to make a one player versus the computer mode. Check out the demo and walk-through video after the break.

The capsense modules are a great touch, but some people want a little more tactility in their handheld games. We say bring on the toggle switches.

Continue reading “Handheld Farkle Really Sparkles”

Big Workshop Clock Is 3D Printing Done Right

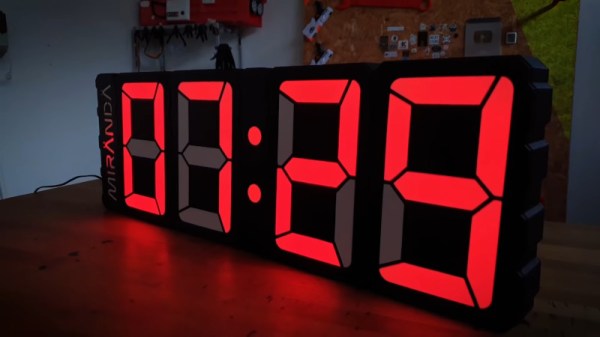
Time is something uniquely important to humans, and they remain the only creatures on the planet to build devices to regularly track its progress. [Ivan Miranda] is one such creature, and built a giant 7-segment clock for his workshop that really ties the room together.

The clock is a testament to [Ivan]’s design skills in the 3D printed space. Taking advantage of his large format printer, each segment consists of a front panel, large single-piece diffuser, LED carrier, and backing plate. There are plenty of nice touches, from the interlocking ridges between each digit, to integral printed arrows on the inside that guide installation of the LED strips. Fit and finish approaches the level of a commercial product, a reward for [Ivan]’s years of practice in the field.

Electronically, an ESP8266 runs the show, synchronizing the time over its in-built WiFi connection. Each segment contains 9 WS2812B LEDs, wired up in a single long strip that’s addressed by the microcontroller. This means that the segments can be lit up to any color of the rainbow, though [Ivan] is a man who best appreciates the look of classic red.

[Ivan]’s long been a proponent of big 3D-printed builds — his tank-tracked electric skateboard is a particularly good example. Video after the break.

Continue reading “Big Workshop Clock Is 3D Printing Done Right”

Palm-Sized Sixteen Segments Light The Way To Our Hearts

It’s no secret that we here at the Hackaday are suckers for cool display. LEDs, OLEDs, incandescent, nixie or neon, you name it and we want to see it flash. So it fills us with joy to discover a new way to build large, daisy-chainable 16-segment digits, and even more excited to learn how easy they are to fab and assemble.

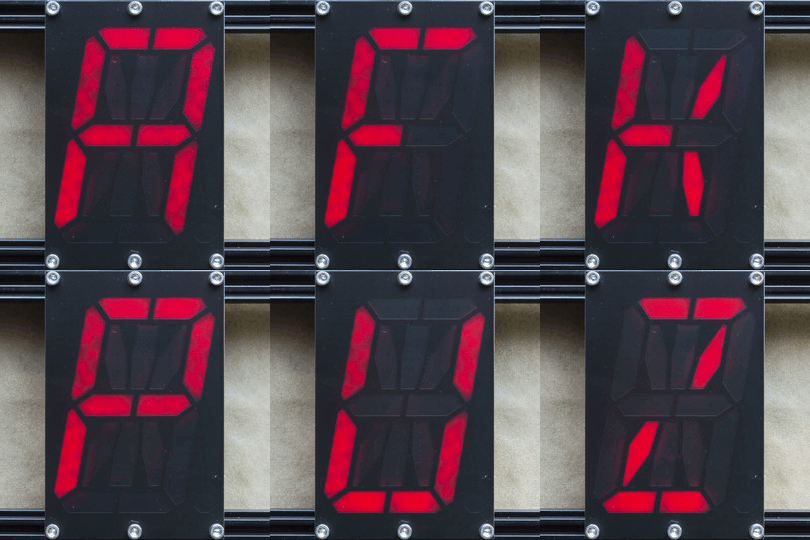
A cousin of the familiar 7 segment display, the 16 segment gives so many more possibilities (128% more possibilities to be exact) for digit display. To be specific, those extra segments unlock the ability to display upper and lowercase latin characters as well as scads of punctuation.

But where the character set is complex, the assembly is anything but thanks to a great design from [Kolibri] called klais-16. They’re available fully assembled if you want to jump straight to code, but thanks to thorough documentation (seriously, check this out) assembly is a snap.

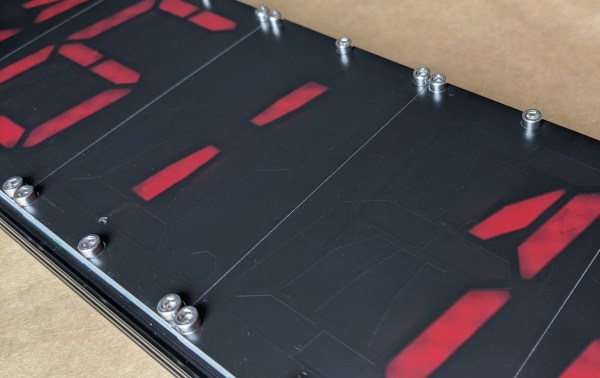
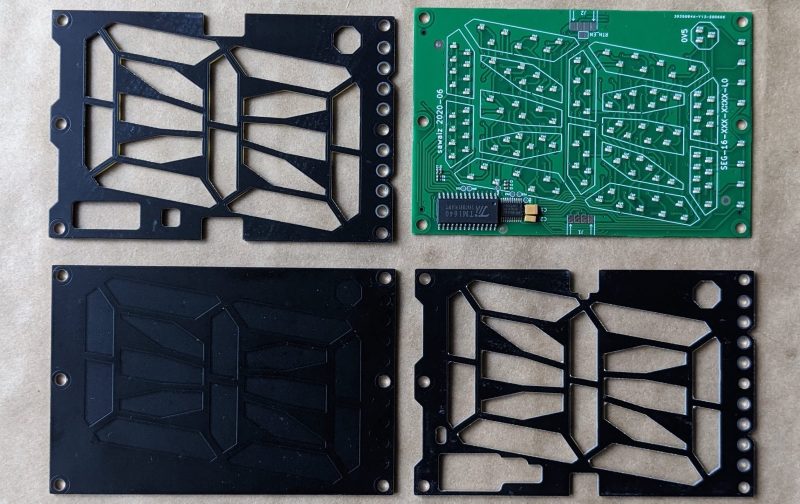
Each module is composed a very boring PCBA base layer which should be inexpensive from the usual sources, even when ordering one fully assembled. A stackup of three more PCBs are used for spacing and diffusion with plans for die-cut or injection mold layers if a larger production run ends up happening. Board dimensions for each character are 100 mm x 66.66 mm (about 4″ x 2.5″). Put together, each module can stand on its own or be easily daisy-chained together to make a longer single display.

Addressing all those bits with an elaborate, ugly control scheme would be a drag but fortunately the firmware for the onboard STM8 microcontroller exposes a nice boring serial interface which can be used without configuration to display strings. There’s even an example Windows Batch script!

Hackaday Podcast 078: Happy B-Day MP3, Eavesdropping On A Mars Probe, Shadowcasting 7-Segments, And A Spicy Commodore 64

Hackaday editors Elliot Williams and Mike Szczys go down the rabbit hole of hacky hacks. A talented group of radio amateurs have been recording and decoding the messages from Tianwen-1, the Mars probe launched by the Chinese National Space Administration on July 23rd. We don’t know exactly how magnets work, but know they do a great job of protecting your plasma cutter. You can’t beat the retro-chic look of a Commodore 64’s menu system, even if it’s tasked with something mundane like running a meat smoker. And take a walk with us down MP3’s memory lane.

Take a look at the links below if you want to follow along, and as always, tell us what you think about this episode in the comments!

Take a look at the links below if you want to follow along, and as always, tell us what you think about this episode in the comments!

Direct download (60 MB or so.)

Continue reading “Hackaday Podcast 078: Happy B-Day MP3, Eavesdropping On A Mars Probe, Shadowcasting 7-Segments, And A Spicy Commodore 64”

7-Segment Display Is No Small Feat

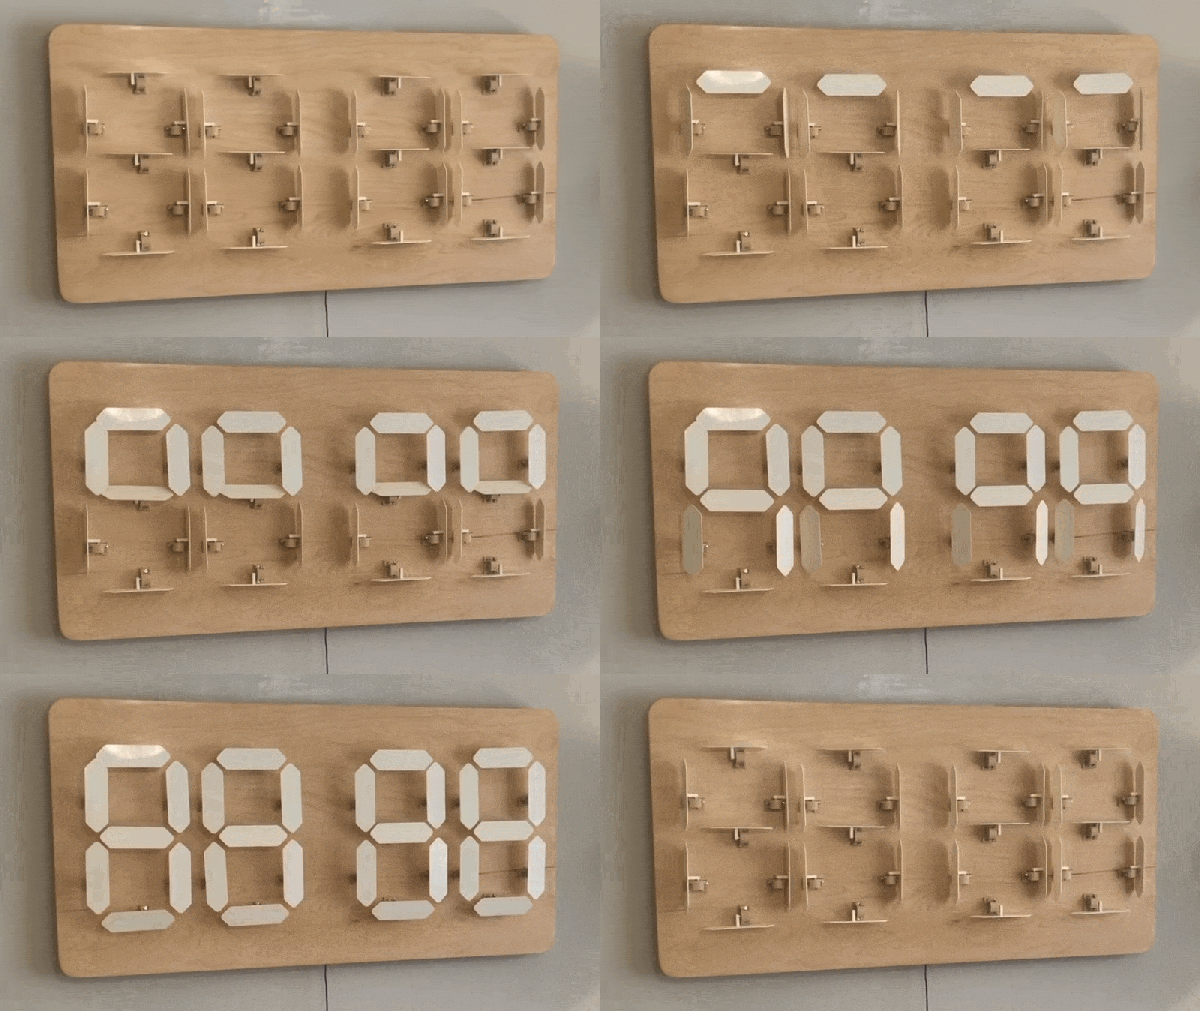
The 7-segment display certainly is a popular build, and surprisingly people still come up with new takes on this over a hundred-year-old way to represent numbers. This time [jegatheesan.soundarapandian] is making it big by building a giant 7 feet tall 7-segment display.

Apparently, the plan is to build a giant clock so he started off by making the first digit. To keep it cheap and simple the segments are made from corrugated cardboard which was carefully cut, folded, and then glued together. The light-diffusing lid is simply made from white paper. He used the ubiquitous WS2812B strips to light up the segments, but things turned out to be more complicated as he was not able to get enough strips to fill up all the segments. This forced him to cut up the strip into individual pieces and space them out by reconnecting the LEDs with wires. Cutting, stripping, and soldering 186 wires took him almost 10 hours. An Arduino Uno serves as the brains of the device and there is a nice Android app to control it via Bluetooth.

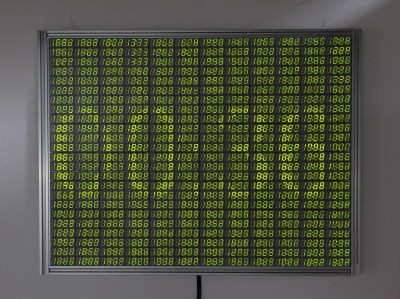
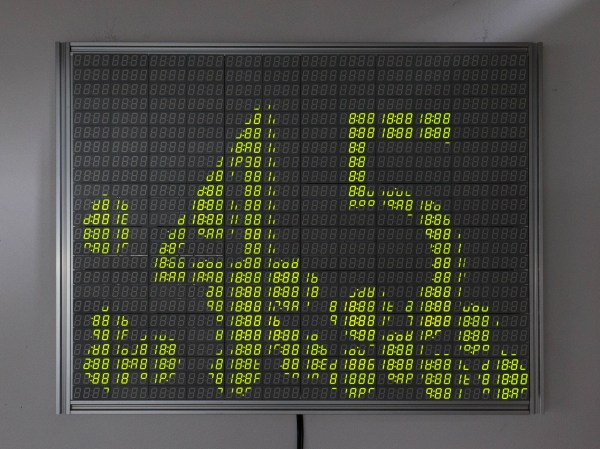
We are excited to see the complete clock once it is finished. In the meantime let us remember other epic displays like that made from 144 individual 7-segment displays or the giant LED video wall using 1200 ping pong balls.

Video after the break.

Continue reading “7-Segment Display Is No Small Feat”

This Freezer Failure Alarm Keeps Your Spoils Unspoiled

Deep freezers are a great thing to have, especially when the world gets apocalyptic. Of course, freezers are only good when they’re operating properly. And since they’re usually chillin’ out of sight and full of precious goods, keeping an eye on them is important.

When [Adam] started looking at commercial freezer alarms, he found that most of them are a joke. A bunch are battery-powered, and many people complain that they’re too quiet to do any good. And you’d best hope that the freezer fails while you’re home and awake, because they just stop sounding the alarm after a certain amount of time, probably to save battery.

If you want something done right, you have to do it yourself. [Adam]’s homemade freezer failure alarm is a cheap and open solution that ticks all the boxen. It runs on mains power and uses a 100dB piezo buzzer for ear-splitting effectiveness to alert [Adam] whenever the freezer is at 32°F/0°C or above.

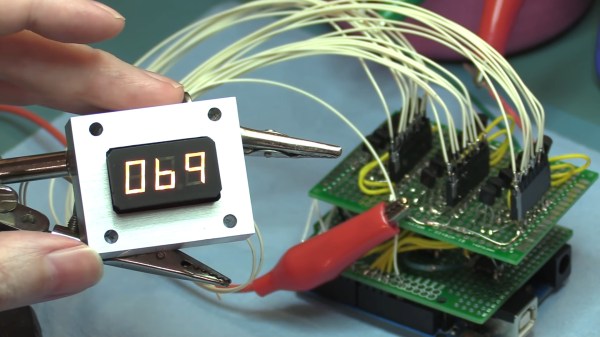
If the Arduino loses sight of the DHT22 temperature sensor inside the freezer, then the alarm sounds continuously. And if [Adam] is ever curious about the temperature in the freezer, it’s right there on the 7-segment. Pretty elegant if you ask us. We’ve got the demo video thawing after the break, but you might wanna turn your sound down a lot.

You could assume that the freezer is freezing as long as it has power. In that case, just use a 555.

Continue reading “This Freezer Failure Alarm Keeps Your Spoils Unspoiled”