We’ve all seen those smooth panning shots, which combined with some public domain beats, are a hallmark of the modern YouTube tech video. Recreating that style in your own productions is as easy as pointing your browser to Amazon and picking up a motorized camera slider, so long as you don’t mind parting with a few hundred bucks, anyway. But [Paweł Spychalski] had a better idea. He decided to build his own camera slider and make it an open source project so others could spin up their own versions.
 His design uses many components that have become popular and affordable thanks to the desktop 3D printer explosion, such as 2020 aluminum extrusion, LM8UU linear bearings, an 8 mm lead screw, and a NEMA 17 stepper motor. In fact, if you’ve got a broken 3D printer that you don’t know what to do with, stripping it for parts would get you a long way towards completing the BOM for this project.
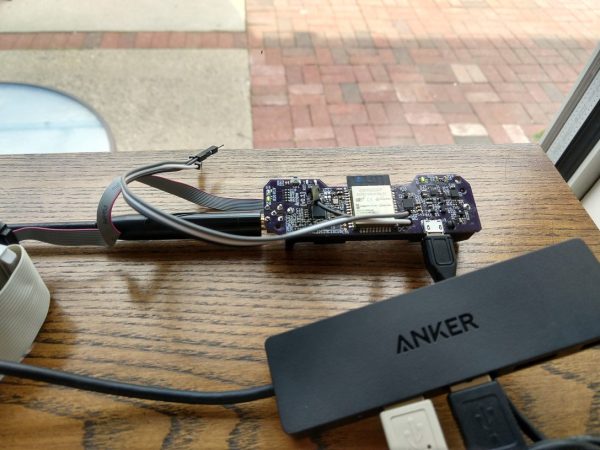
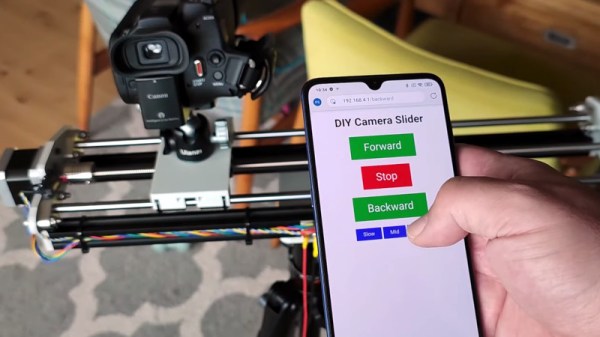
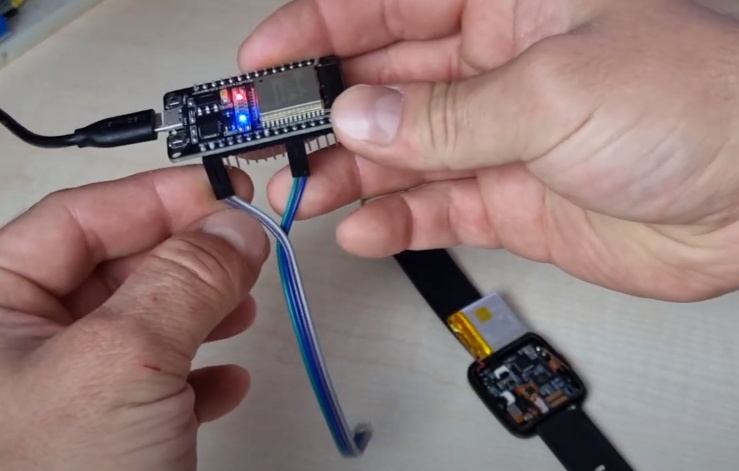
To control the slider, [Paweł] is using an ESP32 and TMC2209 “StepStick” driver connected to an OLED display and a few buttons. As designed, a smartphone connected to a simple web page hosted by the ESP32 is the primary method of controlling the camera, but the buttons and display on the slider itself gives you a physical backup should you need it.
If you need something a bit more advanced than a linear slider, we’ve seen some impressive DIY motion rigs that can spin the camera around the target and produce some very professional looking shots.
Continue reading “Motorized Camera Slider Gives Your Shots Style”

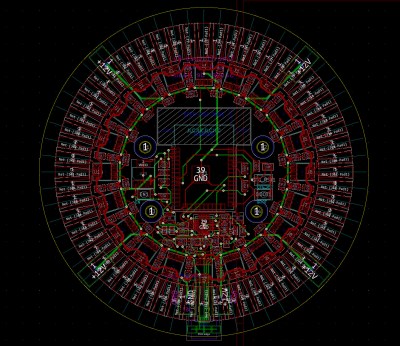 WS2811 LED controllers, which we’re so accustomed to seeing alongside RGB LEDs that they almost feel strange to see here, provide the 12 volts required for each filament and make individual addressing a breeze.