There’s going to be a new Nintendo console for Christmas! It’s the NES Classic Edition. It looks like a minified NES, with weird connectors that look like the connector for the Wii Nunchuck. There are no other details.
A site called “Motherboard” reports assembling a computer is too hard and a ‘nerve-wrecking [sic]’ process. Tip of the stovepipe to the Totalbiscuit.
When I was in elementary school, the playground had a twenty foot tall metal slide that faced South. During my time there, at least three of my classmates fell off it, and I distinctly remember the school nurse’s aid running past me on the playground with a wheelchair. There wasn’t soft mulch or the weird rubber granules under this slide – just hard, compacted dirt. This slide was awesome, even if it was torn down when I was in third grade. [Brandon Hart]’s kid’s won’t look back fondly on their youth with experiences like these; he built a water-cooled slide in his backyard. He’s getting an 80°F ΔT with a trip to Ace Hardware, probably $20 in fittings, and a drill. Neat.
This is probably better suited for an ‘Ask Hackaday’ column, but [Arsenijs] has run into a bit of a problem with his Raspberry Pi Project. He’s trying to use a planarized kernel module to obfuscate the SPI bus, but he can’t do that because of a oblivated drumble pin. He could, of course, deenumerate several of the GISP modules, but this would cause a buffer underflow and eventually wreck the entire cloudstack. I told him he should use Corrosion, but he seems dead set on his Hokey implementation. If anyone has any ideas, get the glamphs and put it on the grumbo.
The Owon SDS7102 oscilloscope is a small, cheap, two-channel scope that is impressive for its price but noisier than you would expect. This scope has been thoroughly reverse engineered, and now Linux is running on this scope. This Linux scope has a working VGA display, USB host, USB device, Flash, and working Ethernet. The entire analog front end has been reversed engineered, and somehow this is now the most open oscilloscope you can buy.
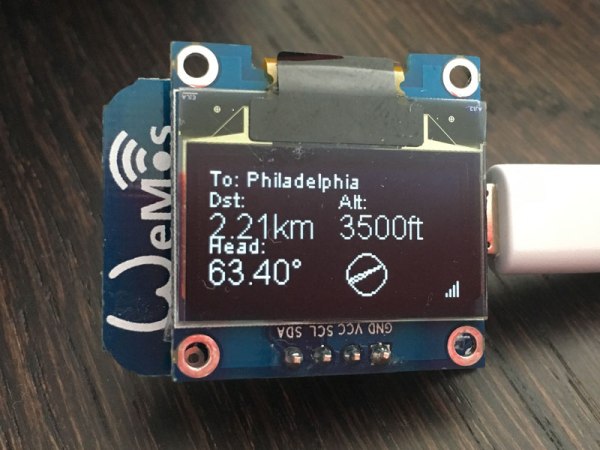
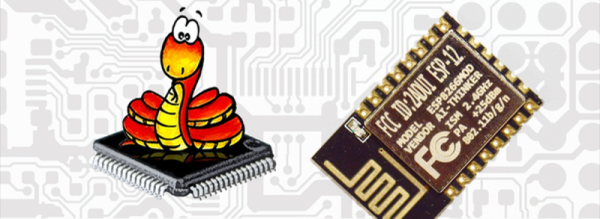
The ESP32 is Espressif’s followup to their very popular ESP8266 WiFi module. The ESP32 will be much more powerful and include Bluetooth when it’s released in August. Until then, [Pighixxx] has the complete pinout for the ESP32.