Teleknitting, the brainchild of Moscow artist [vtol], is an interesting project. On one hand, it doesn’t knit anything that is useful in a traditional sense, but on the other, it attempts the complex task of deconstructing broadcasted media into a simpler form of information transmission.
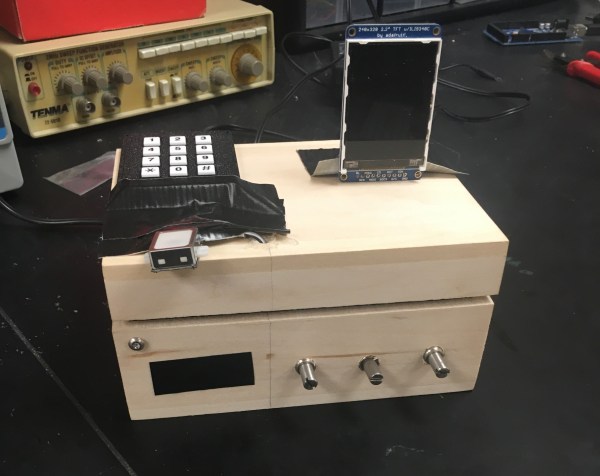
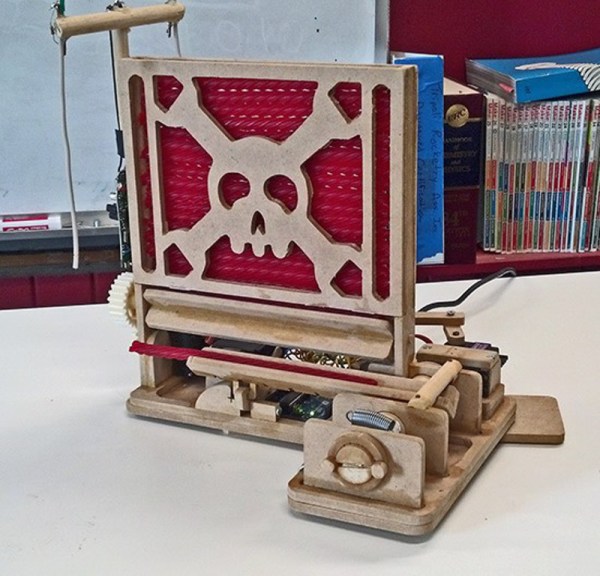
Teleknitting’s three main components are the processing and display block — made up of the antenna, Android tablet, and speaker — the dyeing machine with its ink, sponges, actuators, and Arduino Uno, and the rotating platform for the sacrificial object. A program running on the tablet analyzes the received signal and — as displayed on its screen — gradually halves the number of pixels in the image until there is only one left with a basic representation of the picture’s colour. From there, thread passes over five sponges which dye it the appropriate colour, with an armature that responds to the broadcast’s volume directing where the thread will bind the object.
Continue reading “Turning Television Into A Simple Tapestry”