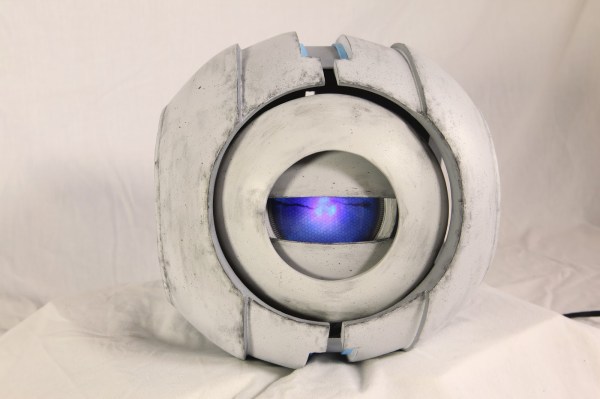
It’s been over 4 years since Portal 2 launched, but Wheatley, the AI character with a British accent, remains a captivating character. [Evie Bee] built a Wheatley replica complete with sound, movement, and one glowing eye.
The body of Wheatley is made out of blue insulation foam, also called XPS foam, laminated together with UHU Polyurethane glue. This formed a sphere, which was then cut into a detailed body. Papier mache clay was used to strengthen the thin foam.
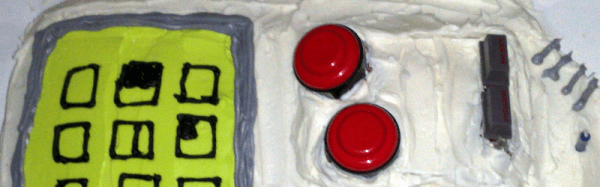
The electronics for this build provide light, motion, and sound. The eye is moved by a total of 3 Arduino controlled servos: two for the movement of the eye, and one to allow it to open and close. Movement is controlled by two joysticks. Sound is provided by the Adafruit Sound Board, which connects to a speaker and a Velleman Sound to Light Kit. This kit controls the LEDs that light the eye, making it react to the voice of Wheatley.
You can watch this Wheatley rant at you after the break. Of course if you’re going to have a Wheatley you need a GLaDOS potato as well.
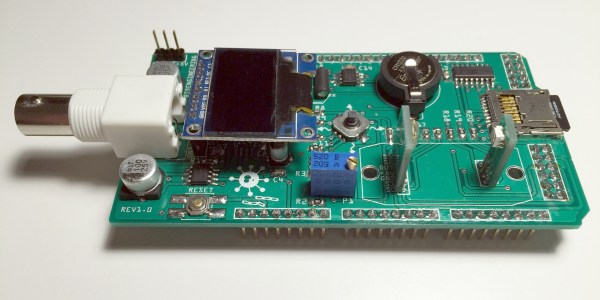
 Taking the form of an Arduino mega-shield that supports a pH meter, a spectrophotometer, and a PID-controlled hot plate, [M. Bindhammer]’s design has a nice cross-section of the instruments needed to start biohacking in your basement. Since the shield piggybacks on an Arduino, all the data can be logged, and decisions can be made based on the data as it is collected. One example is changing the temperature of the hot plate when a certain pH is reached. Not having to babysit your experiments could be a huge boon to the basement biohacker.
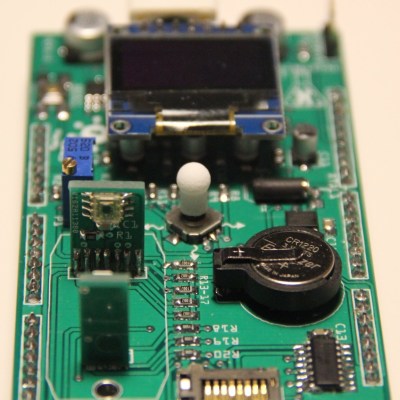