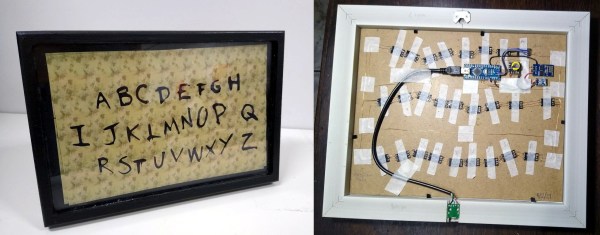
Will Netflix’s nostalgic hit Stranger Things be back for a fourth series anytime soon? We could pull out a Ouija board and ask the spirits, but we’d much rather ask closer to the source, i.e. a spirit in the upside down. And you know that the best way to do that is with LEDs — one for each letter of the alphabet so the spirit can spell out their messages.
 Although contact with the Demogorgon’s world isn’t likely with [danjovic]’s open-source Stranger Things board, you are guaranteed to get the time spelled out for you every minute, as in, ‘it’s twenty-five (or six) to four’. And if you want to freak out your unwitting friends, you can covertly send messages to it from your phone.
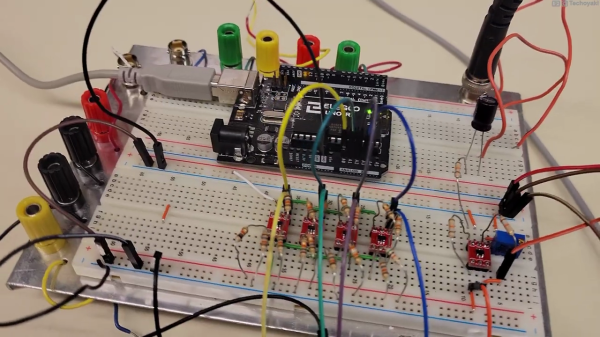
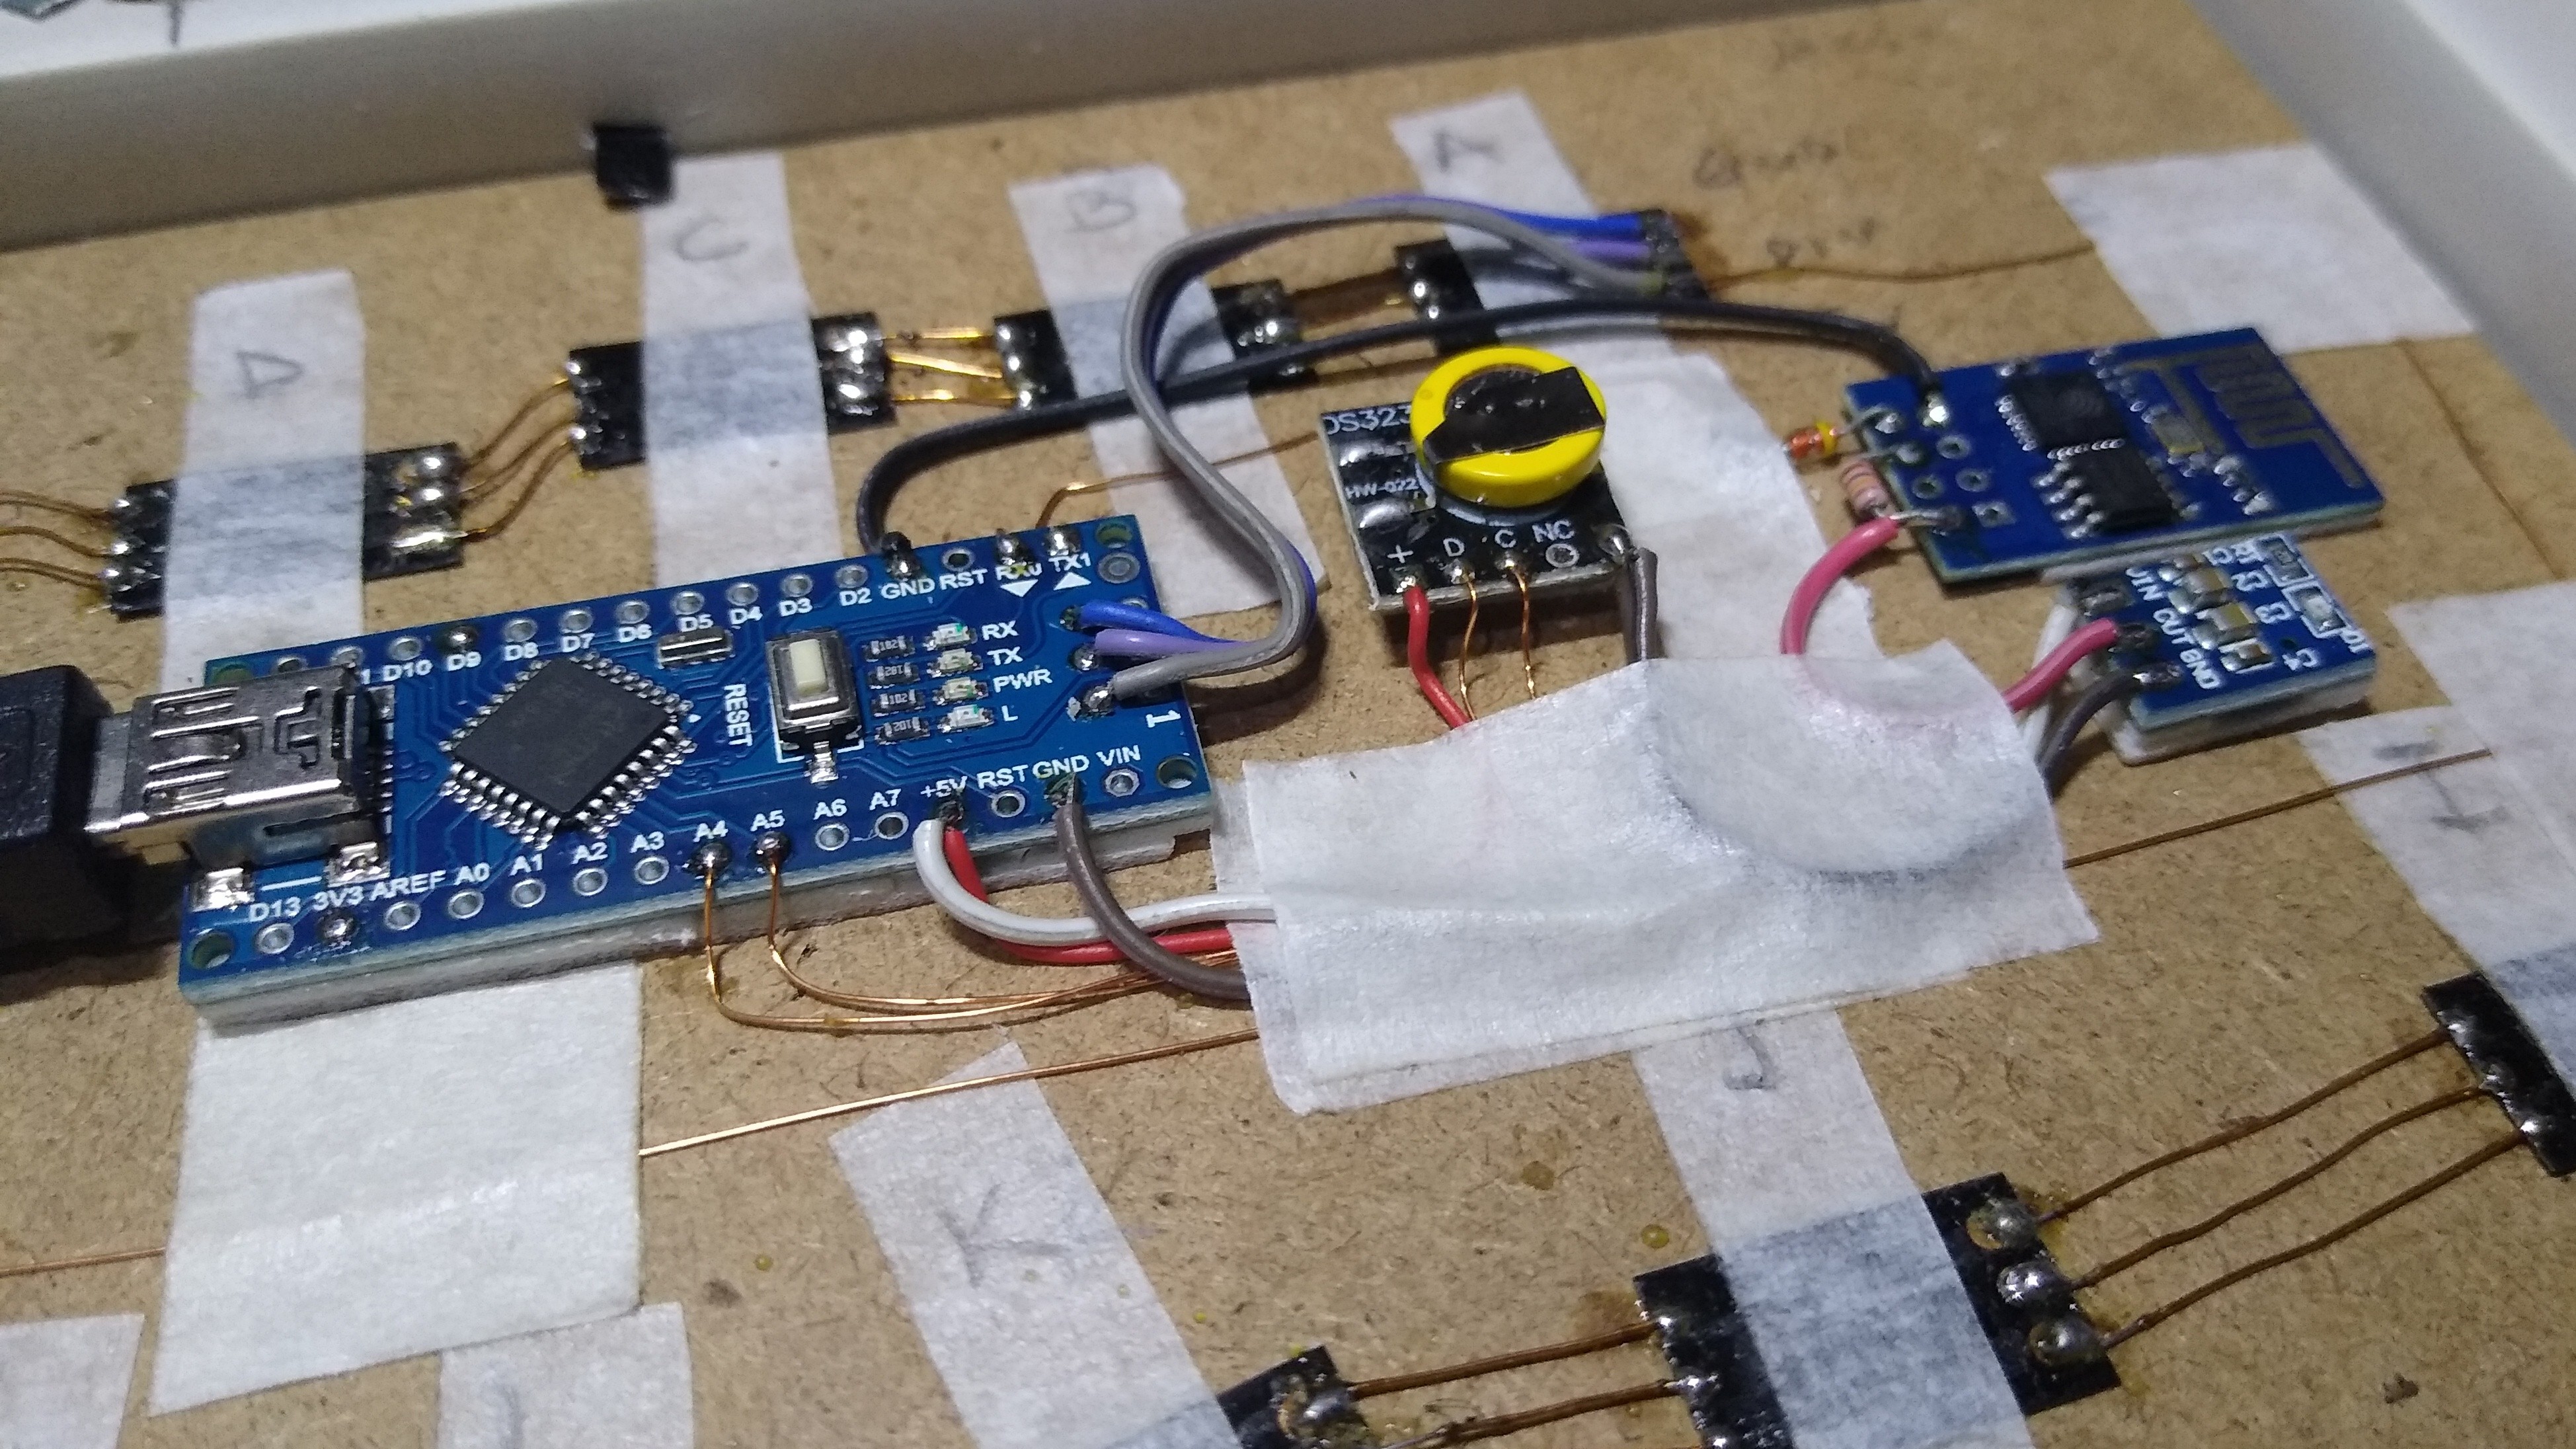
There are two versions now — the original desktop version, and one that hangs on the wall and uses a high-quality photo print for the background. Both use an ESP-01 and an Arduino to help drive the 26 RGB LEDs, and use a DS2321 real-time clock for timing. We love the enameled wiring job on the wall-mount version, but the coolest part has to be dual language support for English and Brazilian Portuguese. You can check out demos of both after the break.
We’ve seen many a word clock around here, but this is probably one of the few that’s dripping with pop culture. If it’s stunning modernism you want, take a look at this painstakingly-constructed beauty.
Continue reading “Stranger Things Message Board Passes The Time By Spelling It Out”