There’s a reason why bowling lanes have bumpers and golf games have mulligans. Whether you’re learning a new game or sport, or have known for years how to play but still stink at it, everyone can use some help chasing that win. You’ve heard of the can’t-miss dart board and no-brick basketball goal. Well, here comes the robot-assisted game for the rest of us: cornhole.
The game itself deceptively simple-looking — just underhand throw a square wrist rest into a hole near the top of a slightly angled box. You even get a point for landing anywhere on the box! Three points if you make it in the cornhole. In practice, the game not that easy, though, especially if you’ve been drinking (and drinking is encouraged). But hey, it’s safer than horseshoes or lawn darts.
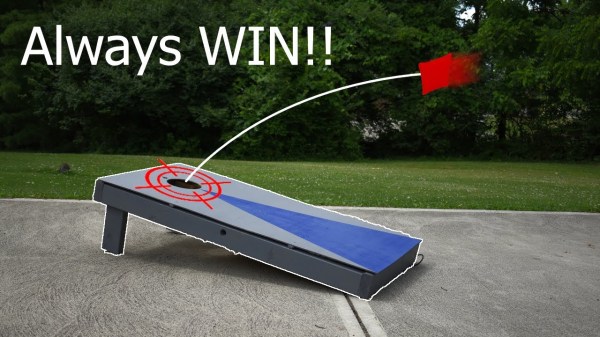
 [Michael Rechtin] loves the game but isn’t all that great at it, so he built a robotic version that tracks the incoming bag and moves the hole to help catch it. A web cam mounted just behind the hole takes a ton of pictures and analyzes the frames for changes.
The web cam sends the bag positions it sees along with its predictions to an Arduino, which decides how it will move a pair of motors in response. Down in the cornhole there’s a pair of drawer sliders that act as the lid’s x/y gantry.
We love how low-tech this is compared to some of the other ways it could be done, even though it occasionally messes up. That’s okay — it makes the game more interesting that way. We think you should get 2 points if it lands halfway in the hole. Aim past the break to check out the build video.
Seems like there’s a robotic-assisted piece of sporting equipment for everything these days. If cornhole ain’t your thing, how’d you like to take a couple strokes off your golf game?
Continue reading “Robotic Cornhole Board Does The Electric Slide”