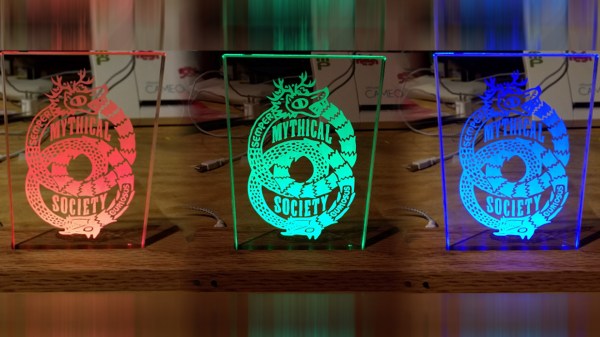
The chances are you’ve seen the myriad cheap copyright-infringing edge-lit acrylic displays from Chinese suppliers everywhere on the internet, and indeed, etching acrylic with a modest CNC laser cutter has become easily viable to a lot of us in more recent years. However, if you want to kick things up a notch, [Michael Vieau] shows us how to build a plaque from scratch using not acrylic, but rather etched glass to make the finished product look that much more professional.
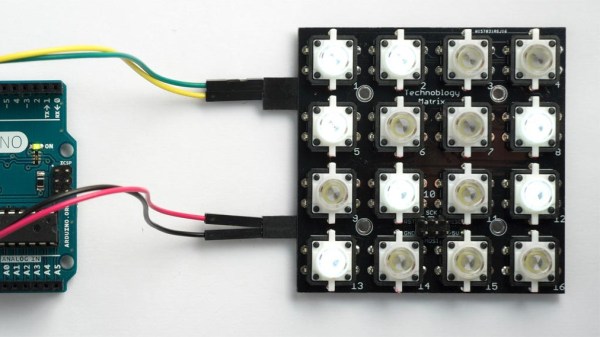
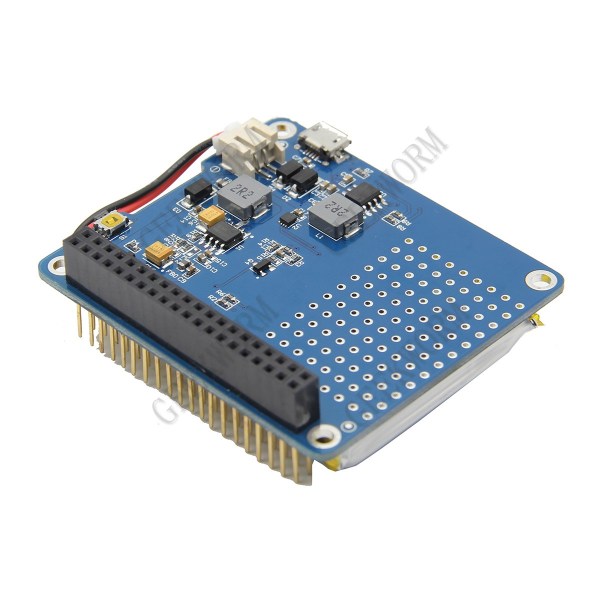
There are a few different steps to this build and each one is beautifully detailed for anyone who wants to follow along. First, the electronics driving the WS2812 lights are designed from scratch based on an ATtiny microcontroller on a PCB designed in Fritzing, and the sources necessary for replicating those at home are all available on [Michael’s] GitHub. He even notes how he custom-built a pogo-pin header at the end of the USBASP programmer to be able to easily use the same ICSP pinout in future projects.
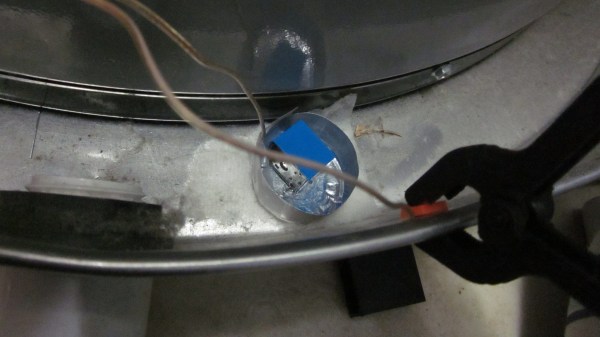
But since a lot of you are likely all too familiar with the ins and outs of your basic Arduino projects, you’ll be more interested in the next steps, detailing how he milled the solid wood base and etched the glass that fits onto it. The process is actually surprisingly simple, all you need is to mask out the design you want through the use of a vinyl cutter and then pouring some etching solution over it. [Michael] recommends double-etching the design for a crisper look, and putting everything together is just as simple with his fastener of choice: hot glue.
Much as there was an age when Nixie displays adorned every piece of equipment, it seems like ease of manufacture is veering us towards an age of edge-lit displays. From word clocks to pendants and badges, we’re delighted to see this style of decoration emerge, including in replacing Nixies themselves!


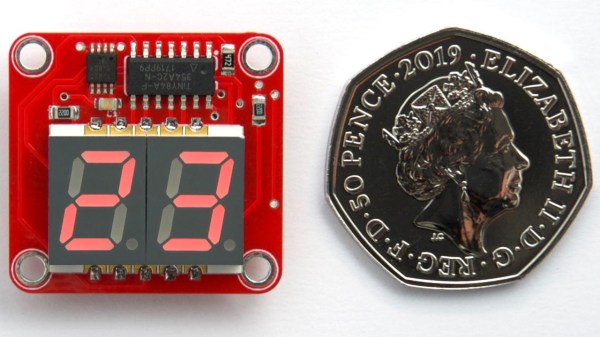
 You may think that a display that flashes only once every 24 seconds might be difficult to actually read in practice, and you’d be right. [David] found that it was indeed impractical to watch the display, waiting an unknown amount of time to read some briefly-flashed surprise numbers. To solve this problem, the decimal points flash shortly before the temperature appears. This countdown alerts the viewer to an incoming display, at the cost of a virtually negligible increase to the current consumption.