You have to be of a certain vintage to remember doing research on microfilm and microfiche. Before the age of mass digitization of public records, periodicals, and other obscure bits of history, dead-tree records were optically condensed onto fine-grain film, either in roll form or as flat sheets, which were later enlarged and displayed on a specialized reader. This greatly reduced the storage space needed for documents, but it ended up being a technological dead-end once the computer age rolled around.
This was the problem [CuriousMarc] recently bumped into — a treasure trove of Hewlett-Packard component information on microfiche, but no reader for the diminutive datasheets. So naturally, he built his own microfiche reader. In a stroke of good luck, he had been gifted a low-cost digital microscope that seemed perfect for the job. The scope, with an HD camera and 5″ LCD screen, was geared more toward reflective than transmissive use, though, so [Marc] had trouble getting a decent picture of the microfiches, even with a white paper backing.
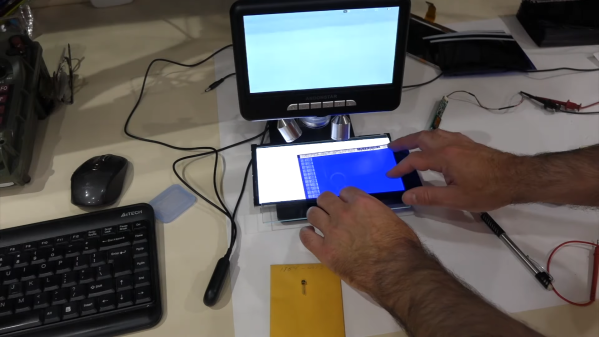
Version 2.0 used a cast-off backlight, harvested from a defunct DVD player screen, as a sort of light box for the stage of the microscope. It was just about the perfect size for the microfiches, and the microscope was able to blow up the tiny characters as well as any dedicated microfiche reader could, at a fraction of the price. Check out the video below for details on the build, as well as what [Marc] learned from the data sheets about his jackpot of HP parts.
With the wealth of data stored on microforms, we’re surprised that we haven’t seen any readers like this before. We have talked about microscopic wartime mail, though.
Continue reading “This Expedient Microfiche Reader Illuminates Retro Datasheets”