When you see something made from metal that seems like it would be impossible to manufacture, chances are good it was made with some variety of electrical discharge machining. EDM is the method of choice for hard-to-machine metals, high aspect ratio hole drilling, and precise surface finishes that let mating parts slip together with almost zero clearance. The trouble is, EDM is a bit fussy, and as a result hasn’t made many inroads to the home shop.
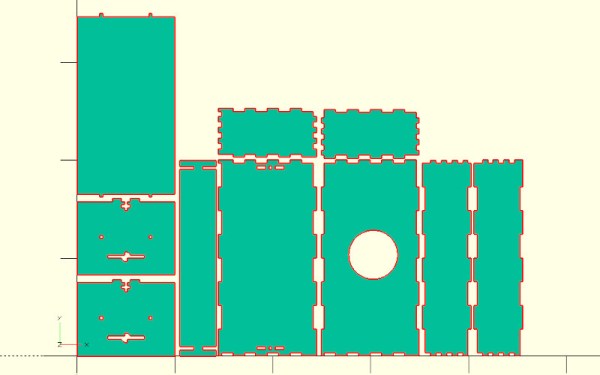
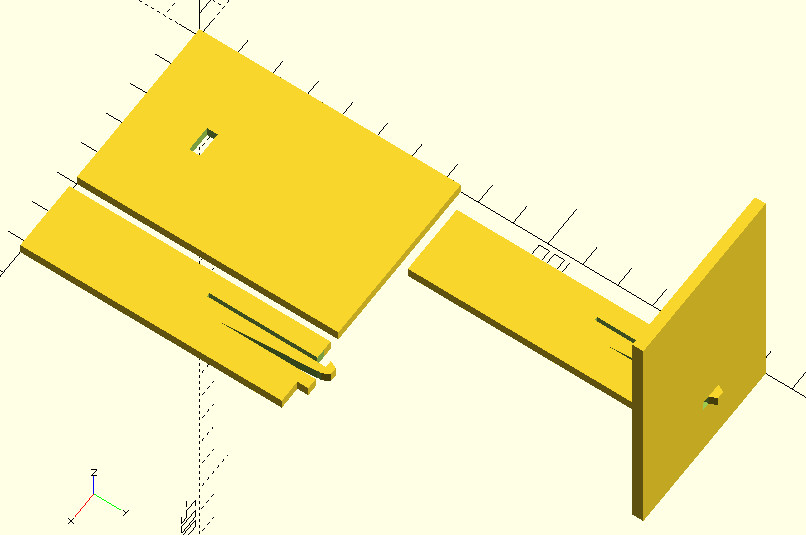
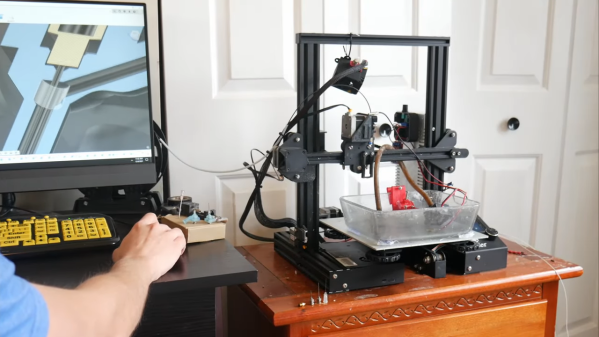
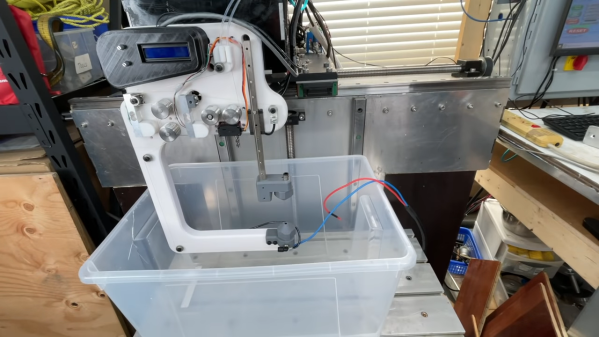
[Action BOX] aims to change that with a DIY wire EDM machine. In wire EDM, a fine brass wire is used as an electrode to slowly erode metal in a dielectric bath. The wire is consumable, and has to constantly move from a supply spool through the workpiece and onto a takeup spool. Most of the build shown in the video below is concerned with the wire-handling mechanism, which is prototyped from 3D-printed parts and a heck of a lot of rollers and bearings. Maintaining the proper tension on the wire is critical, so a servo-controlled brake is fitted to the drivetrain, which itself is powered by a closed-loop stepper. Tension is measured by a pair of strain gauges and Arduinos, which control the position of the shaft brake servo and the speed of the motor on the takeup spool.
Unfortunately, in testing this setup proved to live up to EDM’s fussy reputation. The brass wire kept breaking as soon as cutting started, and [Action BOX] never made any actual cuts. There’s certainly promise, though, and we’re looking forward to developments. For more on EDM theory, check out [Ben Krasnow]’s look at EDM hole-drilling.
Continue reading “Bringing The Power Of EDM To The Home Shop”