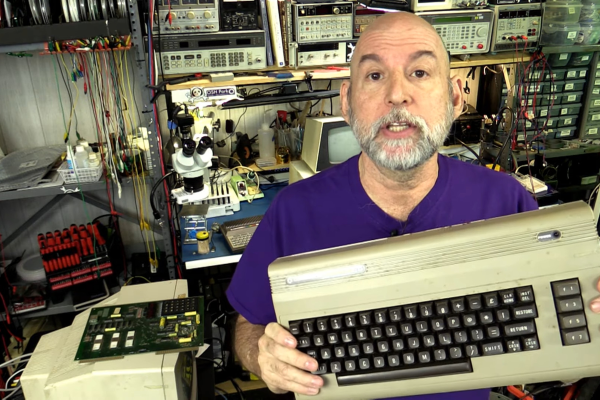
The Commodore 64 remains one of the most influential of the 8-bit home computers four decades after its launch, so not surprisingly there is a huge enthusiast community surrounding it. With so many produced over the years it was available one might think that there would be no shortage of surviving specimens, but sadly time and component failure have taken their toll and the classic micro is not always the most reliable kid on the block. Thus a cottage industry has sprung up supplying C64 parts, leading [The Retro Shack] to have a go at making a new one entirely from scratch.
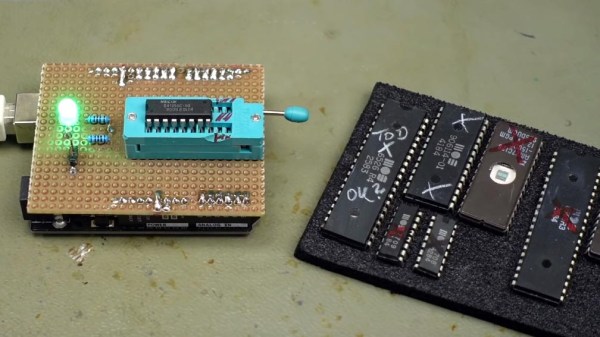
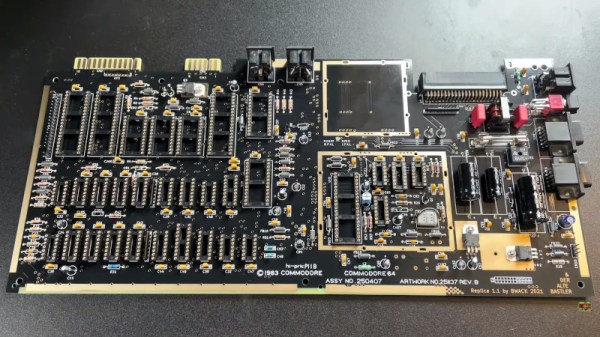
As you can see in the video below the break it’s not quite an entirely new ’64, as parts including some of the custom silicon come from failed boards. The PCB is a modern recreation of the original and the SID sound chip is an ARMsid though, and most of the parts come from a handy bagged-up kit that makes assembling the BoM much easier. Instead of the big silver box of the original RF modulator is a modern composite board, and there are a few issues with minor connector part differences.
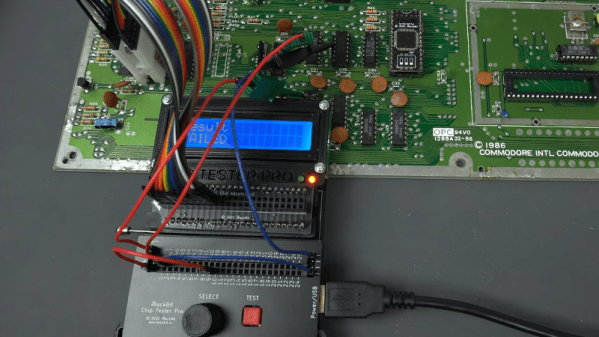
Assembly is simply a very long through-hole soldering process, and once he’d completed it there was the expected refusal to work. We’ve all been there, and eventually he traced it to an incorrectly fitted chip. If you think you’ve seen a few brand new C64s here before you’d be correct, one of them even used LEGO for those elusive keycaps.