Seven-segment LED displays have been around forever, it seems, and the design is pretty optimized by now. Off-the-shelf units are readily available in all sorts of sizes and colors, but if you want a really big display, you might have to roll your own. Scaling up the size doesn’t necessarily mean you have to scale up the complexity, though, if this light-pipeless jumbo seven-segment LED display is any indication.
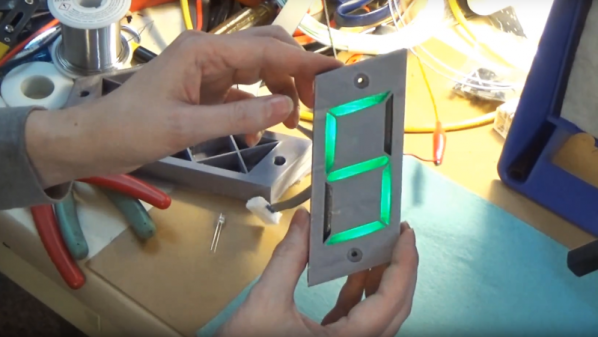
It’s clear that [Fran Blanche] has a thing for collecting and building oddball numeric displays, like this cathode ray tube Nixie knockoff or her Apollo DSKY electroluminescent display. Her plus-size seven-segment display is far less complicated than either of those, and that’s by design; [Fran] wanted something that was 3D-printable as a single part, rather than an assembly with light pipes and diffusers. To that end, the display is just a pair of X-shaped dividers stacked on top of each other behind the display’s face. They dividers form six triangular compartments and a diamond shaped one, with each compartment opening into a segment-shaped window. One LED goes in each triangular compartment, while the double-sized diamond space gets two. That’s it — the LEDs light up the inside of each compartment to turn on the appropriate segments. Watch it in action below.
The display still needs some tweaking, but it’s big and bright and has a large acceptance angle. What’s more, it’s scalable — imagine a display the size of a sheet of plywood using LED light bulbs. We’re looking forward to [Fran]’s improvements and her next display project, which appears to use hot glue as a light pipe.
Continue reading “This Big, Bright Seven-Segment Display Is 3D-Printable”