Vacuum forming is a handy thing to be able to do, and [3DSage] demonstrates how to do a bare-bones system that can form anything smaller than a dinner plate with little more than a 3D printed fitting to a vacuum cleaner, a heat gun, and a trip to the dollar store.
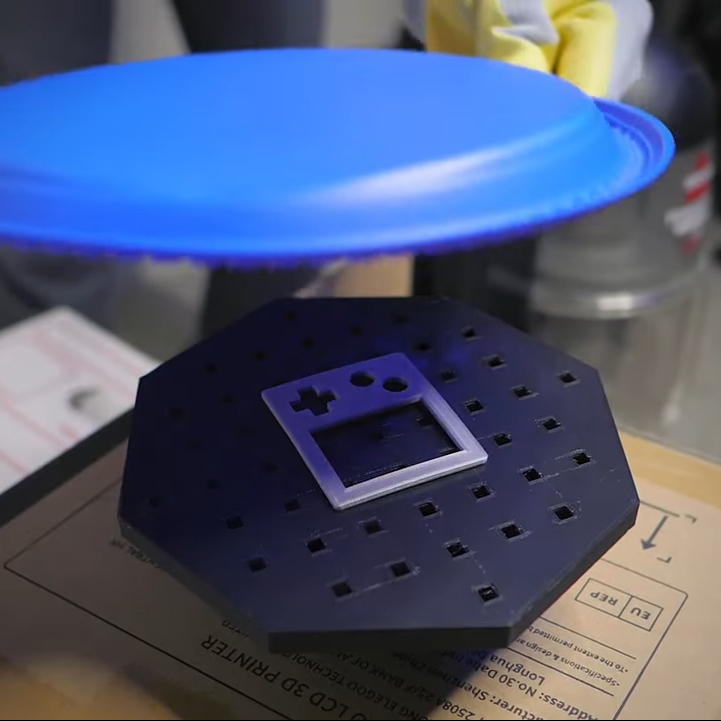
The 3D printed piece is a perforated table that connects to a vacuum cleaner hose, and [3DSage] mentions elsewhere that he tried a few different designs and this one worked the best. A cardboard box makes an expedient stand. The object being molded goes on the table, and when the vacuum is turned on, air gets sucked down into the holes.
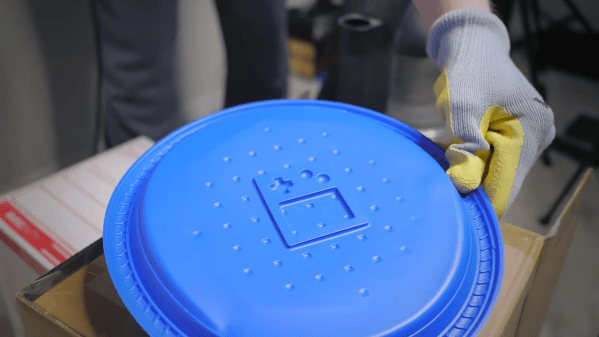
As for the thermoforming itself, all that takes is some cheap plastic plates and a heat gun. Heat the plastic until it begins to droop, then slap it down onto the vacuum table and watch the magic happen. Using plastic plates like this is brilliant. Not only are they economical, but their rim serves as a built-in handle and helps support the sagging plastic.
Thermoforming plastic on a 3D-printed vacuum table and using 3D-printed molds definitely isn’t a system that will be cranking parts out all day long, but as long as one allows time for everything to cool off in between activations, it’ll get the job done. Nylon will hold up best but even PLA can be serviceable.
Watch it in action in the video embedded below. The video is actually about [3DSage] making adorable Game Boy themed s’mores, but here’s a link to the exact moment the vacuum forming part happens.
Continue reading “Bare Bones Vacuum Forming, Just Add Plastic Plates”