In-Band Signaling: Dual-Tone Multifrequency Dialing

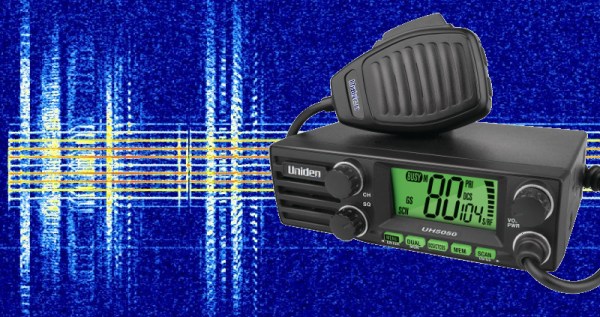
One late night many decades ago, I chanced upon a technical description of the Touch-Tone system. The book I was reading had an explanation of how each key on a telephone sends a combination of two tones down the wire, and what’s more, it listed the seven audio frequencies needed for the standard 12-key dial pad. I gazed over at my Commodore 64, and inspiration hit — if I can use two of the C64’s three audio channels to generate the dual tones, I bet I can dial the phone! I sprang out of bed and started pecking out a Basic program, and in the wee hours I finally had it generating the recognizable Touch-Tones of my girlfriend’s phone number. I held the mouthpiece of my phone handset up to the speaker of my monitor, started the program, and put the receiver to my ear to hear her phone ringing! Her parents were none too impressed with my accomplishment since it came at 4:00 AM, but I was pretty jazzed about it.

Since that fateful night I’ve always wondered about how the Touch-Tone system worked, and in delving into the topic I discovered that it’s part of a much broader field of control technology called in-band signaling, or the use of audible or sub-audible signals to control an audio or video transmission. It’s pretty interesting stuff, even when it’s not used to inadvertently prank call someone in the middle of the night. Continue reading “In-Band Signaling: Dual-Tone Multifrequency Dialing”

3DP Enigma Keyboard Improves On The Original

[Asciimation], who previously created an Enigma Machine wristwatch, decided to go all-in and make a 3D-printed Enigma machine. Not a perfect replica, but rather an improved version that works the same but doesn’t concern itself with historical accuracy. For instance, the current step involves building the keyboard. Rather than trying to re-create the spring-and-pin method of the original, he simply swapped in readily available, double-throw micro switches.

This project has a tremendous amount of fascinating detail. [Asciimation] did his research and it shows; he downloaded blueprints of the original and used hacked digital calipers to precisely measure each rotor’s teeth, so that it could be re-created for printing. He even re-created the Enigma font to ensure that his printed rotor wheels would look right–though in doing so he discovered that the original machine used one typeface for the keyboard, one for the wheels, and one for the indicator lamps.

We previously published [Asciimation]’s Enigma machine wristwatch project, where he simulated the functionality of an Enigma with an Arduino.

Continue reading “3DP Enigma Keyboard Improves On The Original”

Helix Display Brings Snake Into Three Dimensions

Any time anyone finds a cool way to display in 3D — is there an uncool way? — we’re on board. Instructables user [Gelstronic]’s method involves an array of spinning props to play the game Snake in 3D.

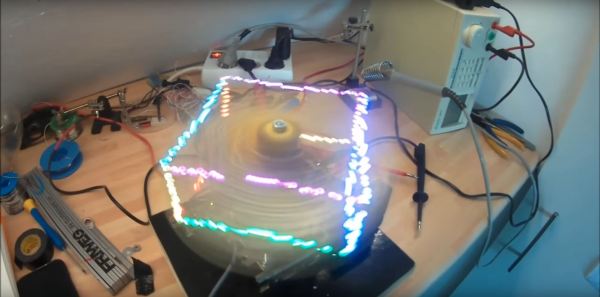
The helix display consists of twelve props, precisely spaced and angled using 3D-printed parts, each with twelve individually addressable LEDs. Four control groups of 36 LEDs are controlled by the P8XBlade2 propeller microcontroller, and the resultant 17280 voxels per rotation are plenty to produce an identifiable image.

In order to power the LEDs, [Gelstronic] used wireless charging coils normally used for cell phones, transferring 10 W of power to the helix array.  A brushless motor keeps things spinning, while an Arduino controls speed and position via an encoder. All the links to the code used are found on the project page, but we have the video of the display in action is after the break.

Continue reading “Helix Display Brings Snake Into Three Dimensions”

Arduino And Encoder Form Precision Jig For Cutting And Drilling

“Measure twice, cut once” is great advice in every aspect of fabrication, but perhaps nowhere is it more important than when building a CNC machine. When precision is the name of the game, you need measuring tools that will give you repeatable results and preferably won’t cost a fortune. That’s the idea behind this Arduino-based measuring jig for fabricating parts for a CNC build.

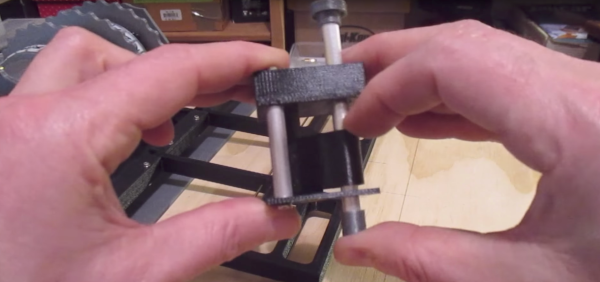
When it comes to building on the cheap, nobody holds a candle to [HomoFaciens]. We’ve seen his garbage can CNC build and encoders from e-waste and tin cans, all of which gave surprisingly good results despite incorporating such compliant materials as particle board and scraps of plumber’s strapping. Looking to build a more robust machine, he finds himself in need of parts of consistent and accurate lengths, so he built this jig. A sled of particle board and a fence of angle aluminum position the square tube stock, and a roller with a paper encoder wheel bears on the tube under spring pressure. By counting pulses from the optical sensors, he’s able to precisely position the tube in the jig for cutting and drilling operations. See it in action in the video after the break.

If you’ve been following [HomoFaciens], you’ll no doubt see where he’s been going — build a low-end tool, use that to build a better one, and so on. We’re excited to see him moving into more robust materials, but we’ll miss the cardboard and paperclip builds.

Continue reading “Arduino And Encoder Form Precision Jig For Cutting And Drilling”

Tightwad Hacks Label Printer, Beats Manufacturer At Own Game

Sometimes we hack for the thrill of making something new, and sometimes we hack to push back the dark veil of ignorance to shed fresh light on a problem. And sometimes, like when turning a used label printer into a point-of-sale receipt printer, we hack because we’re cheapskates.

We say that with the utmost respect and affection — there’s nothing to be ashamed of when your motive is strictly pecuniary. In [Dan Herlihy]’s case, hacking a cheap Brother label printer to use thermal paper meant saving $300 on a dedicated receipt printer. But it also meant beating Brother at their “Razor and Blades” business model that keeps you buying their expensive proprietary labels. A pattern of holes in the plastic label roll tells the printer what size labels are loaded, so [Dan] defeated that by breaking off a piece of the plastic and gluing it on the sensor. To convince the printer that plain thermal paper is label stock, he printed up a small strip of paper with the same pattern of black registration stripes that appear on the back of the labels. Pretty clever stuff, and it lets him print high-resolution receipts for his electronics shop on the seriously cheap.

[Dan]’s hack is simple, but may suffer from wear on the paper encoder strip. Perhaps this Brother hack using the gears as encoders will provide some inspiration for long-term fix.

Continue reading “Tightwad Hacks Label Printer, Beats Manufacturer At Own Game”

Fifty Shades Of Gray Code

Some years back, a museum asked me to help them with an exhibit a contractor had built for them. It was a wheel like the one on Wheel of Fortune, but smaller and mounted on the wall instead of the floor. You would spin the wheel, it would stop on some item, and a computer would play a short video about the item. Physically and mechanically, it was a beautifully built exhibit. The electronics, though, left something to be desired.

In principle, this is pretty simple computer task. Measure the position of the wheel, and when it stops moving, play a video based on the position. The problem was the folks who created the artistic mechanics didn’t think hard about the electronics behind it. Sometimes–but not often–the wheel would play the wrong video. Sometimes it wouldn’t play at all.

The Prime Suspect

My immediate suspicion turned out to be correct. I took the wheel off its mount to discover copper foil tape on the back of it. Each pie wedge had foil in different areas and there were two brushes in each area. When the wheel stopped, two of the brushes would be shorted together and the rest were open. The way they detected that was bizarre, but that wasn’t the problem. (It involved a cannibalized PS/2 keyboard.)
Continue reading “Fifty Shades Of Gray Code”

Use A Brushless Motor As A Rotary Encoder

The electric motor is the fundamental building block of almost all robotic projects but, without some form of feedback, it lacks the precise positional control required for the task. Small servos from the modelling world will often use a potentiometer to sense where they are on their travel, while more accomplished motors will employ some form of shaft encoder.

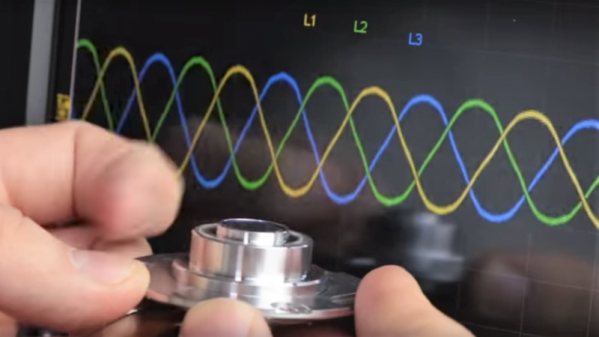
Commercial shaft encoders use magnets and Hall-effect sensors, or optical sensors and encoder discs. But these can be quite expensive, so [Hello1024] hacked together an alternative in an afternoon. It uses another motor as the encoder, taking advantage of the minute changes in inductance as the magnet passes each of its coils. It’s a technique that works better with cheaper motors, as their magnets are more imperfect than those on their expensive cousins.

The sensing is rather clever in its economy, sending a pulse to the motor through an off the shelf motor controller and measuring the time it takes to decay through the body diode of the driving MOSFET. It requires a calibration procedure before first use, and it is stressed that the whole thing is very much still in beta, but it’s a very impressive hack nevertheless. He’s posted a video demonstration which you can see below the break.

Continue reading “Use A Brushless Motor As A Rotary Encoder”