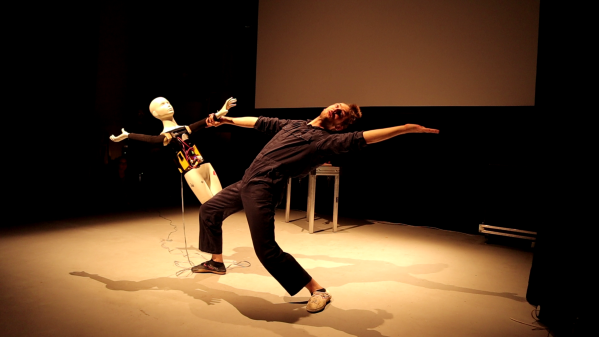
[Daniel Simu] is a performance artist, among many other things, and does acrobatic shows, quite often with a partner “flyer”. Training for his acts gets interrupted if his flyer partner is not available due to travel, injury or other reasons. This prompted him to build Acrobotics — a robotic assistant to make sure he can continue training uninterrupted.
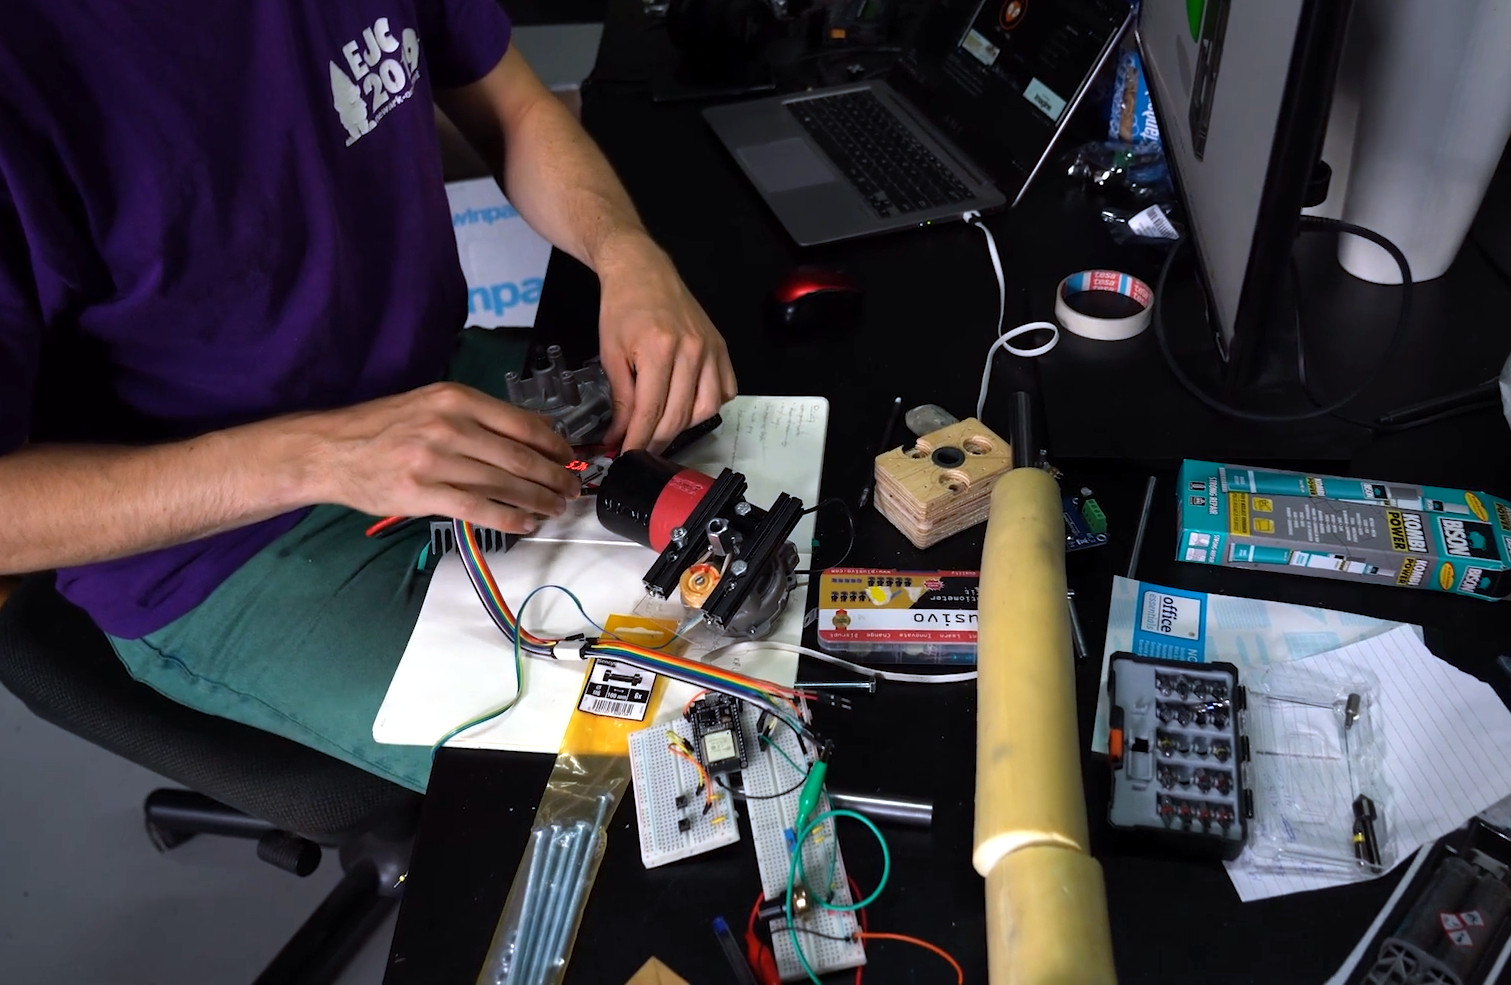
He has some electronics and coding chops, but had to teach himself CAD so that he could do all of the design, assembly and programming himself. Acrobotics was developed as part of a Summer Sessions residency at V2_ (Lab for the Unstable Media) at Rotterdam in 2022.
 The design is built around a mannequin body and things are quite simple at the moment. There are only two rotational joints for the arms at the shoulder, and no other articulations. Two car wiper motors rotate the two arms 360 deg in either direction. Continuous rotation potentiometers attached to the motors provide position feedback.
An ESP32 controls the whole thing, and the motors get juice via a pair of BTS7960 motor drivers. All of this is housed in a cage built from 15 mm aluminium extrusion and embedded in the torso of the mannequin. [Daniel] doesn’t enlighten us how the motor movements are synchronized with the music, but we do see a trailing cable attached to the mannequin. It’s likely the cable could be for power delivery, as well as some form of data or timing signals.
He’s working on the next version of the prototype, so we hope to see improved performances soon. There’s definitely scope for adding a suite of sensors – an IMU would help a lot to determine spatial orientation, maybe some ultrasonic sensors, or a LiDAR for object detection or mapping, or additional articulated joints at the elbows and wrists. We gotta love “feature creep”, right ?
Check out the two videos after the break – in the first one, he does an overview of the Acrobotics, and the second one is the actual performance that he did. Robot or not, it’s quite an amazing project and performance.
CAVEAT : We know calling this a “robot” is stretching the definition, by a lot, but we’re going to let it slip through.
Continue reading “Robotic Acrobot Aces The Moves” →
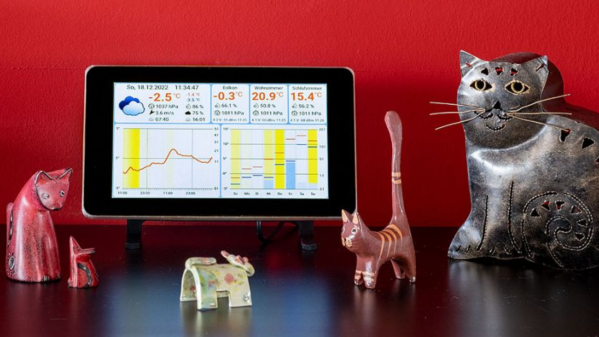
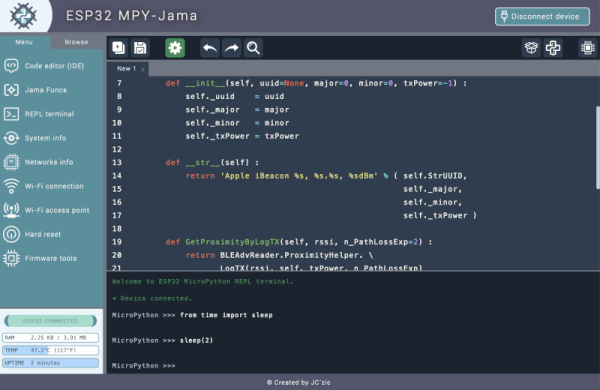
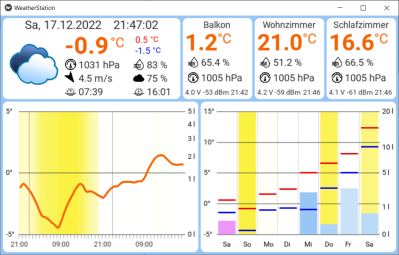 The architecture is quite straightforward. The ESP32 based sensor nodes publish their readings to an MQTT broker running on the Raspberry Pi. The Pi subscribes to these sensor node topics to pick up the relevant sensor data. This makes it easy to add additional sensor nodes in future. Weather forecast data is collected by connecting to the OpenWeatherMap API. All of the collected information is then displayed through an app built using the Kivy: open source Python app development framework. Continue reading “Raspberry Pi Weather Station Features Wireless Sensor Nodes”