We’ve seen a number of open source smart watches over the years, and while they’ve certainly been impressive from a technical standpoint, they often leave something to be desired in terms of fit and finish. Exposed PCBs and monochromatic OLED displays might be fine for a trip to the hackerspace, but it wouldn’t be our first choice for date night attire.
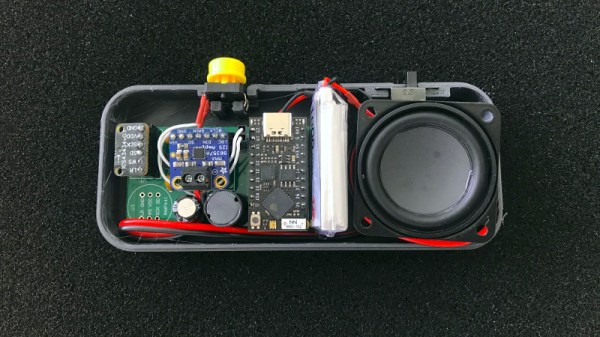
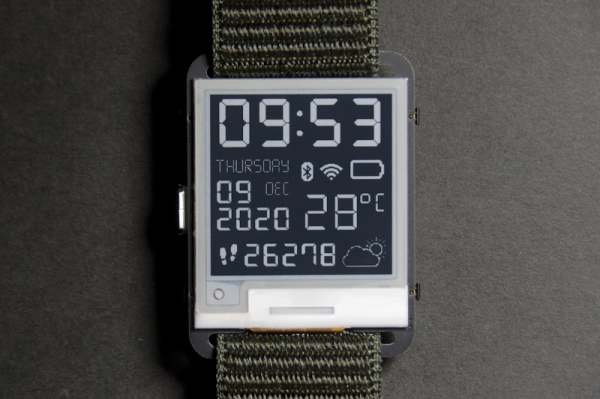
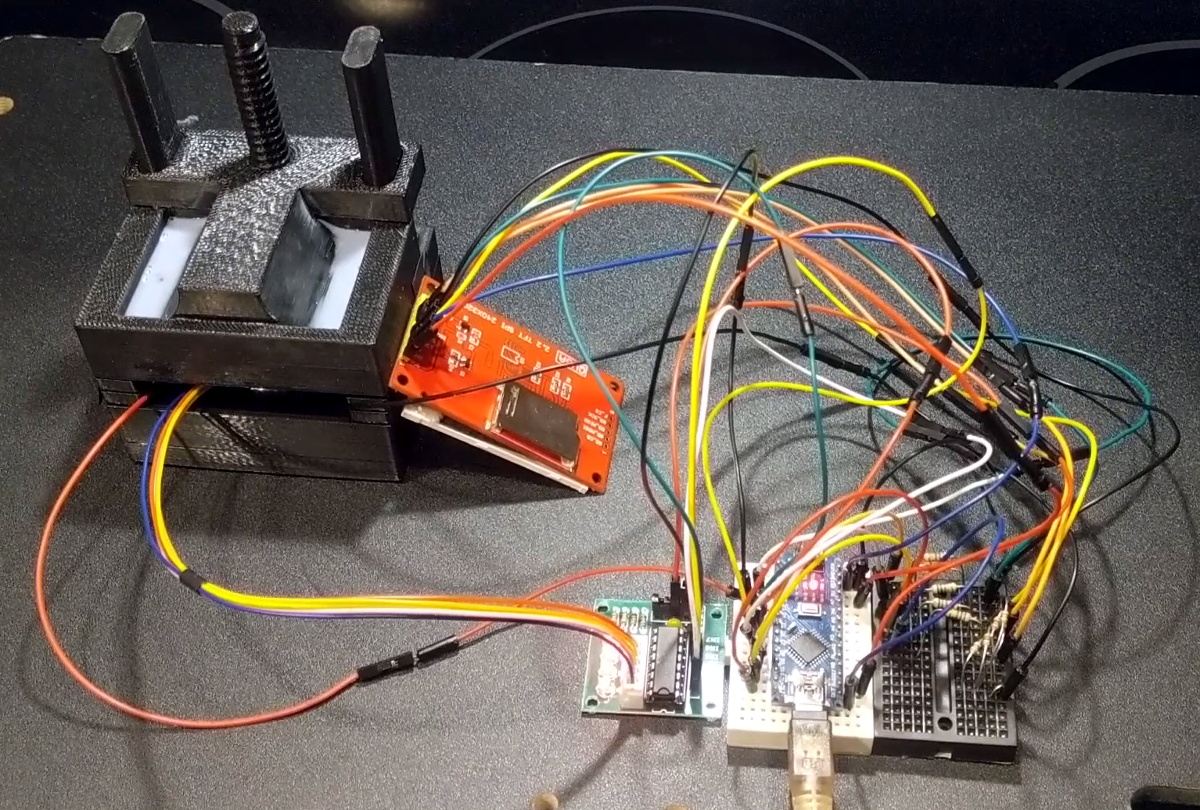
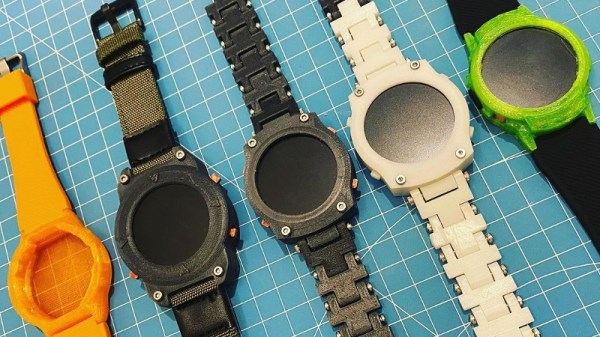
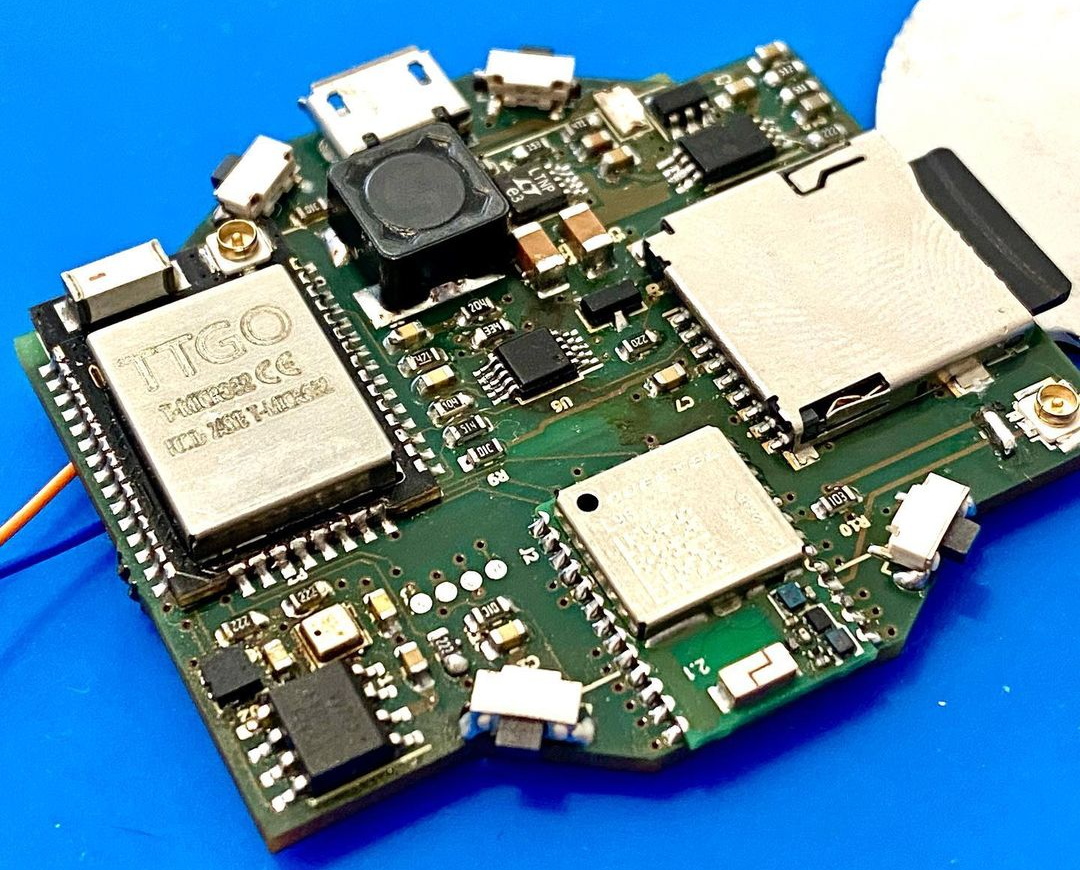
Enter the Open-SmartWatch from [pauls_3d_things]. This ESP32 powered watch packs a gorgeous circular 240×240 TFT display, DS323M RTC, BMA400 three-axis accelerometer, and a 450 mAh battery inside of a 3D printed enclosure that can be produced on your average desktop machine. WiFi and Bluetooth connectivity are a given with the ESP32, but there’s also an enhanced edition of the PCB that adds another 4 MB of RAM, a micro SD slot, and a Quectel L96 GPS receiver.
As it’s an open source project you’re free to download the PCB design files and get the board produced on your own, but [pauls_3d_things] has actually partnered with LILYGO to do a run of the Open-SmartWatch electronics which you can pick up on AliExpress right now for just $24 USD. You’ll still need to order the battery separately and 3D print your own case, but it still seems like a pretty sweet deal to us.
On the software front, things are pretty basic right now. The watch can update the time from NTP using a pre-configured WiFi network, and there’s a Bluetooth media controller and stopwatch included. Of course, as more people get the hardware in their hands (or on their wrists, as the case may be), we’ll likely start seeing more capabilities added to the core OS.
While getting our own code running on commercially produced smartwatches holds a lot of promise, the Open-SmartWatch is arguably the best of both worlds. The partnership with LILYGO brings professional fabrication to the open hardware project, and the GPLv3 licensed firmware is ripe for hacking. We’re very excited to see where the community takes this project, and fully expect to start seeing these watches out in the wild once we can have proper cons again.
Continue reading “An Open Source Smart Watch You’d Actually Wear”