Reviving A DOA Smart Bulb With Custom Firmware For Its ESP8266

There are some incredibly cheap WiFi smart bulbs on the market these days, but as is often the case, you tend to get what you pay for. When [Viktor] took delivery of his latest bargain basement bulb, the thing didn’t even work. So much for Quality Assurance. On the plus side, it was a great excuse to pop it open and replace the firmware.

For anyone wondering, [Viktor] never actually figured out why the bulb didn’t work. Its ESP8266-based control board was getting power, and data was getting spit out of the serial port when he connected it to the computer (although he never got the communications settings right to actually see what it was saying). But he also didn’t care much; once he confirmed that the hardware was good, he just uploaded the custom firmware he’d previously developed for another ESP8266 bulb.

Of course, it wasn’t quite that easy. The chances that both bulbs would have used the same GPIO pins to control the red, green, blue, and white LEDs were pretty slim. But after some testing and modifications to the code, he was able to fire them up. The other issue was a bit trickier, as it turned out the bulb’s flash chip was too small to hold his firmware’s web configuration pages. So he had to break out the hot air gun and replace the SPI flash chip with something a bit roomier. We suppose he could have just made smaller web pages… but where’s the fun in that?

Even with the chip swap, this looks a lot easier than building your own smart bulbs from scratch. With so many cheap ESP8266 bulbs on the market, it seems there’s never been a better time to code your own home lighting solution.

A Hoverboard As An Assistive Device

Assistive devices for people with disabilities can make an inestimable difference to their lives, but with a combination of technology, complexity, and often one-off builds for individual needs, they can be eye-wateringly expensive. When the recipient is a young person who may grow out of more than one device as they mature, this cost can be prohibitive. Some way to cut down on the expense is called for, and [Phil Malone] has identified the readily available hoverboard as a possible source of motive power for devices that need it.

Aside from being a children’s toy, hoverboards have been well and truly hacked; we’ve featured them in Hacky Racers, and as hacker camp transport. But this is an application which demands controllability and finesse not needed when careering round a dusty field. He’s taken that work and built upon it to produce a firmware that he calls HUGS, designed to make the hoverboard motors precisely controllable. It’s a departure from the norm in hoverboard hacking, but perhaps it can open up new vistas in the use of these versatile components.

There is much our community can do when it comes to improving access to assistive technologies, and we hope that this project can be one of the success stories. We would however caution every reader to avoid falling into the engineer savior trap.

Capture Device Firmware Hack Unlocks All The Pixels

According to [Mike Walters], the Elgato Cam Link 4K is a great choice if you’re looking for a HDMI capture device that works under Linux. But the bad news is, it wouldn’t work with any of the video conferencing software he tried to use it with because they expect the video stream to be in a different pixel format. For most people, that would probably have been the end of the story. But you’re reading this on Hackaday, so obviously he didn’t give up without a fight.

Early on, [Mike] found there was a software workaround for this exact issue. The problem isn’t that the Elgato can’t generate the desired format, it’s that the video conferencing programs just don’t know how to ask it to switch modes. The software fix is to create a dummy Video4Linux device and use that to change the format in real-time using ffmpeg. It’s a clever trick if you’ve got a conference call coming up in a few minutes, but it does waste CPU resources and adds some unnecessary hoop jumping.

Putting the device into bootloader mode.

Inspired by the software fix, [Mike] wondered if there was a way he could simply force the Elgato to output video in the desire format by default. He found a firmware dump for the device online, and found where the pixel formats were referenced by searching for their names in ASCII with hexdump. Looking through the source for the Linux USB Video Class (UVC) driver, he was then able to determine what the full 16 byte sequence should be for each video mode was so he could zero out the unwanted ones. Then it was just a matter of flashing his modified firmware back to the hardware.

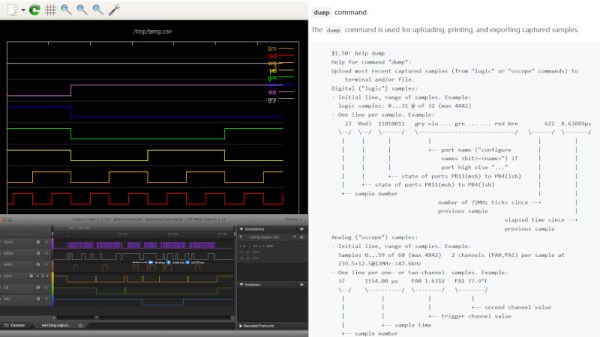
But there was a problem: with the modified firmware installed, the device stopped working. After investigating the obvious culprits, [Mike] broke out the oscilloscope and hooked it up to the Elgato’s flash chip. It turns out that due to a bug in the program he was using, the SPI erase commands weren’t getting sent during the flash. This lead to corrupted firmware which was keeping the Elgato from booting. After making a pull request with his fixes, the firmware flashed without incident and the capture device now does double-duty as a webcam when necessary.

We could certainly think of easier and quicker was to roll your own webcam, but we’re glad that [Mike] took the time to modify his Elgato Cam Link 4K and document it. It’s a fantastic example of practical firmware hacking, even if you’re not in the market for a new high-definition video conferencing rig.

A Hacker’s Guide To JTAG

If you’re reading Hackaday, you’ve almost certainly heard of JTAG. There’s an excellent chance you’ve even used it once or twice to reflash an unruly piece of hardware. But how well do you actually know JTAG? More specifically, do you know how useful it can be when reverse engineering hardware?

Whether you’re a JTAG veteran or a novice, this phenomenal guide written by [wrongbaud] is sure to teach you a thing or two. Starting with a low-level explanation of how the interface actually works, the guide takes you though discovering JTAG ports on unknown targets, the current state-of-the-art in open source tools to interact with the device, and finally shows a real-world example of pulling and analyzing a gadget’s firmware.

There’s no way to do his write-up justice with a breakdown or a summary, so we won’t even try. Just get comfortable, maybe grab a drink, and dive in. It’s certainly not a short read, but there isn’t a wasted word on the page. Every piece of the puzzle, from how to figure out an unlabeled pinout to determining the instruction length, is explained in exactly the amount of detail you’re looking for. This is a guide for hackers written by a hacker, and it shows.

It will probably come as no surprise to find this isn’t the first time [wrongbaud] has done a deep dive like this. Over the last few months we’ve been covering his series of practical reverse engineering guides, and each one has been an invaluable resource. Perfect study guides for when a global pandemic has you stuck in the house.

Breaking Into A Secure Facility: STM32 Flash

In a perfect world, everything would be open source. Our current world, on the other hand, has a lot of malicious actors and people willing to exploit trade secrets if given the opportunity, so chip manufacturers take a lot of measures to protect their customers’ products’ firmware. These methods aren’t perfect, though, as [zapb] shows while taking a deeper look into an STM microcontroller.

The STM32F0 and F1 chips rely on various methods of protecting their firmware. The F0 has its debug interface permanently switched off, but the F1 still allows users access to this interface. It uses flash memory read-out protection instead, which has its own set of vulnerabilities. By generating exceptions and exploiting the intended functions of the chip during those exceptions, memory values can be read out of the processor despite the memory read-out protection.

This is a very detailed breakdown of this specific attack on theses controllers, but it isn’t “perfect”. It requires physical access to the debug interface, plus [zapb] was only able to extract about 94% of the internal memory. That being said, while it would be in STM’s best interests to fix the issue, it’s not the worst attack we’ve ever seen on a piece of hardware.

Flashing Sonoff Devices With Tasmota Gets Easier

Tasmota is an alternative firmware for ESP boards  that provides a wealth of handy features, and [Mat] has written up a guide to flashing with far greater ease by using Tasmotizer. Among other things, it makes it simple to return your ESP-based devices, like various Sonoff offerings, to factory settings, so hack away!

Tasmotizer is a front end that also makes common tasks like backing up existing firmware and setting configuration options like, WiFi credentials, effortless. Of course, one can’t really discuss Tasmotizer without bringing up Tasmota, the alternative firmware for a variety of ESP-based devices, so they should be considered together.

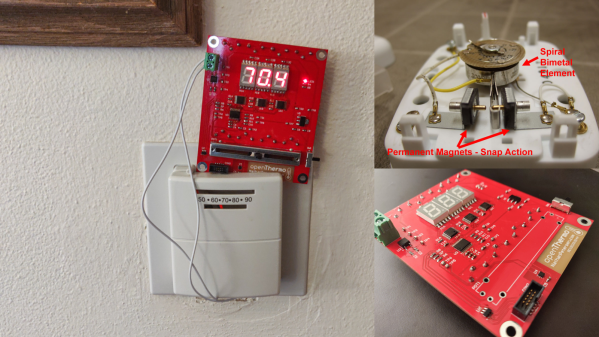
Hacks based on Sonoff devices are popular home automation projects, and [Mat] has also written all about what it was like to convert an old-style theromostat into a NEST-like device for about $5 by using Tasmota. A video on using Tasmotizer is embedded below, so give it a watch to get a head start on using it to hack some Sonoff devices.

Continue reading “Flashing Sonoff Devices With Tasmota Gets Easier”

The Newbie’s Guide To JTAG

Do you even snarf?

If not, it might be because you haven’t mastered the basics of JTAG and learned how to dump, or snarf, the firmware of an embedded device. This JTAG primer will get you up to snuff on snarfing, and help you build your reverse engineering skills.

Whatever your motivation for diving into reverse engineering devices with microcontrollers, JTAG skills are a must, and [Sergio Prado]’s guide will get you going. He starts with a description and brief history of the Joint Test Action Group interface, from its humble beginnings as a PCB testing standard to the de facto standard for testing, debugging, and flashing firmware onto devices. He covers how to locate the JTAG pads – even when they’ve been purposely obfuscated – including the use of brute-force tools like the JTAGulator. Once you’ve got a connection, his tutorial helps you find the firmware in flash memory and snarf it up to a file for inspection, modification, or whatever else you have planned.

We always appreciate guides like these that cover the basics, since not everyone is in the same place in their hardware hacking journey. This puts us in the mood to crack something open and start looking for pins, if for no other reason than to get some practice.

[Thumbnail image source: LufSec]