Believe it or not, there was a keyboard peripheral sold for the original GameCube, and it was built into the middle of a controller. Designed for the Phantasy Star Online games, it allowed players to easily communicate with others via chat. [peachewire] got their hands on one, and set about modifying it in the way only a true keyboard fanatic could.
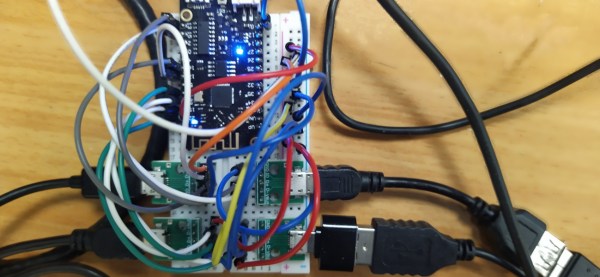
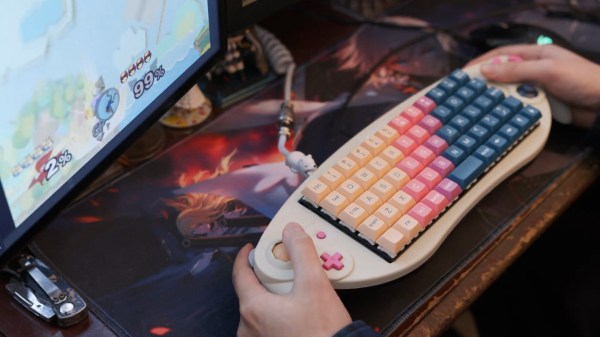
The result is a gloriously colorful keyboard and controller set up to work with a PC. The stock membrane keyboard was removed entirely, which is possible without interfering with the gamepad hardware inside the controller shell. It was replaced with a Preonic keyboard PCB, fitted with Lubed Glorious Panda switches and those wonderful pastel DSA Vilebloom keycaps. The keyboard also features a Durock screw-in stabilizer to make sure the space key has a nice smooth action. The controller itself received a set of colored buttons to match the theme, setting off the aesthetic. It’s still fully functional, and can be used with an adapter to play games on the attached PC.
Overall, it’s a tidy controller casemod and one hell of a conversation starter when the crew are scoping out your battlestation. The added weight might make it a little straining for long gaming sessions in controller mode, but it looks so pretty we’re sure we wouldn’t notice.
We’ve seen keyboards and Nintendo mashed up before; this Smash Bros. controller makes excellent use of high quality keyswitches. Video after the break.
Continue reading “The Ridiculous GameCube Keyboard Controller Gets Modded”