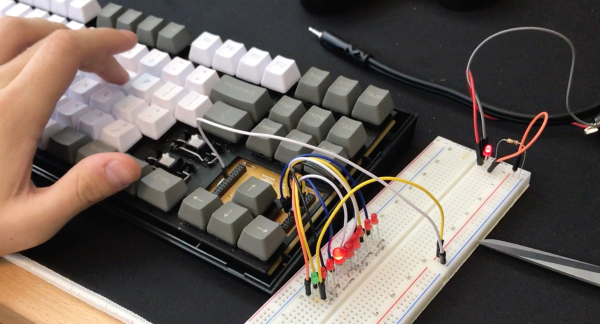
Most of us are used to a typical 101-key setup for typing on our machines. Mobile and touchscreen devices have offered alternative interfaces over the years, but generally still sticking to QWERTY or other similar layouts. [foone] cares not for convention however, building a text-entry device based on the iconic floppy disk.
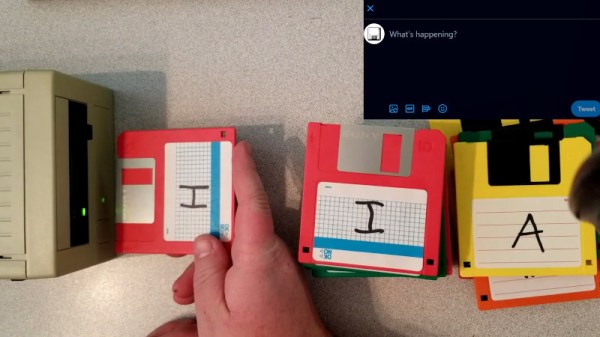
The build starts with a standard PC floppy drive, hooked up to an interface board to allow it to work over USB. It’s hooked up to a Raspberry Pi, which runs a Python program that listens out for media insertion events. When a new disk is detected, it reads the volume label, and sends it over to a Teensy LC which simulates a USB keyboard attached to the host PC. The setup uses 29 disks, for A-Z, !, shift, and space. It’s all stuffed inside a SCSI disk enclosure which helpfully provides a power supply along with the classic beige 90s aesthetic.
While you’re probably not going to be typing out your dissertation on this thing, it makes for an excellent conversation piece. We’ve featured some of [foone]’s eclectic work before, too. Video after the break.