Nanoleaf makes a variety of beautiful LED lighting products, with their hexagon tiles particularly popular with gamers and streamers alike. However, they do come at a significant cost, particularly if you want to put together a larger display. [Giovanni Aggiustatutto] decided to build his own version from scratch, with a nice wooden finish to boot.
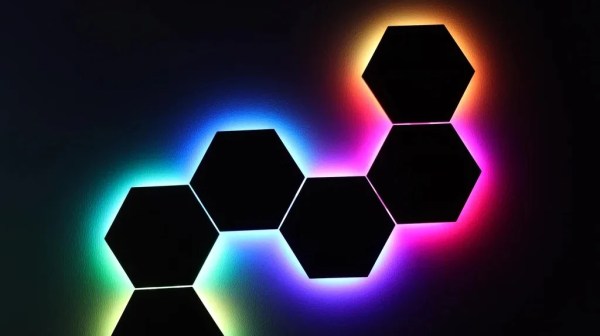
The benefit of the wooden design is that the panels look nice both when they’re switched on, and when they’re switched off. [Giovanni] selected attractive okumè plywood for the build, which is affordable and has a lovely grain. The hexagons were then fitted on their back side with strips of WS2812B LEDs. The first hexagon is fitted with an ESP32 that runs the lights, with the other hexagons having their LEDs daisychained from there. 3D printed frames were then fitted to each hexagon to allow them to be connected together into a larger wall-hanging piece.
Ultimately, building your own wall lights lets you customize them to operate exactly as you want, and often lets you save a lot of money, too. We’ve featured other similar builds before, too. Video after the break.