Digital Pregnancy Tests Use LEDs To Read Between The Lines

[Foone] saw a tweet a few weeks ago alleging that digital pregnancy tests are a rip-off. Regular, cheap tests have an absorbent strip running the length of the plastic, with one end exposed for collecting urine. A few excruciating minutes later, a little plastic window in the middle will show one line, two lines, or a plus or minus sign depending on the presence of human chorionic gonadotropin (HCG) in the urine.

As it turns out, at least two digital tests out there are the exact same thing, but with more steps. Instead of a window, they include circuitry that interprets the lines and publishes the result to a little screen in plain English. It can even tell you if you’re doing it wrong by flashing a little RTFM icon.

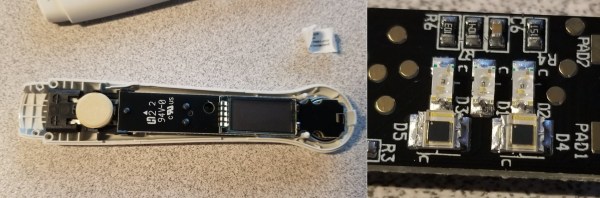
[Foone]’s teardown reveals a CR1616 coin cell, an 8-bit microcontroller, and a little phototransistor setup that shines LEDs on the strip and reads the incoming light. Unfortunately, the micro is the mask ROM version, so [Foone] can’t reprogram it to run Doom.

The original tweet’s author is probably not alone in assuming that digital tests are supposed to be more accurate somehow. We think the accuracy claim is more about removing the frazzled and/or incompetent human variable from the equation. If the test interprets the results for you, then there’s no mistaking the results, which is technically a higher degree of accuracy. But if you’re in doubt, you get a test from a doctor.

There’s been some discussion about the e-waste aspect of these all these tests — that it’s a shame to produce a microcontroller just to pee on it and throw it away. Sure, you could look at it that way, but unlike a lot of e-waste, these are tools. It’s unfortunate that this is the industry’s idea of higher accuracy, but what should we expect? It’s just testing for the presence of a hormone in urine. Interpreting the results is up to the viewer. We should probably be astounded that they got the cost down to two for $7.

Many people choose to wait a while to start spreading the news. With a Bluetooth-enabled pregnancy test, everyone can find out together.

Thanks for the tip, [Jay]!

100% Printed Flashlight: Conductive Filament And Melted-in Leads

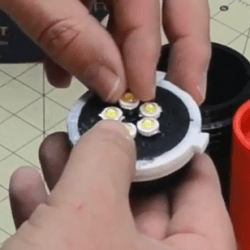
Conductive filament isn’t an ideal electrical conductor, but it’s a 3D-printable one and that’s what makes [Hercemer]’s 3D-printed flashlight using conductive filament work. Every part of the flashlight is printed except for the 9 volt battery and LEDs. Electrically speaking, the flashlight is a small number of LEDs connected in parallel to the terminals of the battery, and turning it on or off is done by twisting or loosening a cap to make or break the connection.

The main part of the build is a 3D-printed conductive cylinder surrounded by a printed conductive ring with an insulator between them. This disk- or pad-shaped assembly forms not only the electrical connection between the LEDs and battery terminals, but also physically holds the LEDs. To attach them, [Hercemer] simply melts them right in. He uses a soldering iron to heat up the leads, and presses them into the 3D-printed conductive block while hot. The 9 V battery’s terminals contact the bottom when the end cap is twisted, and when they touch the conductive assembly the flashlight turns on.

Anticipating everyone’s curiosity, [Hercemer] measured the resistance of his conductive block and measured roughly 350 ohms when printed at 90% infill; lower infills result in more resistance. You can see a video of the assembly and watch the flashlight in action in the video, embedded below.

Continue reading “100% Printed Flashlight: Conductive Filament And Melted-in Leads”

Solar Satellite Glows At Night

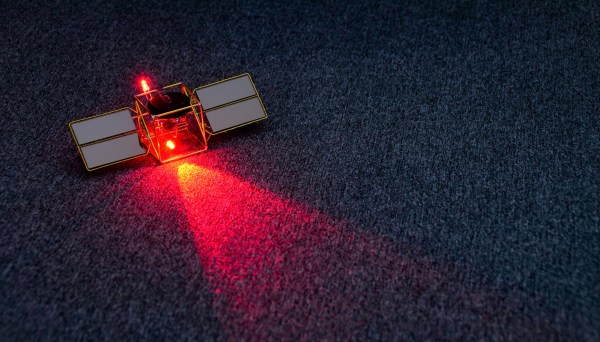
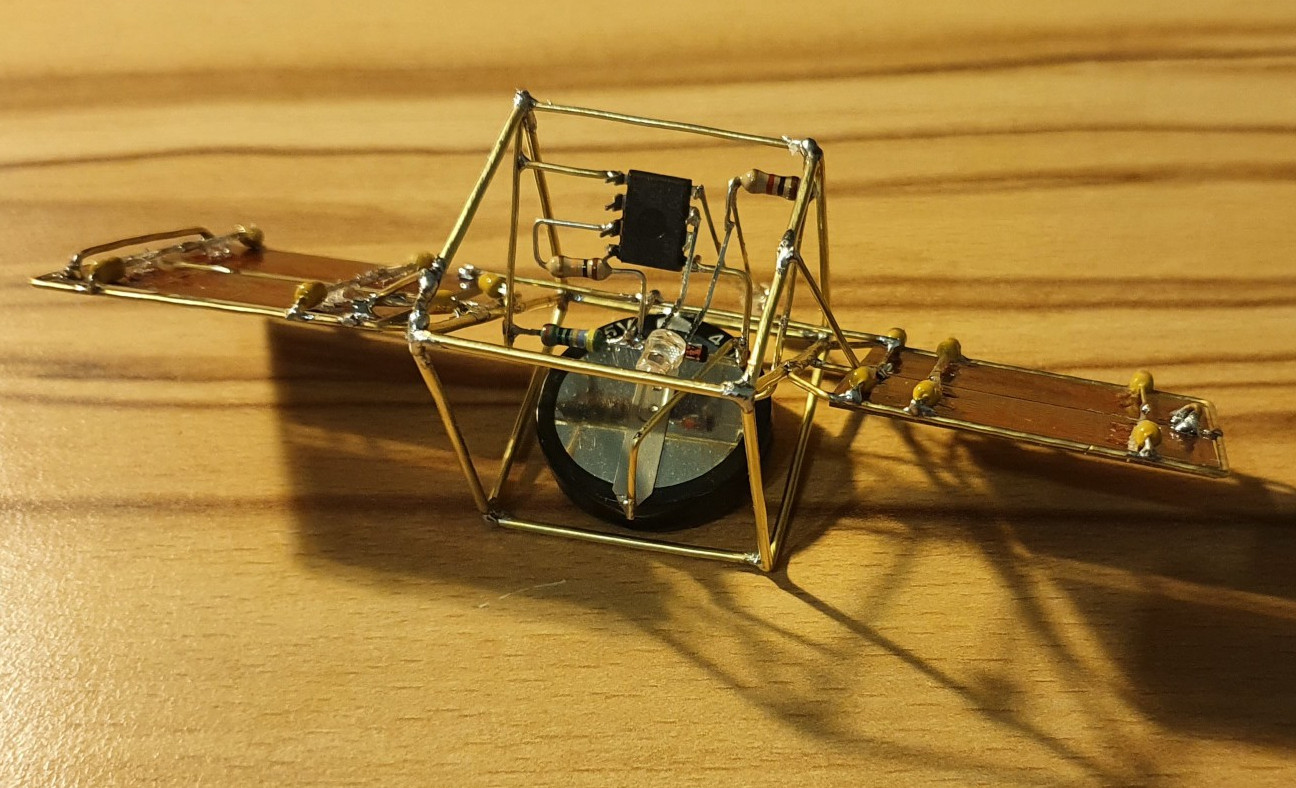
They say that imitation is the sincerest form of flattery. If we were going to imitate one of master circuit sculptor Mohite Bhoite’s creations, we’d probably pick the little blinky solar satellite as a jumping off point just like [richardsappia] did. It’s cute, it’s functional, and it involves solar power and supercapacitors. What more could you want?

SATtiny is a pummer, which is BEAM robotics speak for a bot that soaks up the sun all day and blinks (or ‘pumms’, we suppose) for as long as it can throughout the night on the juice it collected. This one uses four mini solar panels to charge up a 4 F supercapacitor.

At the controls is an ATtiny25V, which checks every eight seconds to see if the supercapacitor is charging or not as long as there is enough light. Once night has fallen, the two red LEDs will pumm like a pair of chums until the power runs out. Check out the brief demo after the break.

Would you rather have something more nightstand-friendly? Here’s a mini night light sculpture with a friendly glow. If you haven’t started your entry into our Circuit Sculpture Challenge, there’s still plenty of time — the contest runs until November 10th.

Continue reading “Solar Satellite Glows At Night”

Reactive Pixel Lamps Create Colourful Vibes On Command

Phillips Ambilight technology is a curious thing, never quite catching on in the mainstream due to its proprietary nature. Consisting of an LED array that sits behind a television screen, it projects colours relevant to the content on screen to create a greater feeling of ambience. [Ed Chamberlain]’s reactive pixel lamps aim to do much the same thing in a more distributed way.

Each pixel lamp consists of a Wemos D1 controller fitted with an old-school 4-wire RGB LED. The components are placed in a 3D printed translucent cube, which serves as an attractive enclosure and diffuser. With WiFi connectivity on board, it’s possible to connect the individual cubes up to a Raspberry Pi serving as a Phillips Hue bridge thanks to DIYHue. Once setup, the lights can be configured as an Ambilight system within the Phillips Hue app.

It’s an impressive way to give a room reactive lighting on a budget, without resorting to costly off-the-shelf solutions. We’d love to see this expanded further, as we’re sure a room full of reactive lights would be truly a sight to behold. Other methods to recreate the Ambilight technology are possible, too. Video after the break.

Continue reading “Reactive Pixel Lamps Create Colourful Vibes On Command”

Manual Larson Scanner Invites You To Crank It

Hasselhoff make Larson Scanners famous. That’s the name for the scanning red lights on the front of KITT, the hero car from the popular 1980s TV series Knight Rider. Despite serving a solely aesthetic role, they remain a fun and popular LED project to this day. Putting a new twist on the old concept, [Pete Prodoehl] whipped up a Larson Scanner that you crank to operate.

Built out of LEGO, the project relies on a hand crank to work. The crank turns a drum, onto which is placed several strips of conductive Maker Tape – a steel/nylon material which we’ve looked at before. Strips of tape running side-by-side are bridge by segments of tape on the drum as it turns. The LEDs are switched on in the requisite pattern of a traditional Larson scanner.

The project has inspired further possibilities, such as using similar techniques to produce an electronic music box or player piano that will change tempo as the user changes the speed with the crank. [Pete] notes that turning the crank is an inherently enjoyable experience, and given the wonder inherent in hand-cranked musical projects like Marble Machine X, we can’t wait to see where this one goes next. Video after the break.

Continue reading “Manual Larson Scanner Invites You To Crank It”

Palm-Sized Sixteen Segments Light The Way To Our Hearts

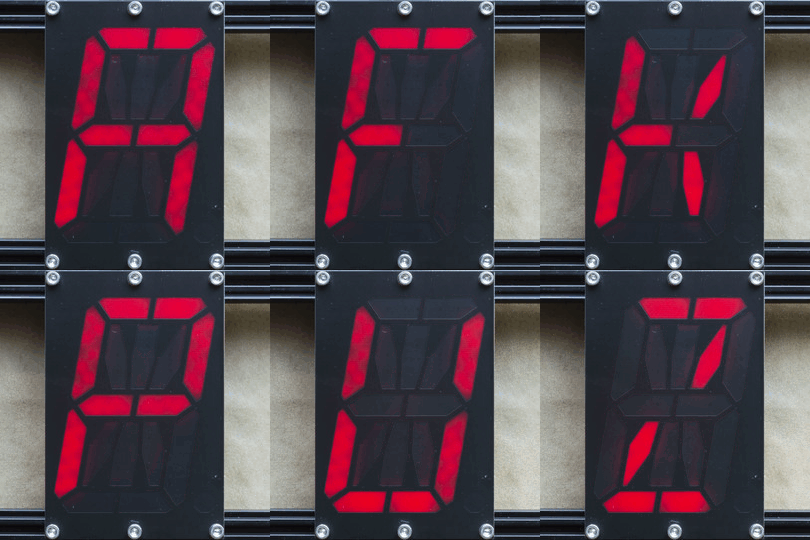
It’s no secret that we here at the Hackaday are suckers for cool display. LEDs, OLEDs, incandescent, nixie or neon, you name it and we want to see it flash. So it fills us with joy to discover a new way to build large, daisy-chainable 16-segment digits, and even more excited to learn how easy they are to fab and assemble.

A cousin of the familiar 7 segment display, the 16 segment gives so many more possibilities (128% more possibilities to be exact) for digit display. To be specific, those extra segments unlock the ability to display upper and lowercase latin characters as well as scads of punctuation.

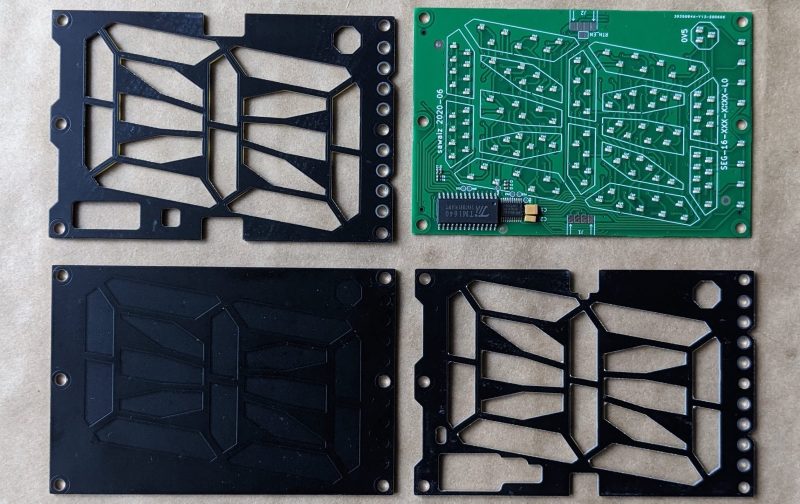
But where the character set is complex, the assembly is anything but thanks to a great design from [Kolibri] called klais-16. They’re available fully assembled if you want to jump straight to code, but thanks to thorough documentation (seriously, check this out) assembly is a snap.

Each module is composed a very boring PCBA base layer which should be inexpensive from the usual sources, even when ordering one fully assembled. A stackup of three more PCBs are used for spacing and diffusion with plans for die-cut or injection mold layers if a larger production run ends up happening. Board dimensions for each character are 100 mm x 66.66 mm (about 4″ x 2.5″). Put together, each module can stand on its own or be easily daisy-chained together to make a longer single display.

Addressing all those bits with an elaborate, ugly control scheme would be a drag but fortunately the firmware for the onboard STM8 microcontroller exposes a nice boring serial interface which can be used without configuration to display strings. There’s even an example Windows Batch script!

Abused Hard Drive Becomes POV Clock

We all know that there’s not much to do with an old hard drive. Once you render the platters unreadable and perhaps harvest those powerful magnets, there’s not much left of interest. Unless, of course, you turn the whole thing into a persistence-of-vision clock.

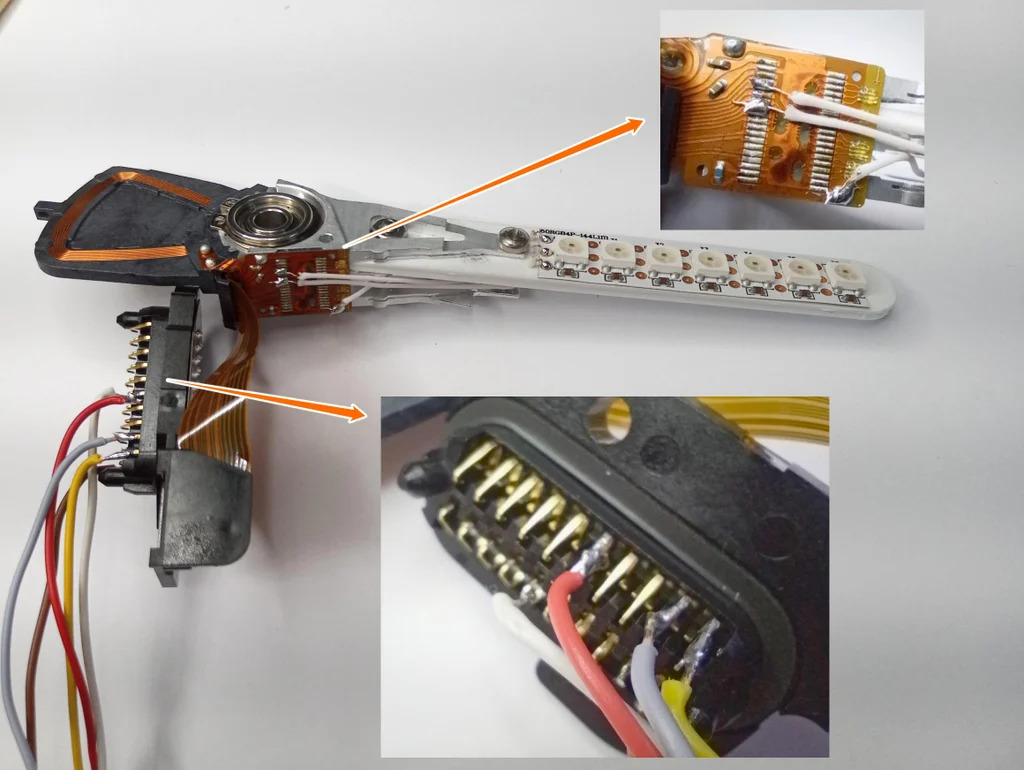
At least that’s what [Leo] did when he created “PendoLux”. The clock itself is pretty simple; like any POV project, it just requires a way to move an array of flashing LEDs back and forth rapidly enough that they can trick the eye into seeing a solid image. [Leo] put the read head mechanism of an old HDD into use for that, after stripping the platters and motor out of it first.

The voice coil and magnet of the head arm are left intact, while a 3D-printed arm carrying seven RGB LEDs replaces the old heads. [Leo] added a small spring to return the arm to a neutral position, and used an Arduino to drive the coil and flash the LEDs. Getting the timing just right was a matter of trial and error; he also needed to eschew the standard LED libraries because of his heavy use of interrupts and used direct addressing instead.

POV clocks may have dropped out of style lately — this hard drive POV clock and a CD-ROM version were posted years ago. But [Leo]’s clock is pretty good looking even for a work in progress, so maybe the style will be making a comeback.

Continue reading “Abused Hard Drive Becomes POV Clock”