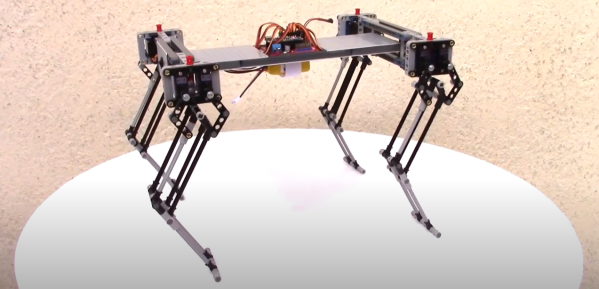
Legged robots span all sorts of shapes and sizes. From the paradigm-setting quadrupeds built from a pit-crew of grad students to the Kickstarter canines that are sure to entertain your junior hackers, the entry point is far and wide. Not one to simply watch from the sidelines, though, [Oracid] wanted to get in on the quadruped-building fun and take us all with him. The result is 5BQE2, a spry budget quadruped that can pronk around the patio at a proper 1 meter-per-second clip.
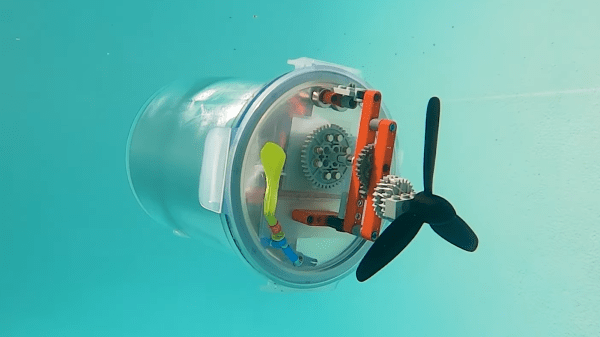
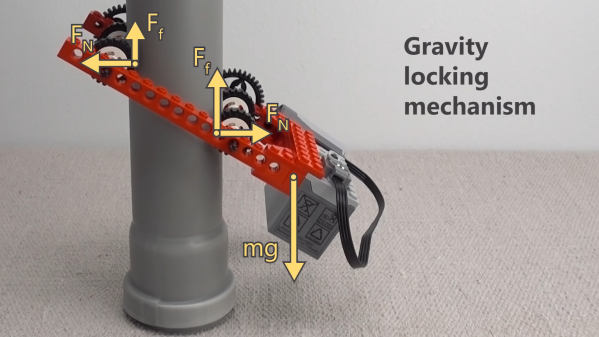
Without a tether, weight becomes a premium for getting such a creature to move around at a respectable rate. Part of what makes that possible is [Oracid’s] lightweight legs. Designing the legs around a five-bar linkage tucks the otherwise-heavy actuators out of the leg and into the body, resulting in a limb that’s capable of faster movement. What’s more, 5BQE2 is made from the LEGO plastic building bricks of our heydays. And with a full bill-of-materials, we’re just about ready to head over to our parents’ garage and dust off those parts for a second life.
For some action shots of 5BQE2, have a look at the video after the break. And since no set would be complete without the building instructions, stay tuned through the full video to walk through the assembly process step-by-step.
Here at Hackaday, we’re certainly no stranger to walking automatons, but not all robots use their legs for walking. For a trip down memory lane, have a look at [Carl Bugeja’s] buzzing Vibro-bots and UC Berkeley’s leaping Salto.