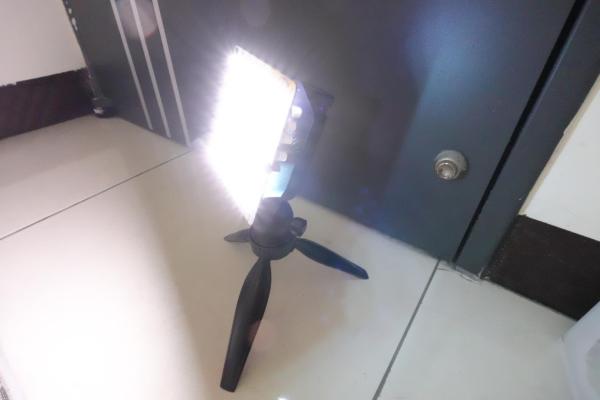
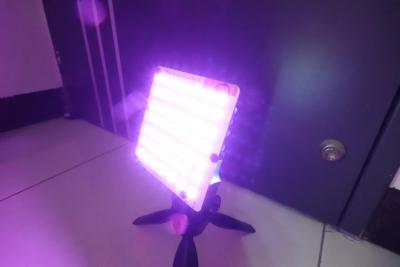
Stresses Revealed With A Polariscope

There are a lot of ways that stresses can show up, at least when discussing materials science. Cracks in concrete are a common enough example, but any catastrophic failure in a material is often attributable to some stress that couldn’t be withstood. If you’re interested in viewing those stresses before they result in damage to the underlying material, take a look at this DIY polariscope which can view internal stresses in glass and other clear objects.

The polariscope takes its name from the fact that it uses polarized light to view the internal structure of a transparent object such as glass. When the polarized light passes through glass in a certain way, the stresses show up as lighter areas thanks to the stressed glass bending the light back into view. This one is constructed with a polarizing filter placed in front of an LCD screen set to display a completely white image. When glass is placed between the screen and the filter no light is seen through the polariscope unless there are stresses in the glass. Even placing a force on an otherwise un-stressed glass tube can show this effect, and [Advanced Tinkering], this project’s creator, has several other creations which show this effect in striking detail.

The effect can also be observed as colored areas in other plastic materials as well. It’s an interesting tool which can help anyone who frequently works with glass, but it’s also interesting on its own to see clues left behind from the manufacturing process of various household items. We’ve seen some other investigative methods for determining how other household items are mass produced as well, like this project which breaks down the injection molding process.

Continue reading “Stresses Revealed With A Polariscope”

How Did We Get To The Speed Of Light?

Every high school physics student knows c, or the speed of light, it’s 3 x 10^8 metres per second. More advanced or more curious students will know that this is an approximation, and the figure of 299,792,458 metres per second that forms the officially accepted figure comes from a resonance of the caesium atom from which is derived a value for the second.

Galileo
Galileo Galilei, whose presence in this story should come as no surprise. Justus Sustermans, Public domain.

But for those who are really curious about measuring the speed of light the question remains: Just how did we arrive at that figure and how long have we been measuring it? The answer contains some surprises, and some exceptionally clever scientific thought and experimentation over the centuries.

The nature of light and whether it had a speed at all had been puzzling philosophers and scientists since antiquity, but the first experiments performed in an attempt to measure it were you will not be surprised to hear, performed by Galileo sometime in the early 17th century. His experiment involved his observation of assistants uncovering lanterns at known distances away, and his observations  failed to arrive at a figure.

Later that century in 1676 the first numerical estimate of the speed of light was made by the Danish astronomer Ole Rømer, who observed an apparent variation in the period of one of Jupiter’s moons depending upon whether the Earth was approaching it or moving away from it. From this he was able to estimate the time taken for light to cross the Earth’s orbit, and from there the mathematician Christiaan Huygens was able to produce a figure of 220,000,000 metres per second.

Spinning Cogs And Mirrors: Time Of Flight

The mile-long evacuated tube used in Michelson's time-of-flight experiment. H.
The mile-long evacuated tube used in Michelson’s time-of-flight experiment. H. H. Dunn, Public domain.

The experiments with which we will perhaps be the most familiar are the so-called time of flight measurements, which take Galileo’s idea of observing the delay as light travels over a distance, and bring to it ever higher precision. This was first performed in the middle of the 19th century by the French physicist Hippolyte Fizeau, who reflected a beam of light from a mirror over several kilometres, and used a toothed wheel to chop it into pulses. The pulses could be increased in frequency by moving the wheel faster until the time taken for the light to travel the distance from wheel to mirror and back again matched the separation between teeth and the returning pulse could be observed. His calculation of 313,300,000 metres per second was successively improved upon through the work of succession of others including Léon Foucault, culminating in the series of experiments by the American physicist Albert A. Michelson in the 1920s. Michelson’s final figure stood at 299,774,000 metres per second, measured through a multi-path traversal of a mile-long evacuated tube in the California desert. In the second half of the century the techniques shifted to laser interferometry, and in the quest to define the SI units in terms of constants, eventually to the definition mentioned in the first paragraph.

The most fascinating part of the story probably encapsulates the essence of scientific discovery, namely that while to arrive at something takes the work of many scientists building on the work of each other, it can then often be rendered into a form that can be understood by a student who hasn’t had to pass through all that effort. We could replicate Fizeau and Michelson’s experiments with a pulse generator, laser diode, and oscilloscope, which while of little scientific value nearly a century after Michelson’s evacuated tube, is still immensely cool. Has anyone out there given it a try?

Header image: Tommology, CC BY-SA 4.0.

Bubble Lights Made From Scratch

Bubble lights are mesmerizing things to watch, up there with lava lamps as one of the nicer aesthetic creations of the mid-20th century. [Tech Ingredients] decided to head into the lab to whip up some of their own design, taking things up a notch beyond what you’d typically find in a store.

Bubble lights have a liquid inside glass that is held under a vacuum. This reduces the boiling point of the fluid, allowing a small heat input to easily create bubbles that float to the top of the chamber inside. The fluid used inside is also chosen for its low boiling point, with [Tech Ingredients] choosing dichloromethane for safety when using flames to work the glass.

The video shows off the basic glass working techniques required to make the glass bubble tubes, as well as how to build the bases of the bubble lamps that light the fluid up and provide the heat to create bubbles. The use of different materials to create nucleation points for the boiling fluid is also discussed, giving different visual effects in the final result. It’s a great primer on getting started building these beautiful decorations yourself.

Bubbles are pretty things, and with different techniques, we’ve even seen them used to make displays. Video after the break.

Continue reading “Bubble Lights Made From Scratch”

Fourier Transforms (and More) Using Light

Linear transforms — like a Fourier transform — are a key math tool in engineering and science. A team from UCLA recently published a paper describing how they used deep learning techniques to design an all-optical solution for arbitrary linear transforms. The technique doesn’t use any conventional processing elements and, instead, relies on diffractive surfaces. They also describe a “data free” design approach that does not rely on deep learning.

There is obvious appeal to using light to compute transforms. The computation occurs at the speed of light and in a highly parallel fashion. The final system will have multiple diffractive surfaces to compute the final result.

Continue reading “Fourier Transforms (and More) Using Light”

Jigsaw Puzzle Lights Up With Each Piece

Putting the last piece of a project together and finally finishing it up is a satisfying feeling. When the last piece of a puzzle like that is a literal puzzle, though, it’s even better. [Nadieh] has been working on this jigsaw puzzle that displays a fireworks-like effect whenever a piece is placed correctly, using a lot of familiar electronics and some unique, well-polished design.

The puzzle is a hexagonal shape and based on a hexagonally symmetric spirograph, with the puzzle board placed into an enclosure which houses all of the electronics. Each puzzle piece has a piece of copper embedded in a unique location so when it is placed on the board, the device can tell if it was placed properly or not. If it was, an array of color LEDs mounted beneath a translucent diffuser creates a lighting effect that branches across the entire board like an explosion. The large number of pieces requires a multiplexer for the microcontroller, an ATtiny3216.

This project came out of a FabAcademy, so the documentation is incredibly thorough. In fact, everything on this project is open sourced and available on the project page from the code to the files required for cutting out the puzzle pieces and the enclosure. It’s an impressive build with a polish we would expect from a commercial product, and reminds us of an electrified jigsaw puzzle we saw in a previous build.

Thanks to [henk] for the tip!

How Laser Headlights Work

When we think about the onward march of automotive technology, headlights aren’t usually the first thing that come to mind. Engines, fuel efficiency, and the switch to electric power are all more front of mind. However, that doesn’t mean there aren’t thousands of engineers around the world working to improve the state of the art in automotive lighting day in, day out.

Sealed beam headlights gave way to more modern designs once regulations loosened up, while bulbs moved from simple halogens to xenon HIDs and, more recently, LEDs. Now, a new technology is on the scene, with lasers!

Continue reading “How Laser Headlights Work”

Your Plants Can Take Care Of Themselves Now

One of [Sasa]’s life goals is to be able to sit back in his home and watch as robots perform all of his work for him. In order to work towards this goal, he has decided to start with some home automation which will take care of all of his house plants for him. This project is built from the ground up, too, and is the first part of a series of videos which will outline the construction of a complete, open-source plant care machine.

The first video starts with the sensors for the plants. [Sasa] decided to go with a completely custom module based on the STM32 microcontroller since commercial offerings had poor communications designs and other flaws. The small board is designed to be placed in the soil, and has sensors for soil moisture as well as other sensors for amount of light available and the ambient temperature. The improvements over the commercial modules include communication over I2C, allowing a large number of modules to communicate over a minimum of wires and be arranged in any way needed.

For this build everything is open-source and available on [Sasa]’s GitHub page, including PCB layouts and code for the microcontrollers. We’re looking forward to the rest of the videos where he plans to lay out the central unit for handling all of these sensors, and a custom dashboard for controlling them as well. Perhaps there will also be an option for adding a way to physically listen to the plants communicate their needs as well.

Continue reading “Your Plants Can Take Care Of Themselves Now”