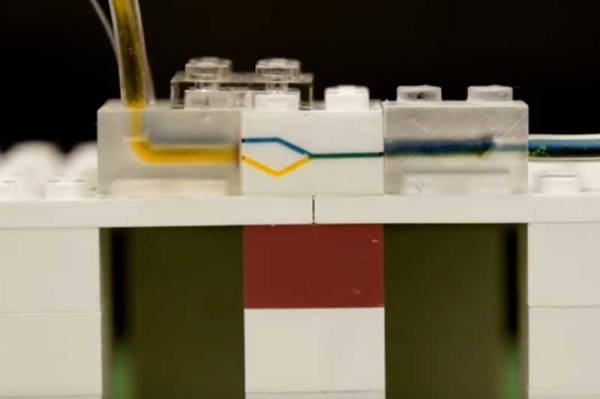
When it comes to research in fields such as chemistry or biology, historically these are things that have taken place in well-financed labs in commercial settings or academic institutions. However, with the wealth of technology available to the average person today, a movement has sprung up of those that run advanced experiments in the comfort of their own home laboratory. For those needing to work with very tiny amounts of liquid, [Josh’s] microfluidics pump may be just the ticket.
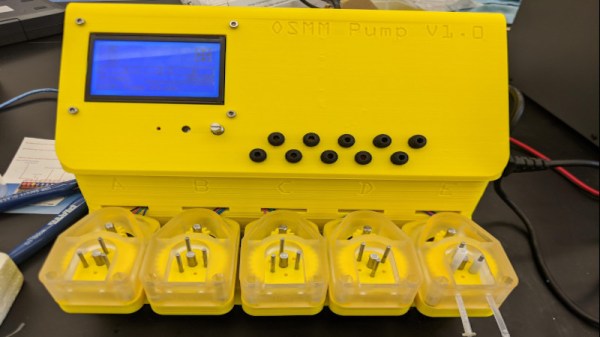
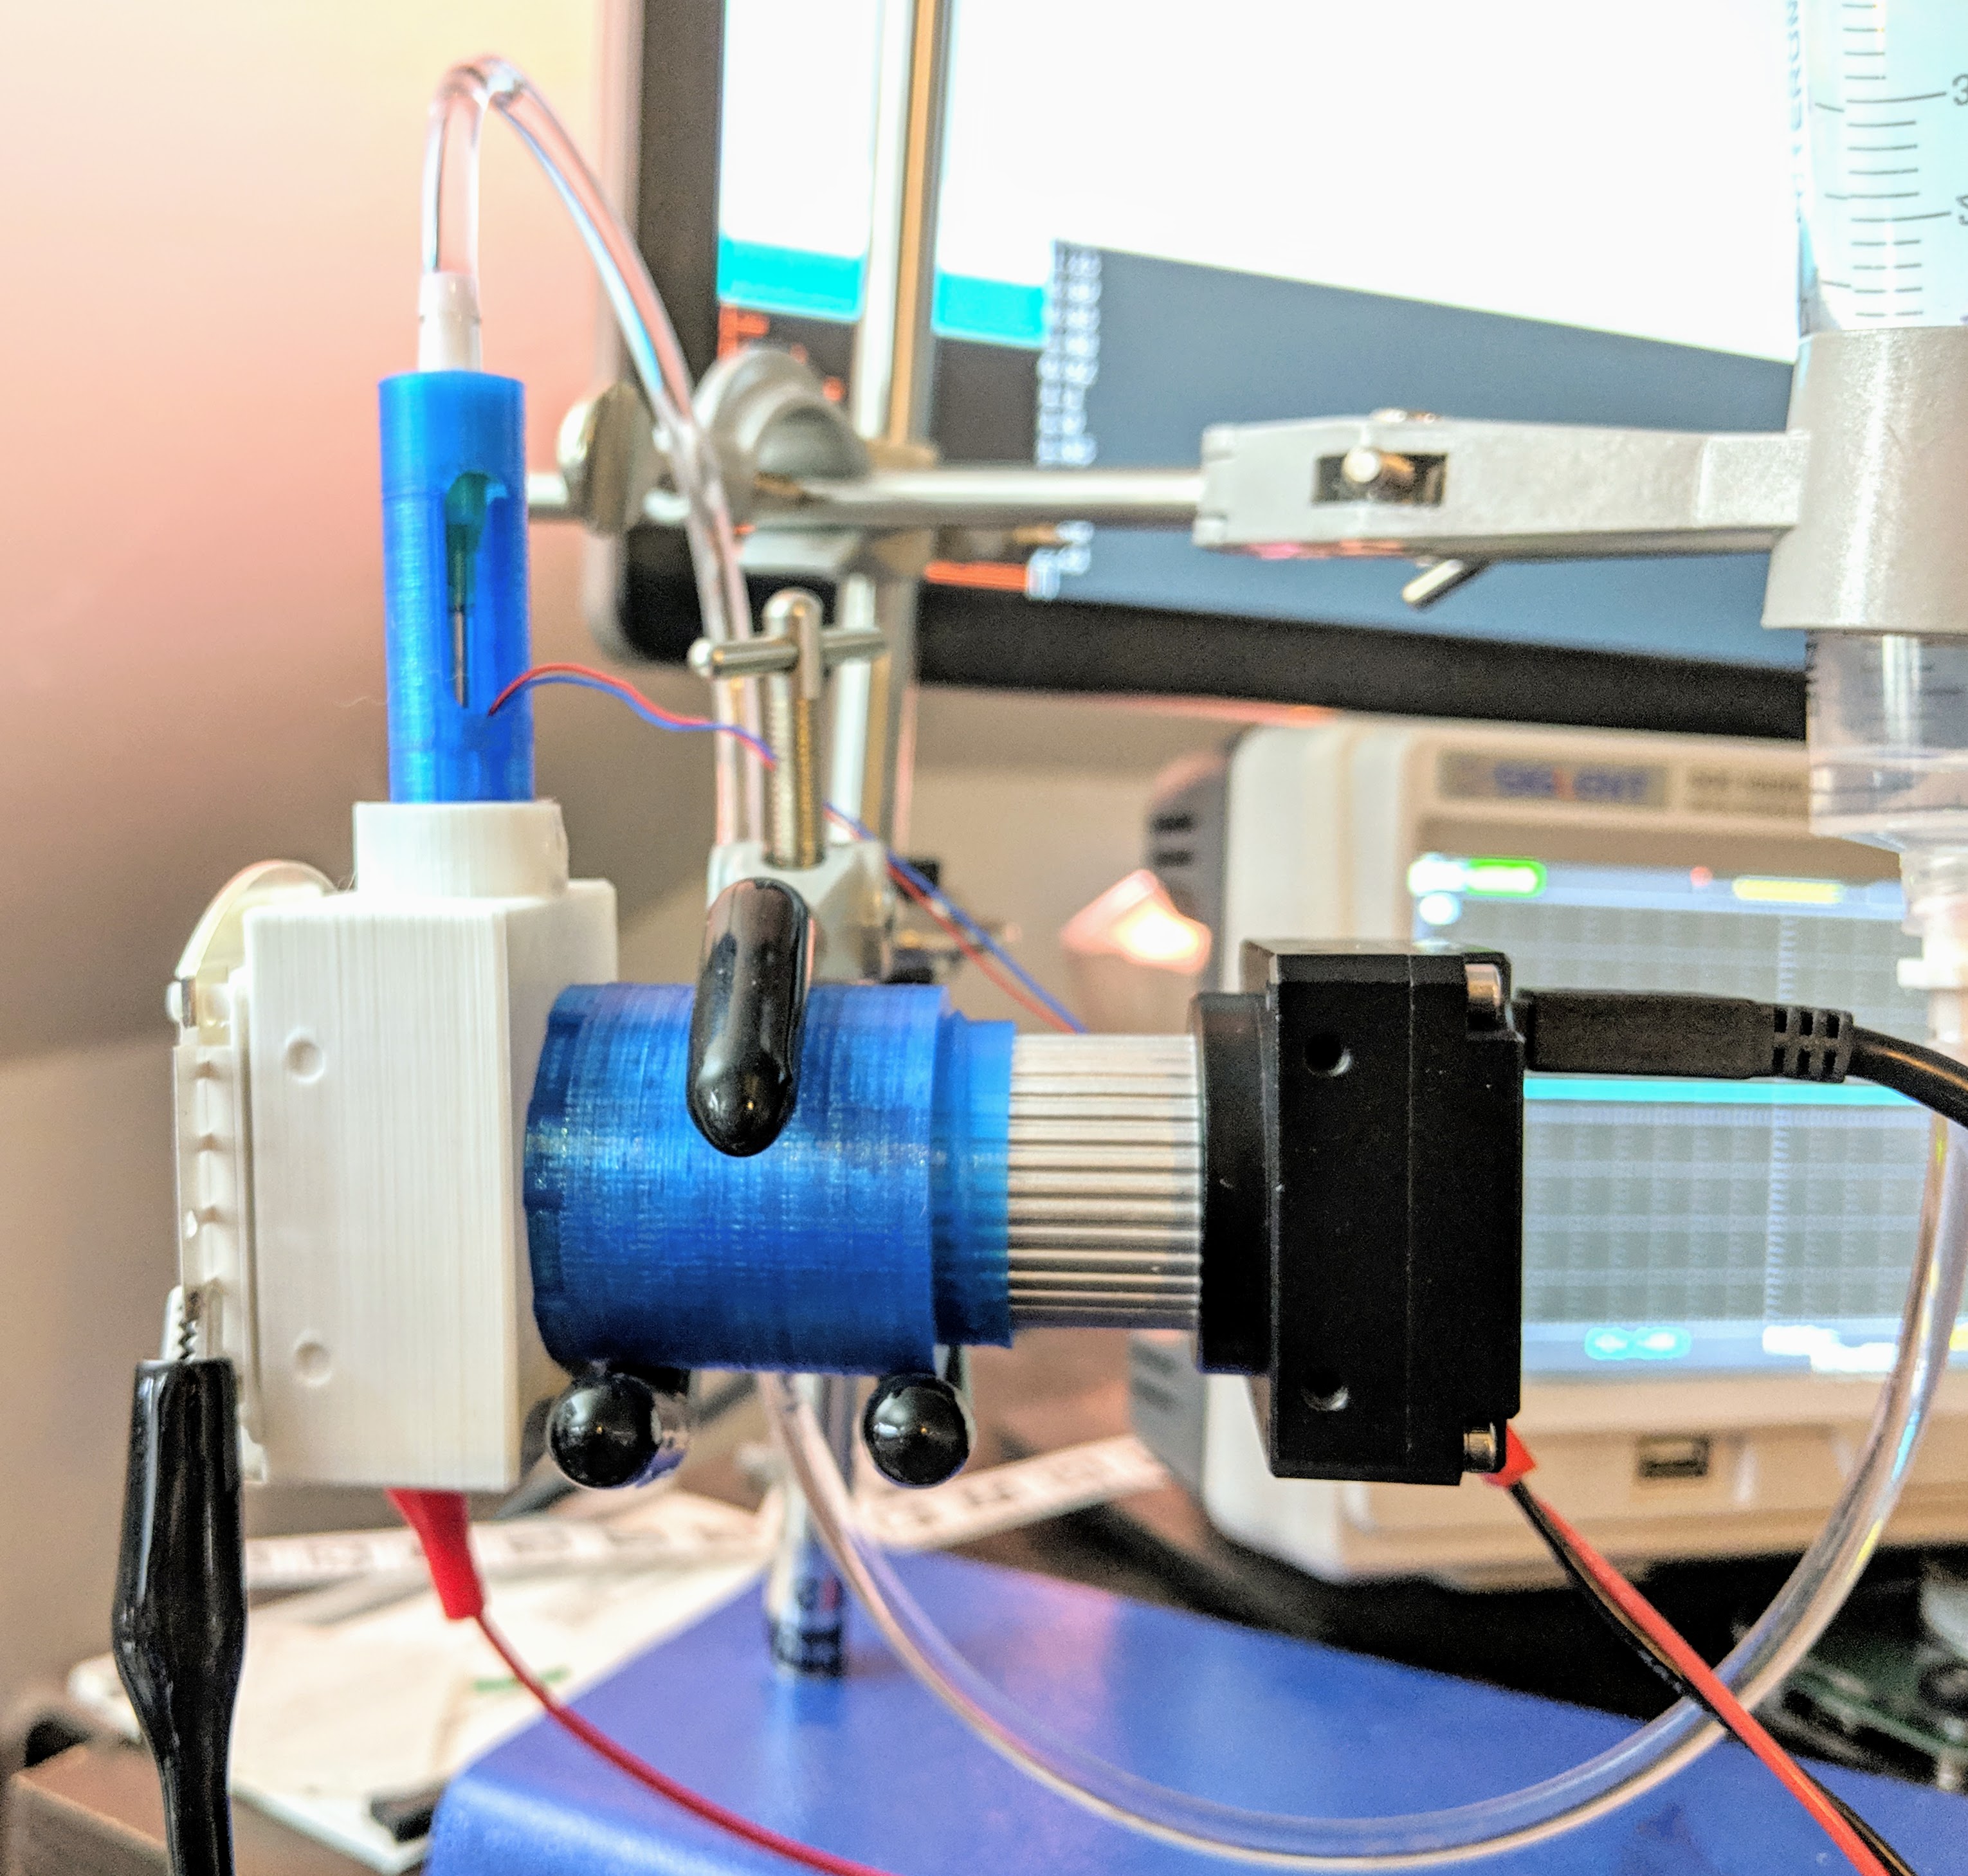
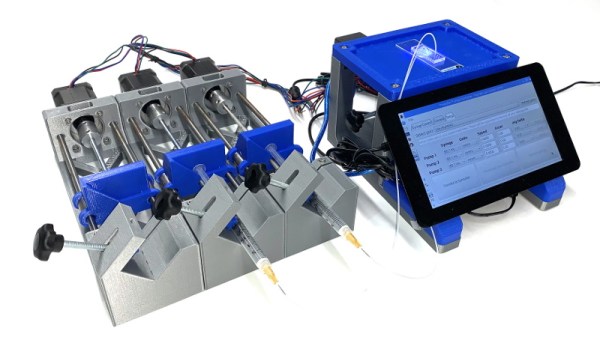
Consisting of a series of stepper-motor driven pumps, the hardware is inspired by modern 3D printer designs. The motors used are all common NEMA items, and the whole system is driven by the popular Marlin firmware. The reported performance is impressive, delivering up to 15 mL/min with accuracy to 0.1uL/min. That’s a truly tiny amount of fluid, and the device could prove highly useful to those exploring genetics or biology at home.
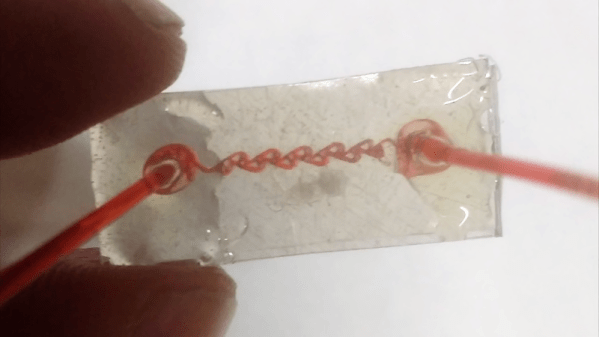
The great thing about this build is that it’s open source. [Josh] took the time to ensure that it was easily moddable to work with different tubing and materials, such that others could spin up a copy using whatever was readily available in their area. Performance will naturally vary, but if you’re experienced enough to build a microfluidic pump, you’re experienced enough to calibrate it, too. Design files are on Github for those keen to build their own.
We’ve seen other builds in this area before, too. We look forward to seeing some fun science done with [Josh]’s build, and look forward to seeing more DIY science gear in the future!


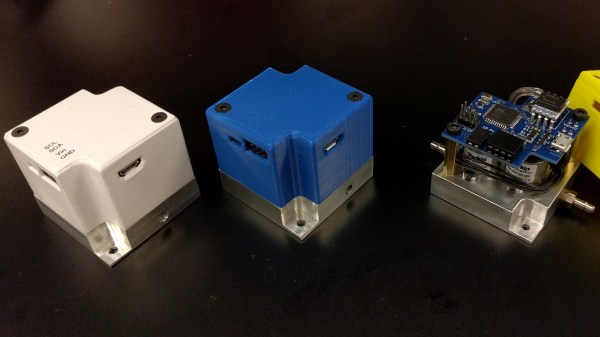
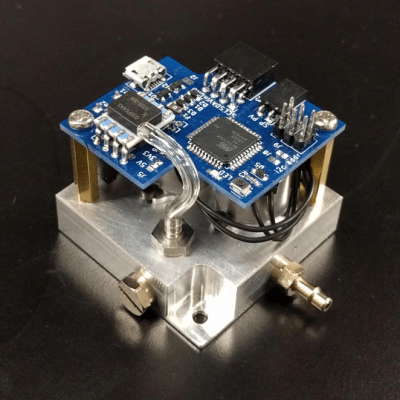 For many projects that require control of air pressure, the usual option is to hook up a pump, maybe with a motor controller to turn it on and off, and work with that. If one’s requirements can’t be filled by that level of equipment and control, then it’s time to look at commercial regulators. [Craig Watson] did exactly that, but found the results as disappointing as they were expensive. He found that commercial offerings — especially at low pressures — tended to leak air, occasionally reported incorrect pressures, and in general just weren’t very precise. Out of a sense of necessity he set out to design his own