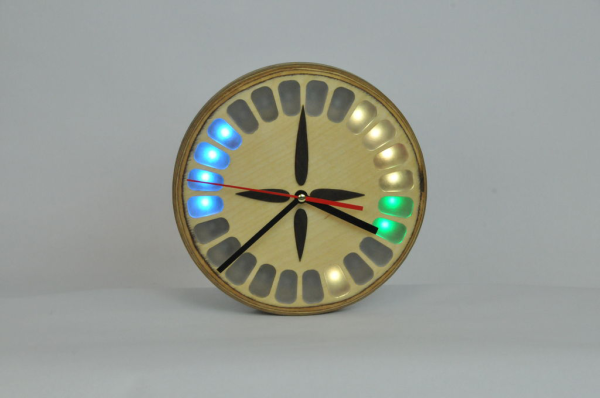
The Micro:bit is a very neat piece of hardware that, frankly, we don’t see enough of. Which made us all the more interested when [Manoj Nathwani] wrote in to tell us about the gorgeous 3D printed RGB LED lamp he created that uses the BBC-endorsed microcontroller to perform basic gesture detection. Purists will likely point out that an Arduino Pro Mini is tagging along to handle interfacing with the LEDs, but it’s still a good example of how quick you can get a project up and running with MicroPython on the Micro:bit.
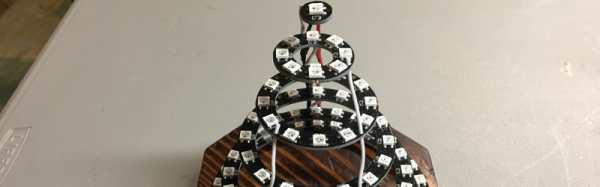
 [Manoj] used eight NeoPixel Sticks, a NeoPixel Ring, and a few scraps of perfboard to construct a three dimensional “bulb” to fill the void inside the printed diffuser. They’re chained together so all the elements appear as a single addressable strip, which made the rest of the project a bit easier to implement. It might not be pretty, but it gets the job done and it’s not like you’ll ever see it again once installed in the lamp anyway.
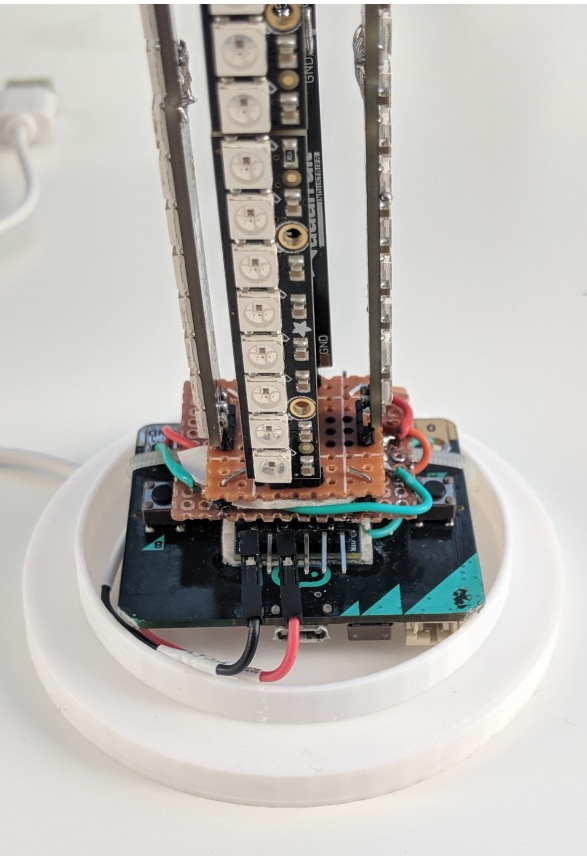
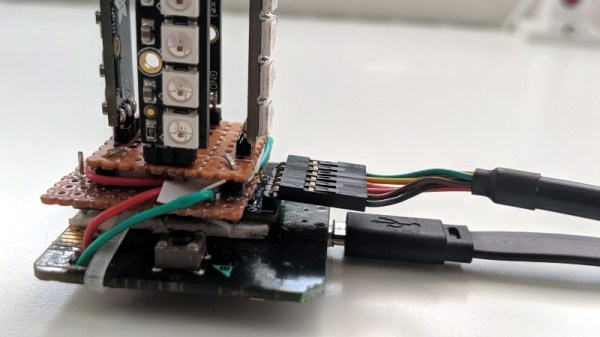
The Micro:bit and Arduino co-pilot live in the base of the lamp, and the single USB cable to provide power (and the ability to update the device’s firmware) is run out the bottom to give the whole thing a clean and professional look. For those wondering why the Arduino has tagged along, [Manoj] says he couldn’t get the NeoPixel libraries to play nicely with the Micro:bit so he’s using the Arduino essentially as a mediator.
Right now the only gesture that’s detected on the Micro:bit is a simple shake, which tells the Arduino to toggle the light show on and off. But in the future, [Manoj] plans to implement more complex gestures which will trigger different animations. As he explains in the blog post, gesture recognition with the Micro:bit is incredibly simple, so it should be easy to come up with a bunch of unique ways to interface with the lamp.
Color changing LED lamps are a favorite project of hackers, and we’ve seen examples built with everything from glass and copper to laser-cut pieces of wood and veneer. While you might prefer to skip the gesture control for an ESP8266 and UDP, we think this project is another strong entry into this popular genre.