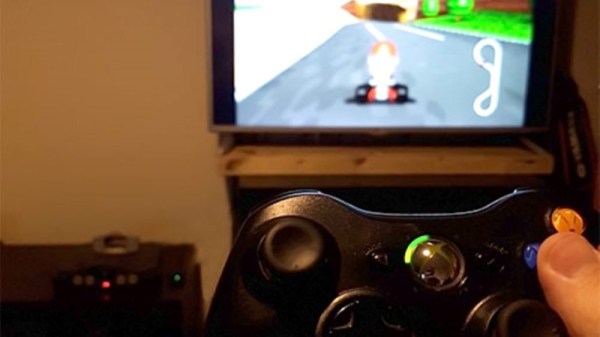
As far as game consoles go, the Nintendo Wii was relatively small. Probably owing at least somewhat to the fact that it wasn’t a whole lot more than a slightly improved GameCube in a new case, but that’s another story entirely. So it’s not much of a surprise that people have modded Nintendo’s infamous money printing machine into handheld versions. But this…this is just something else.
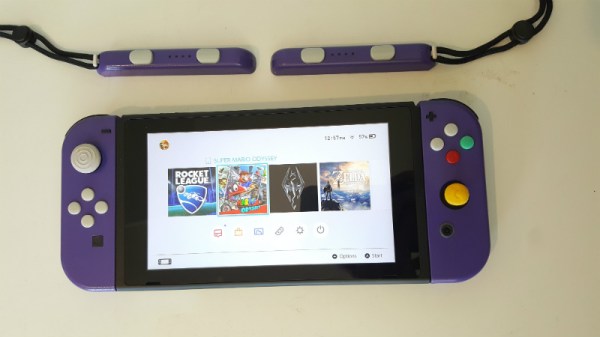
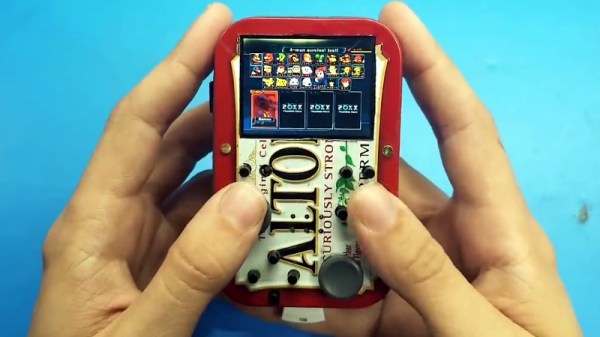
 We’re going to go out on a limb and say that this absolutely preposterous build by [Shank] which puts a fully functional Nintendo Wii into an Altoids tin wins the title of “World’s Smallest Wii”. We’re also going to put money on the fact that this record doesn’t get beaten because…well, come on. There’s a reason he’s named his diminutive creation the “Kill Mii”.
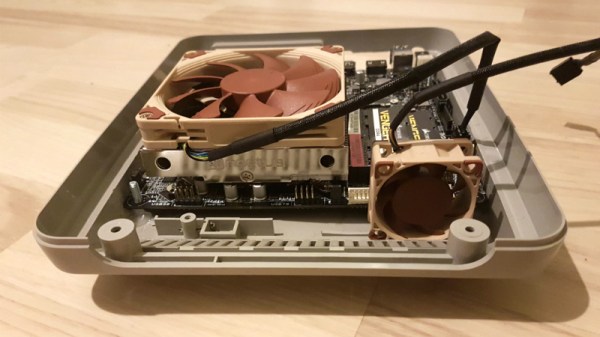
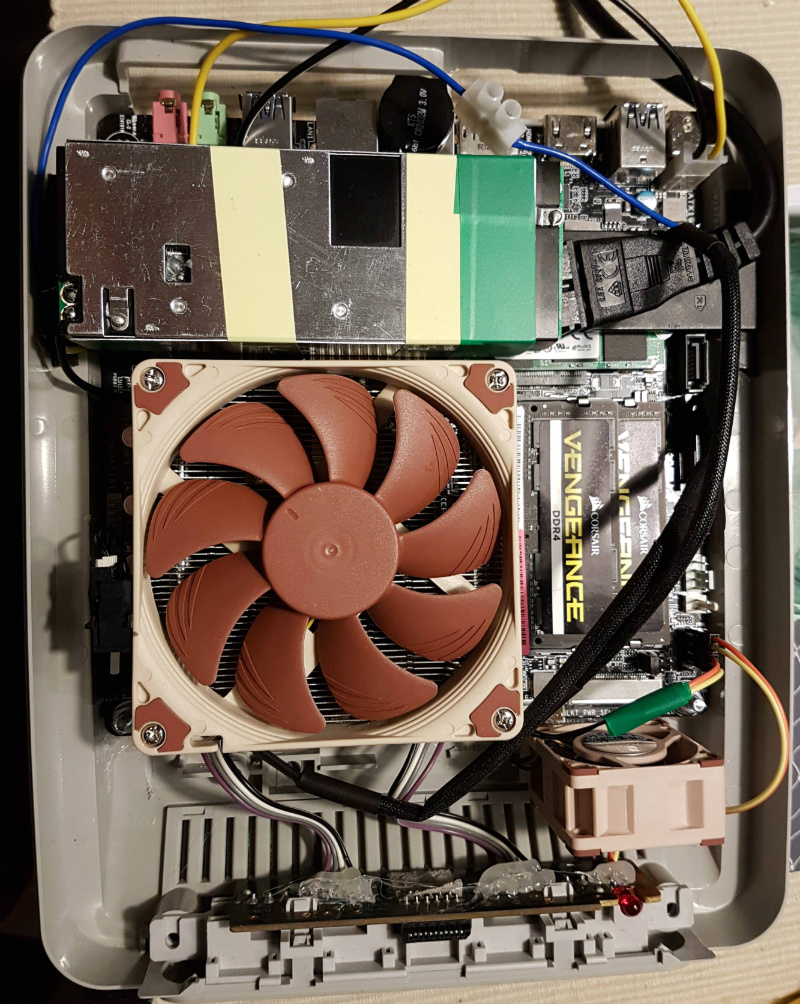
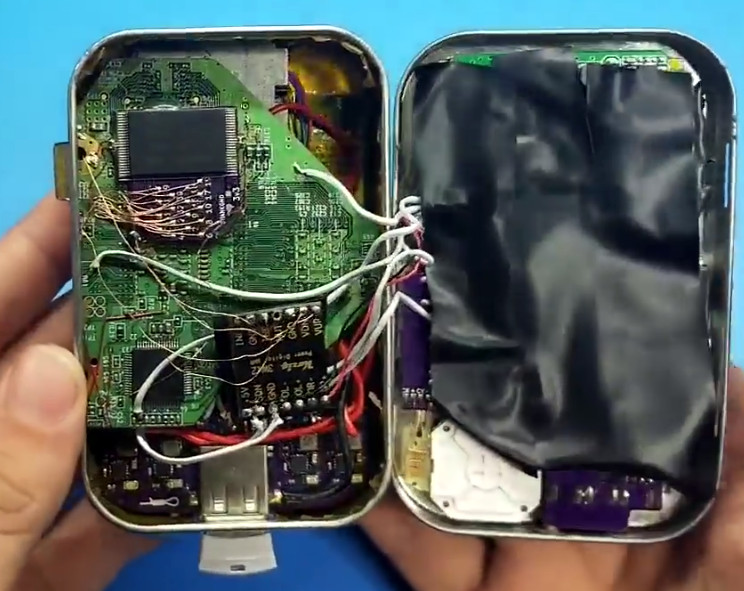
You’re probably wondering how this is possible. That’s an excellent question. As it turns out, hackers have discovered that you can cut off the majority of the Wii’s motherboard and still have a functioning system, albeit missing non-essential functions like the GameCube controller ports and SD card slot. From there, you just need to install a new firmware on the now heavily trimmed down Wii that tells it to ignore the fact it has no disc drive and load games as ISOs from an attached USB flash drive. That’s the high level summary anyway, the reality is that this a mod of crushing difficulty and should only be attempted by true masochists.
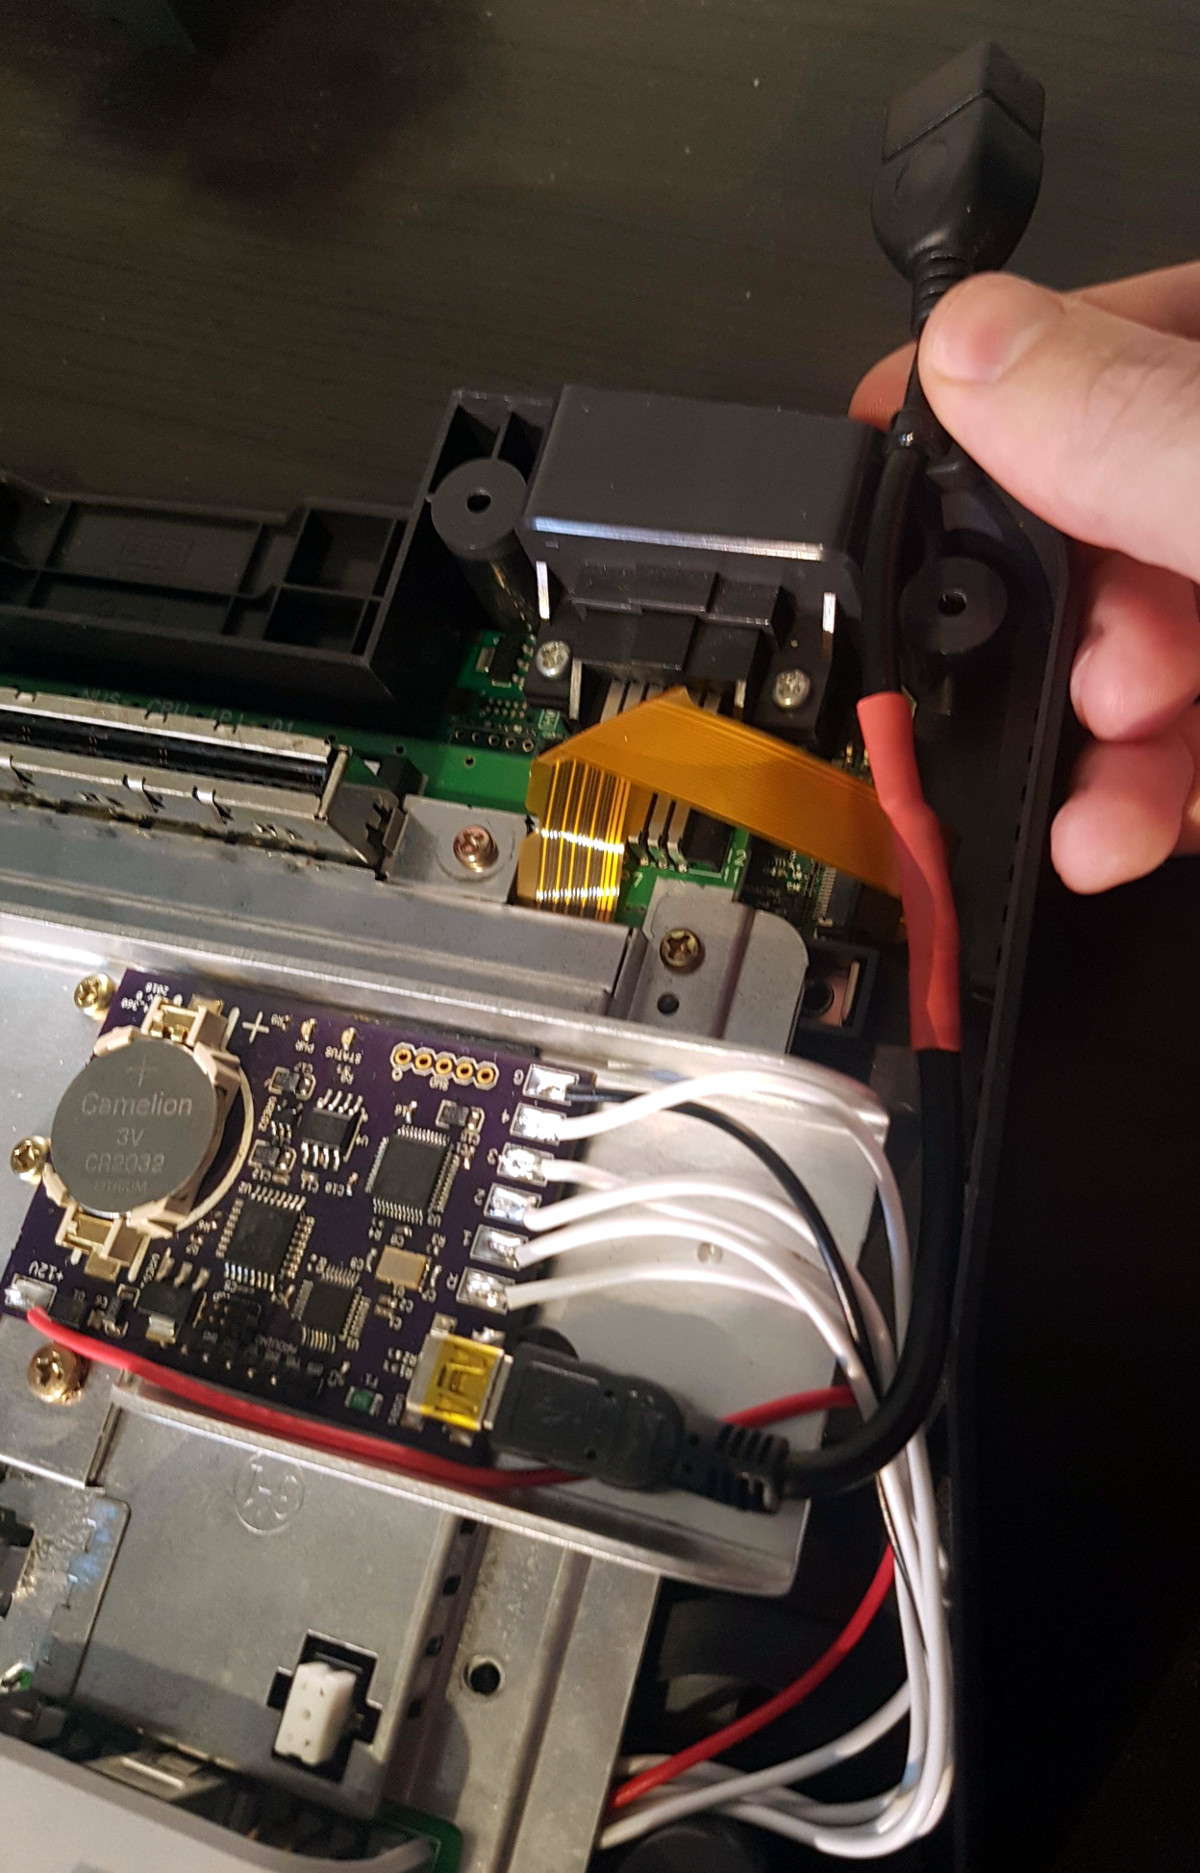
As for this particular build, [Shank] went all in and even relocated the Wii’s NAND chip to make everything fit inside the tin. There’s also custom PCBs which interface the Wii’s motherboard with the Nintendo 3DS sliders he’s using for control sticks. Underneath everything there’s a battery that can run the whole device for a grand total of about 10 minutes, but given the general shape of the “Kill Mii” and the fact that most of the buttons are tactile switches, that’s probably about as long as you’d want to play the thing anyway.
Yes, this is the worst Wii ever made. But that was also the point. In the words of the creator himself “This portable is not logical, comfortable, or practical. But it must be done… for the memes.” Truly an inspiration to us all.
Incidentally, this isn’t the first “trimmed” Wii portable we’ve seen; though that one was considerably more forgiving internally, and just a bit more practical.
Continue reading “World’s Smallest Wii Is Also World’s Worst”