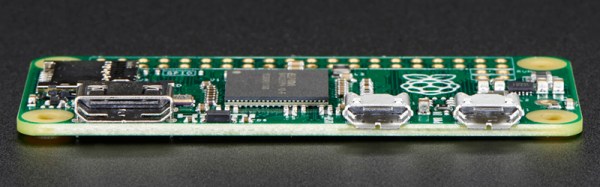
The Raspberry Pi Zero is limited, or so everyone says, and everyone is trying to cram a USB hub and WiFi adapter on this tiny, tiny board. One thing a lot of people haven’t realized is that the Raspberry Pi Zero comes with a USB OTG port, meaning it can function as a USB device rather than a USB host. This means the Raspi can become a serial device with just a USB cable, an Ethernet device, MIDI device, camera, or just about anything else you can plug into a USB port. Adafruit has your back with a tutorial for using the USB OTG port as a serial and Ethernet interface, and the possible applications are extremely interesting.
The only requirement for using the USB OTG port for device applications is an update to the kernel. This is easily installed by dumping a few files on an SD card and a employing bit of command line wizardry. The simplest example is setting up the Pi Zero as a USB serial device, allowing anyone to log into a serial console on the Pi with just a USB cable.
A slightly more interesting application is setting up the Pi as an Ethernet gadget. This effectively tunnels all the networking on the Pi Zero through a USB cable and a separate computer. The instructions are extremely OS-specific, but the end result is the same: you can apt-get on a Pi Zero to your heart’s desire with a new kernel loaded onto the SD card and a USB cable.
This experimentation is just scratching the surface of what is possible with the OTG port on the Pi Zero. MIDI devices are easy, and with a ton of GPIOs, the Pi Zero itself could become a very interesting musical instrument. Want the Pi Zero to be a storage device? That’s easy too. The USB Gadget will end up being one of the most exciting uses for the Pi Zero, and we can’t wait to see what everyone will come up with next.
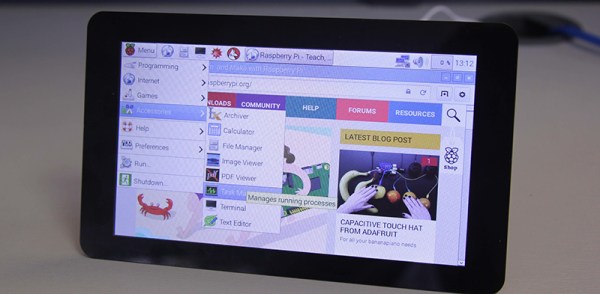
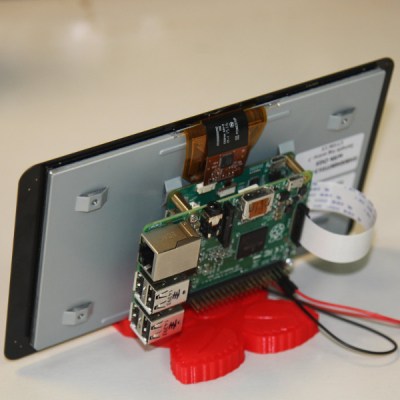 The new display could have used the DSI (Display Serial Interface) adapter, or the small connector on the Pi that is not the camera connector. DSI displays are purpose-built for specific devices, though, and aren’t something that would or should be used in a device that will be manufactured for years to come. The best solution, and the design the Raspberry Pi foundation chose to go with, is a DPI display and an adapter that converts the Pi’s DSI output to something the display can understand.