Oh, the hijinks that the early days of the PC revolution allowed. Back in the days when a 20MB hard drive was a big deal and MS-DOS 3.1 ruled over every plain beige PC-clone cobbled together by enthusiasts like myself, it was great fun to “set up” someone else’s machine to do something unexpected. This generally amounted to finding an unattended PC — the rooms of the residence hall where I lived in my undergrad days were a target-rich environment in this regard — and throwing something annoying in the AUTOEXEC.BAT file. Hilarity ensued when the mark next booted the machine and was greeted with something like an inverted display or a faked hard drive formatting. Control-G was good to me too.
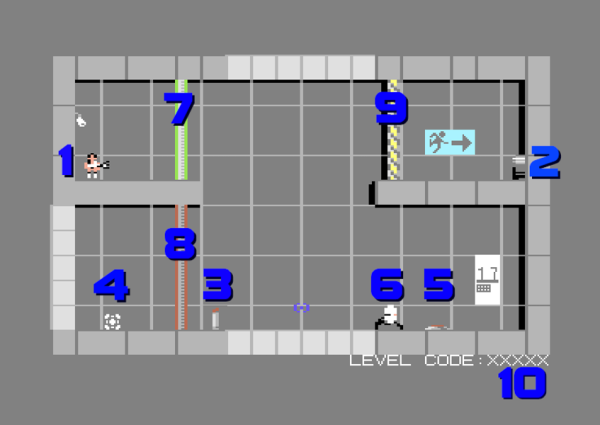
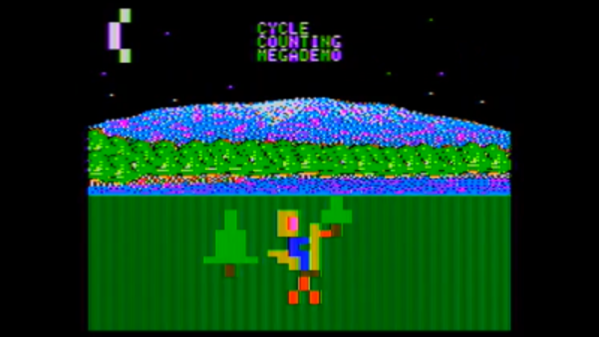
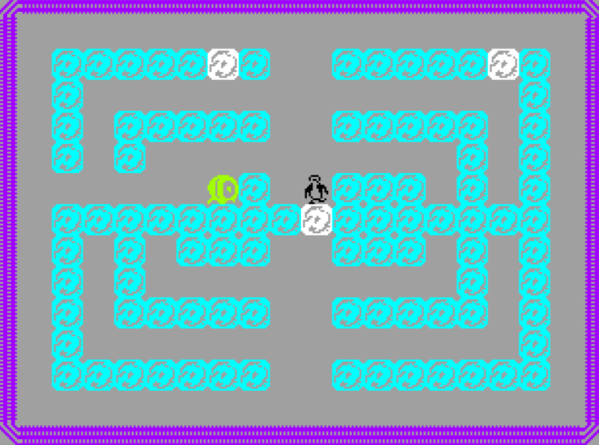
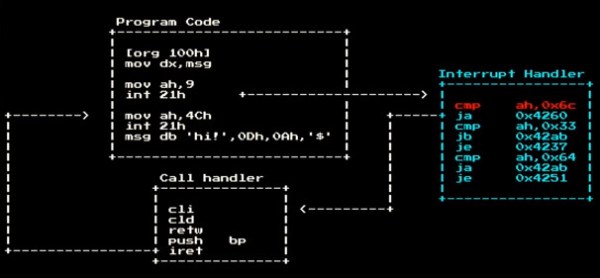
So it was with a sense of great nostalgia that I watched [Ben Cartwright-Cox]’s recent 35C3 talk on the anatomy and physiology of viruses from the DOS days. Fair warning to the seasoned reader that a sense of temporal distortion is inevitable while watching someone who was born almost a decade after the last meaningful release of MS-DOS discuss its inner workings with such ease. After a great overview of the DOS API elements that were key to getting anything done back then, malware or regular programs alike, he dives into his efforts to mine an archive of old DOS viruses, the payloads of most of which were harmless pranks. He built some tools to find viruses that triggered based on the system date, and used an x86 emulator he designed to test every day between 1980 and 2005. He found about 10,000 malware samples and explored their payloads, everything from well-wishes for the New Year to a bizarre foreshadowing of the Navy Seal Copypasta meme.
We found [Ben]’s talk a real treat, and it’s good to see someone from the current generation take such a deep dive into the ways many of us cut our teeth in the computing world.
Continue reading “35C3: A Deep Dive Into DOS Viruses And Pranks”