When you own an enormous CNC router, you’ve got to find projects that justify it. So why not shoot for the sky — literally — and build the 1980s-est possible thing: a full-scale flying Delorean.
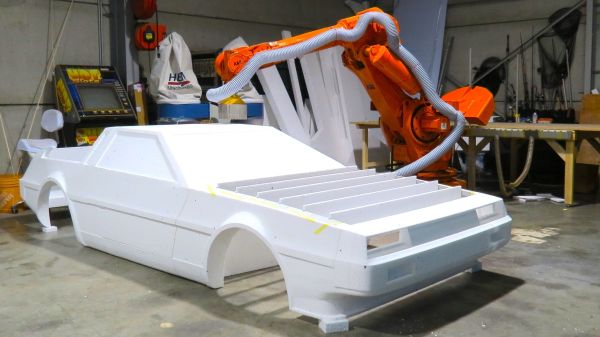
Attentive readers will no doubt remember [Brian Brocken] from his recent attempt to bring a welding robot out of retirement. That worked quite well, and equipped with a high-speed spindle, the giant ABB robot is now one of the biggest CNC routers we’ve ever seen. As for the flying Delorean, short of the well-known Mr. Fusion mod, [Brian] had to settle for less fictional approaches. The project is still in its early phase, but it appears that the flying car will basically be a huge quadcopter, with motors and propellers hidden under the chassis. That of course means eschewing the stainless steel of the OEM design for something lighter: expanded polystyrene foam (EPS).
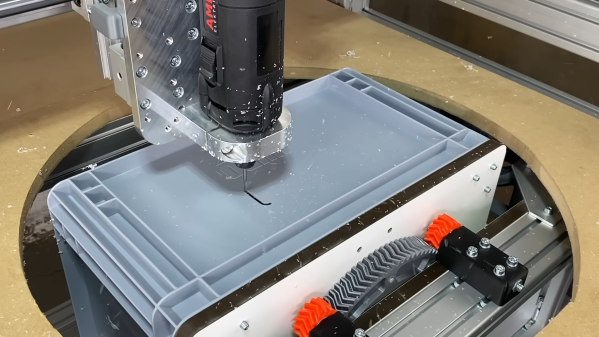
The video below shows the fabrication of most of the body, which starts as large blocks of EPS and ends up as shaped panels and an unthinkable amount of dust. Individual pieces are glued together with what looks like plain old PVA adhesive. The standard Delorean “frunk” has been replaced by a louvered assembly that will act as an air intake; we presume the rear engine cover will get the same treatment. Interestingly, the weight of the finished model is almost exactly what Fusion 360 predicted based on the 3D model — a mere 13.9 kg.
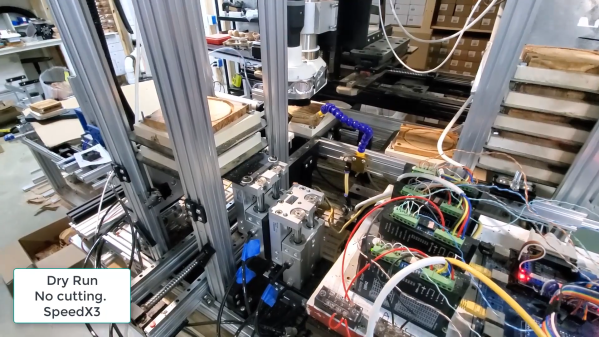
[Brian] is currently thrust-testing motors and propellers and has some interesting details on that process in his write-up. There’s obviously a lot of work left on this project, and a lot more dust to be made, and we’ll be eagerly following along. Continue reading “Mega-CNC Router Carves Styrofoam Into A Full-Size Flying Delorean”