It’s normal for a computer in 2022 to come with a fully-featured sound card containing a complete synthesizer as well as high-quality PCM sound recording and playback. It’s referred to as a sound card after the way the hardware first appeared in the world of PCs, but in fact it’s now considered so essential as to be a built-in part of most mainboards. There was a time when computers boasted considerably less impressive sound hardware, and among the chorus of SIDs and AY chips of the perhaps the least well-featured was the original Sinclair ZX Spectrum. Its one-bit sound, a single line on an I/O port, is the subject of a thorough investigation from [Forgotten Computer]. It’s a long video which we’ve placed below the break, but for those with an interest in 8-bit music it should make a for a fascinating watch.
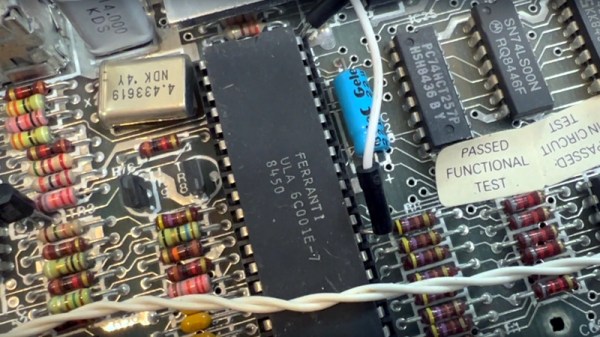
For Sir Clive Sinclair the 1-bit audio must have been welcome as it removed the need for an expensive sound chip and kept the Spectrum to its low price point, but on the face of it there was little more it could do than create simple beeps using Sinclair BASIC’s built-in BEEP command. The video gives us an in-depth look at how interleaving and PWM could be used to create much more complex sounds such as the illusion of multiple voices and even sampled sounds. In particular his technique of comparing the audio output with its corresponding pin on the Sinclair ULA shows the effect of the machine’s simple low-pass filter, though the music was often so close to the edge of what the interface could do that aliasing sounds are often very obvious.
As he demonstrates the various ingenious techniques that game and demo developers used to extract performance from such limited hardware that could even try to compete with the more sophisticated machines even at the same time as their code was running whatever was on the screen, it’s difficult not to come away with immense respect for their skills. If you’ve ever experimented with computer audio then you should try hardware this simple for yourself.
Continue reading “When A Single Bit Was Enough, Into The Sound Of The ZX Spectrum”