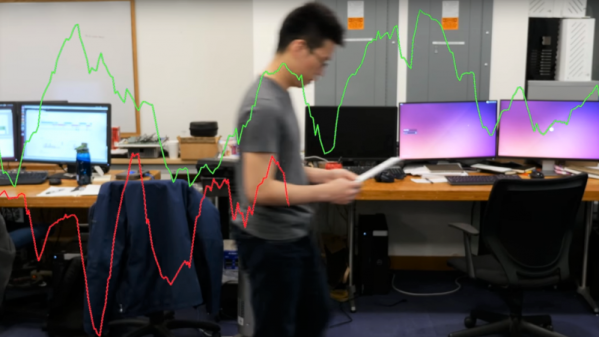
Frankencars are built from the parts of several cars to make one usable vehicle. [Jim Belosic] has crossed the (finish) line with his Teslonda. In the most basic sense, it is the body of a Honda Accord on top of the drive train of a Tesla Model S. The 1981 Honda was the make and model of his first car, but it wasn’t getting driven. Rather than sell it, he decided to give it a new life with electricity, just like Victor Frankenstein.
In accord with Frankenstein’s monster, this car has unbelievable strength. [Jim] estimates the horsepower increases by a factor of ten over the gas engine. The California-emissions original generates between forty and fifty horsepower while his best guess places the horsepower over five-hundred. At this point, the Honda body is just holding on for dear life. Once all the safety items, like seatbelts, are installed, the driver and passengers will be holding on for the same reason.
This kind of build excites us because it takes something old, and something modern, and marries the two to make something in a class of its own. And we hate to see usable parts sitting idle.
Without a body, this electric car scoots around with its driver all day, and this Honda doesn’t even need the driver inside.
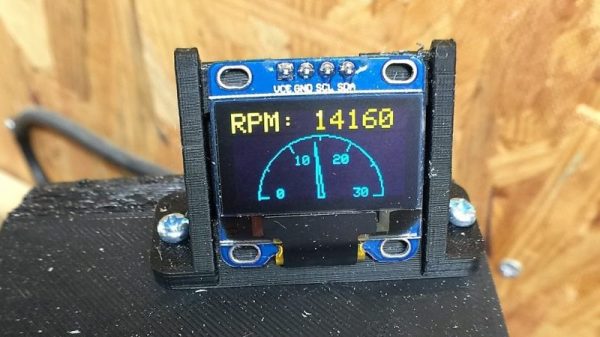
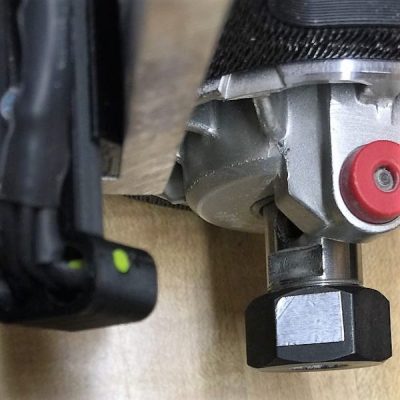 The CNC router in question is the popular Sienci, and the 3D-printed brackets for the photodiode and LED are somewhat specific for that machine. But [tmbarbour] has included STL files in his exhaustively detailed write-up, so modifying them to fit another machine should be easy. The sensor hangs down just far enough to watch a reflector on one of the flats of the collet nut; we’d worry about the reflector surviving tool changes, but it’s just a piece of shiny tape that’s easily replaced. The sensor feeds into a DIO pin on a Nano, and a small OLED display shows a digital readout along with an analog gauge. The display update speed is decent — not too laggy. Impressive build overall, and we like the idea of using a piece of PLA filament as a rivet to hold the diodes into the sensor arm.